

Under Management on SSMS, right click on Database Mail and select Configure Database Mail. Click “Skip this page in the future” and next.
On the incoming screen, select the “Set up Database Mail” button and next again.
If you have not previously activated Database Mail via sp_configure, it will give you a warning like “The Database Mail is not available“.
|
1 2 3 |
sp_configure 'show advanced options',1 reconfigure GO |
|
1 2 3 |
sp_configure 'Database Mail XPs',1 reconfigure GO |
|
1 2 3 |
sp_configure 'show advanced options',0 reconfigure GO |
If you did not activate before with the above script, you should proceed with Yes.
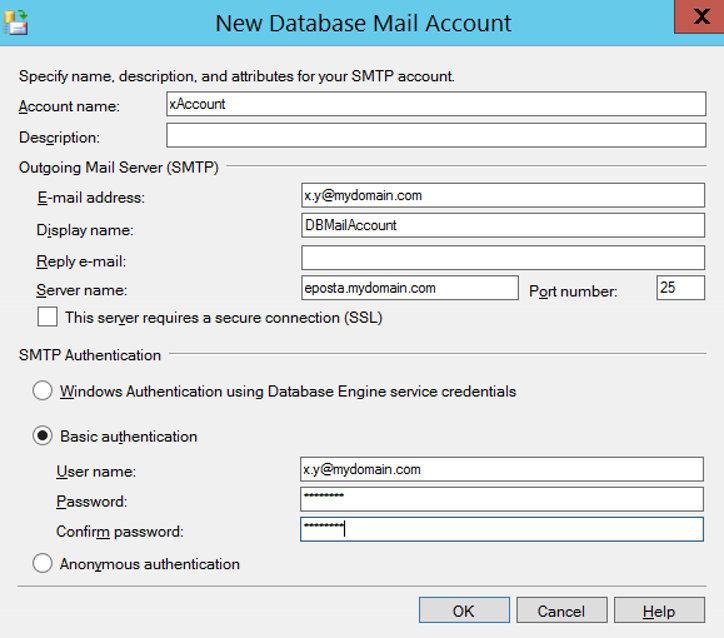
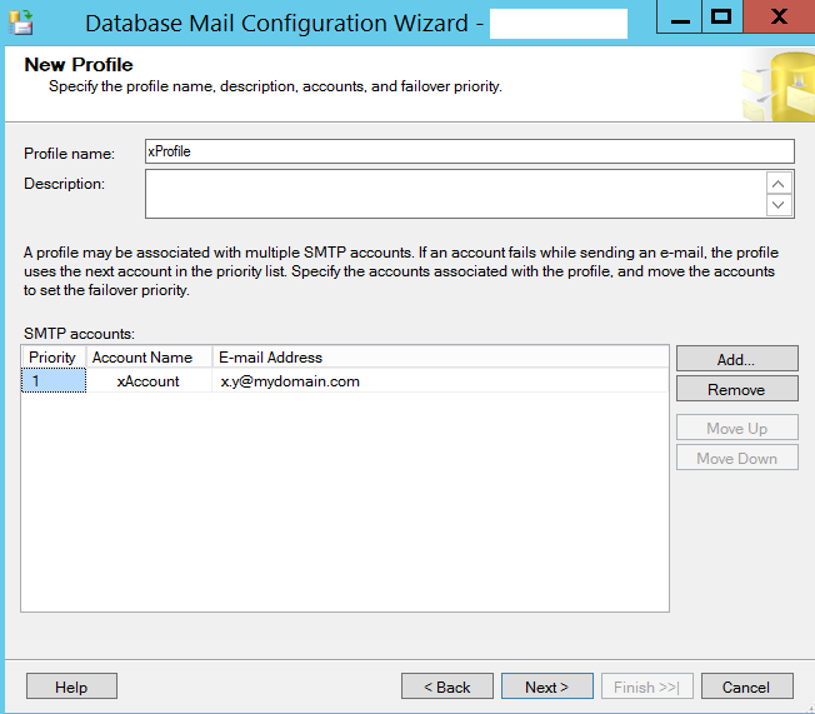
We give a name from ProfileName. We press the Add button on the right side of Smtp Accounts.
In Account Name we give a name to our account.
In the Email Address section, we are entering a user with the authority to send mail.
You must request a user who has the authority to send mail from your email team.
In the Display name section, we will write the name of the user who will send the mail. It’s just a name you’ll specify. You can write anything.
In Server Name you should enter your mail server. For example, “xxx.mydomain.com”
We choose Basic Authentication from SMTP Authentication.
We re-enter the email address of the user with the authority to send mail to the Username part and click OK.

After clicking Ok, the following screen comes up and we click on the next again.

In the incoming screen, we define the profile as Public and set it as Default Profile.
Then click next and finish to complete the process.
To ensure that the installation is done correctly and that Database Mail is working properly, we right click on Database Mail under Management on SSMS and click Send Test Mail.
And in the To section, we write about who we send the mail to. We check your mailbox to make sure the mail arrives.
Note: Your server must be able to send mail. If you have such a restriction in your institution, you should contact the people concerned.
![]()
