 Database Tutorials MSSQL, Oracle, PostgreSQL, MySQL, MariaDB, DB2, Sybase, Teradata, Big Data, NOSQL, MongoDB, Couchbase, Cassandra, Windows, Linux
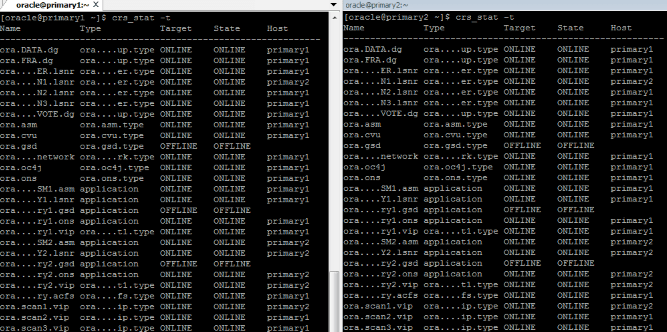
We will install Oracle RAC 11g in this article. First, We check cluster services before starting Oracle installation. We do this in both nodes. (with oracle user)
1 | $ crs_stat -t |
Oracle RAC Installation
We are starting the installation of Oracle software. We do this only on one node. (with oracle user)
- Copy the installation file to the “installation” folder.
- Open the .zip file.
1 2 3 | $ cd /installation $ unzip p13390677_112040_Linux-x86-64_2of7.zip $ unzip p13390677_112040_Linux-x86-64_3of7.zip |
- Log in with the user “oracle” and start the installation.
1 2 3 | # su - oracle $ cd /installation/database $ ./runInstaller |
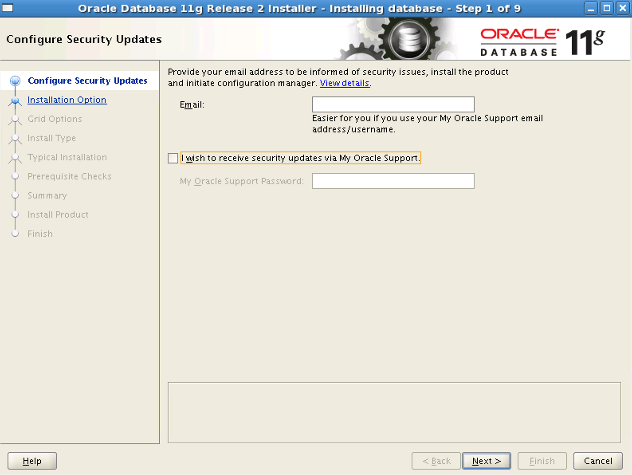
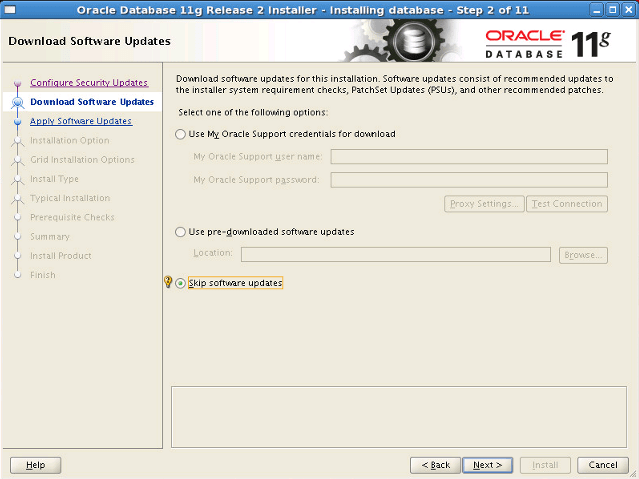
We pass the “Software Update” screen with “Skip Software Updates”.
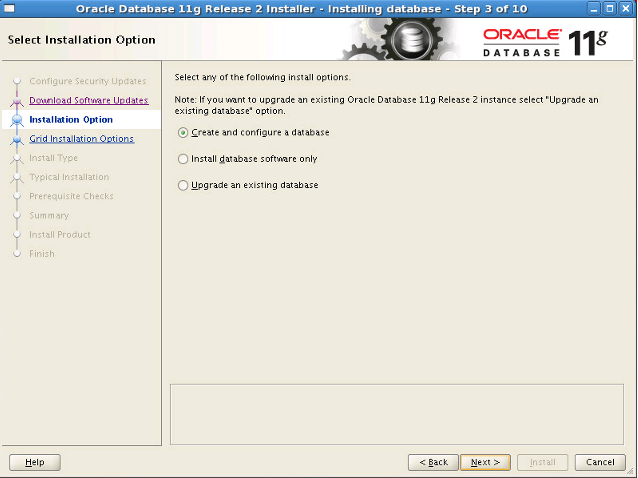
We select the option “Create and configure a database”.
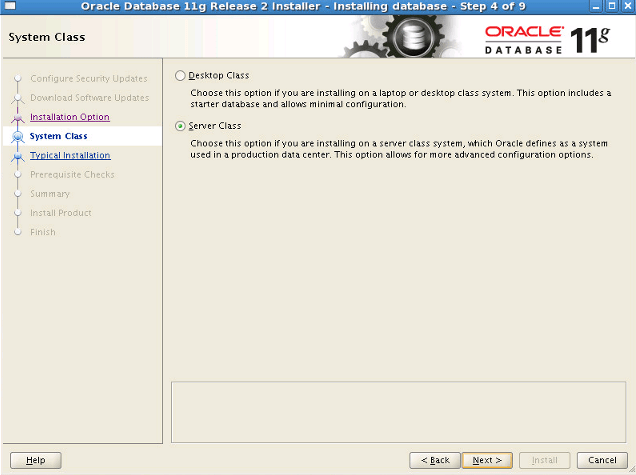
We select the “Server Class” option in the “System Class” screen.
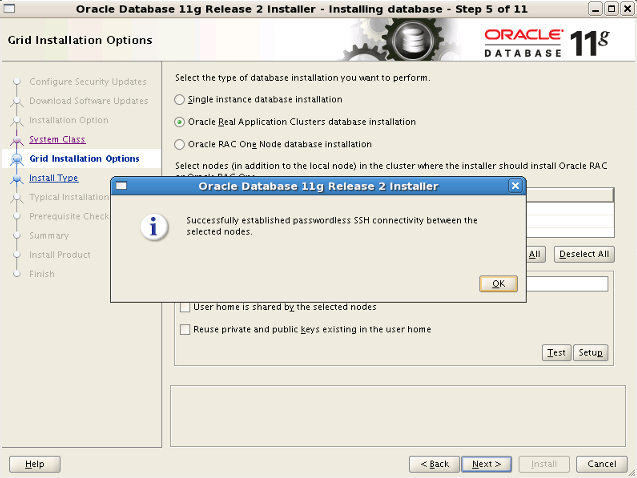
We select “Oracle Real Application Clusters database installation” option. We mark the “primary1” and “primary2” nodes. By pressing the “SSH Connectivity” button, we enter “OS Password” and click the “Setup” button.
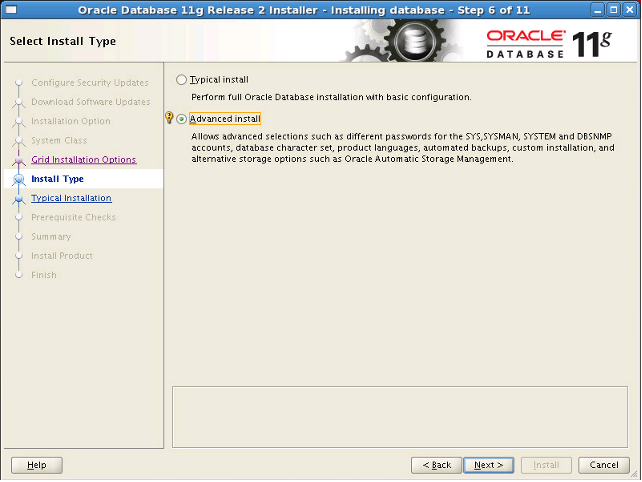
We select the installation type as “Advanced Install” and continue.
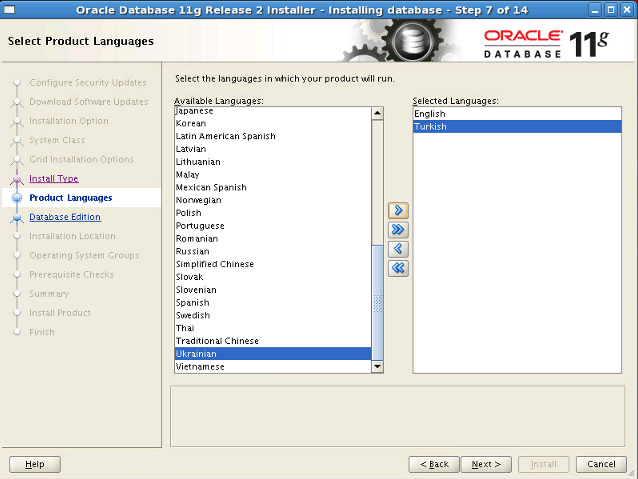
We select the software language “Turkish” and “English”. You may want to determine it according to your own language instead of Turkish.
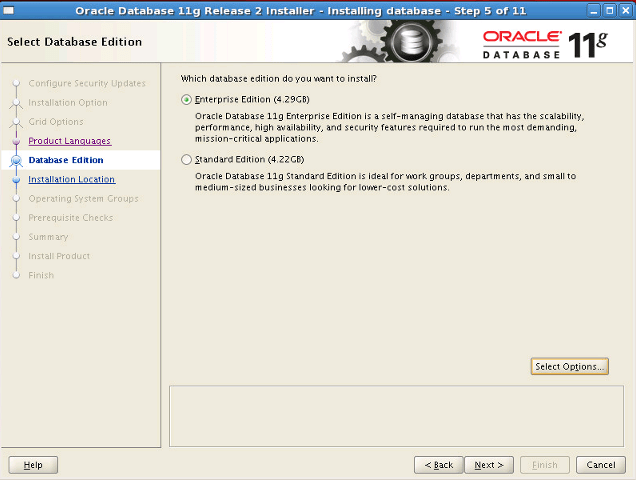
We select the “Enterprise Edition” option.
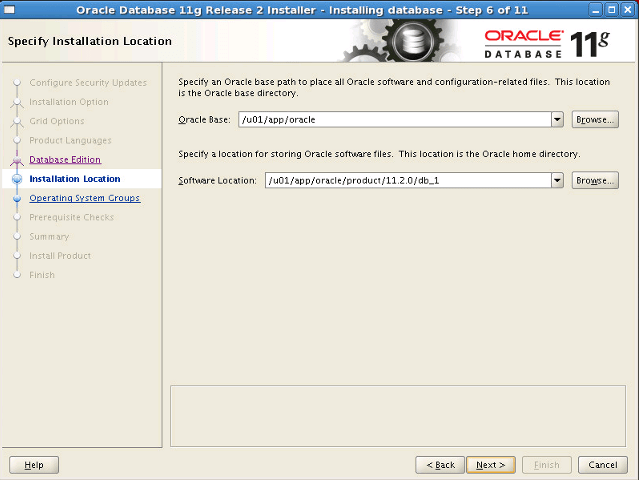
You will see the folders we have defined in the bash profile. We check and proceed.
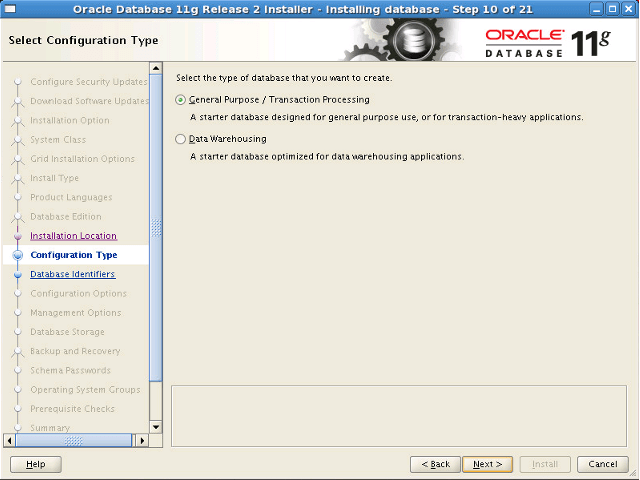
We select “General Purpose / Transaction Processing” option as the configuration type.
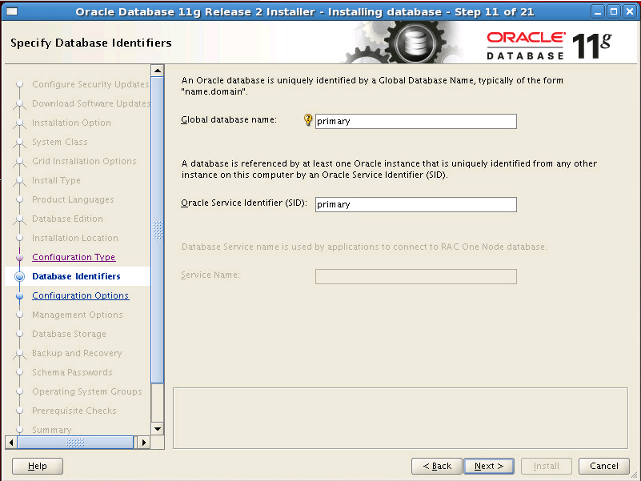
We are writing our global database name.
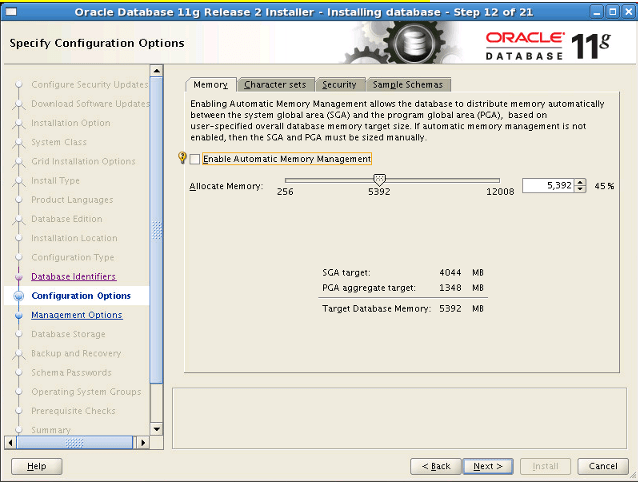
We set the SGA and PGA values as follows. We disable “Automatic Memory Management”. I keep “Allocate Memory” under 50%. 80% and around are not suitable. If the SGA area is not enough, it can be increased a little more. You may want to read below articles about Automatic Memory Management.
“Configure Automatic Memory Management in Oracle“,
“Effects of Very Frequent Growth and Shrink Operations on Automatic Memory Management(AMM)”,
“Configure Automatic Shared Memory Management in Oracle”
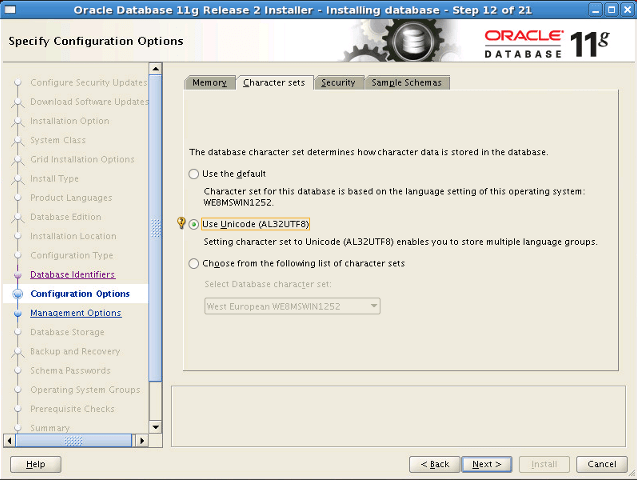
In the “Character Sets” tab, we select the “Use Unicode (AL32UTF8)” tab. We continue without changing other options.
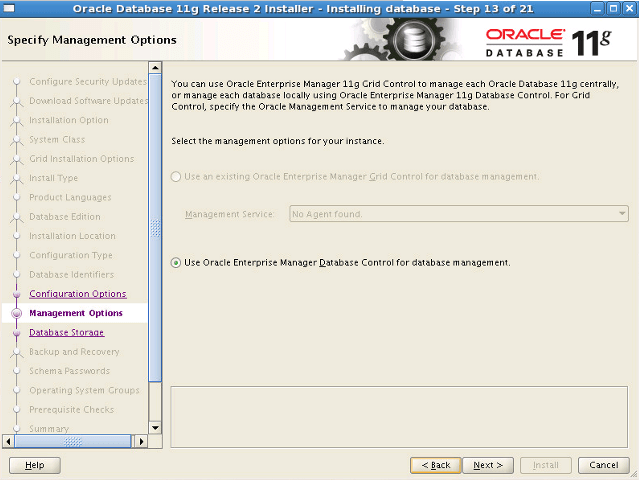
OEM installation option is automatically selected.
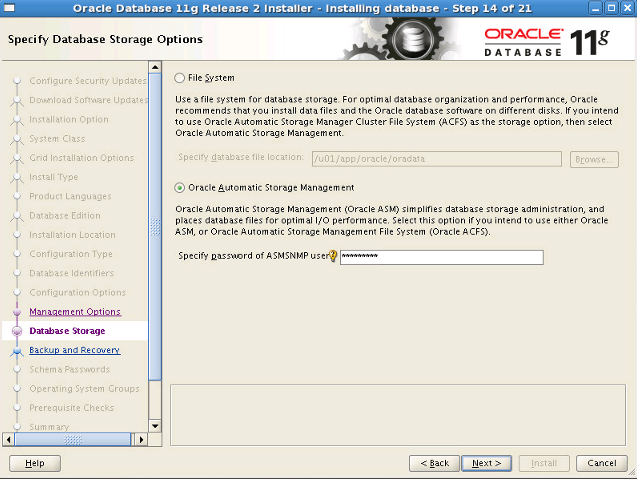
Since we will use ASM, we select “Oracle Automatic Storage Management” option on the “Database Storage Option” page and enter the ASMSNMP password.
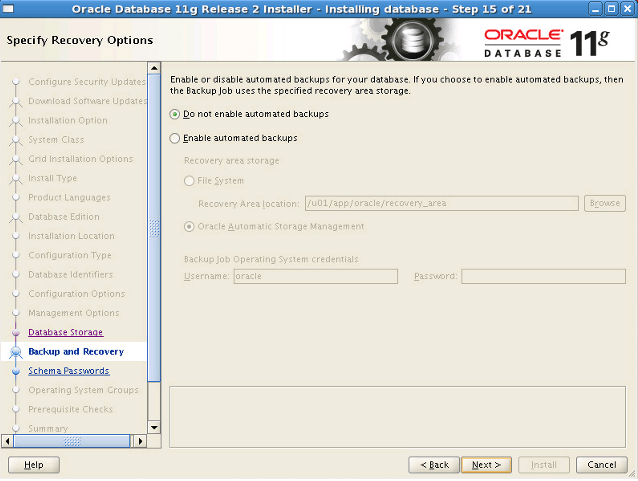
I don’t want automatic backup.
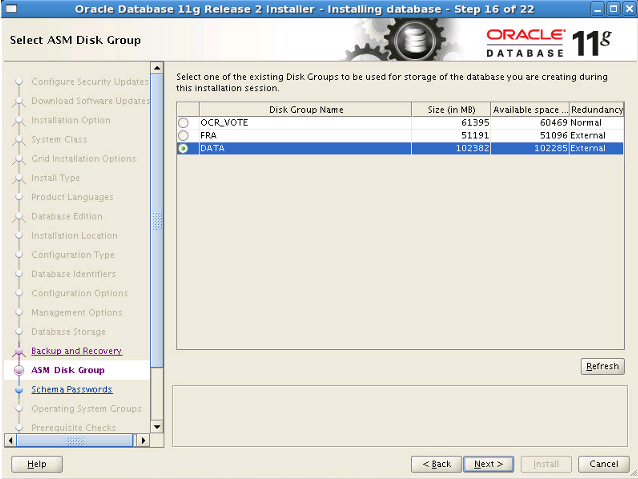
I select the disk group where database objects will be stored as “DATA”.
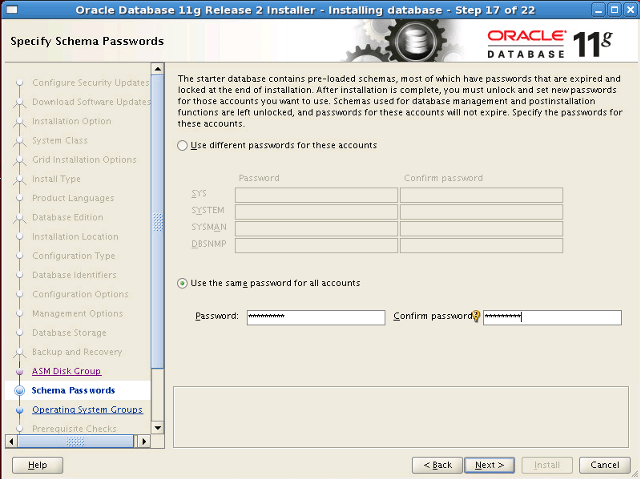
I set a single password for SYS, SYSTEM, SYSMAN and DBSNMP accounts.
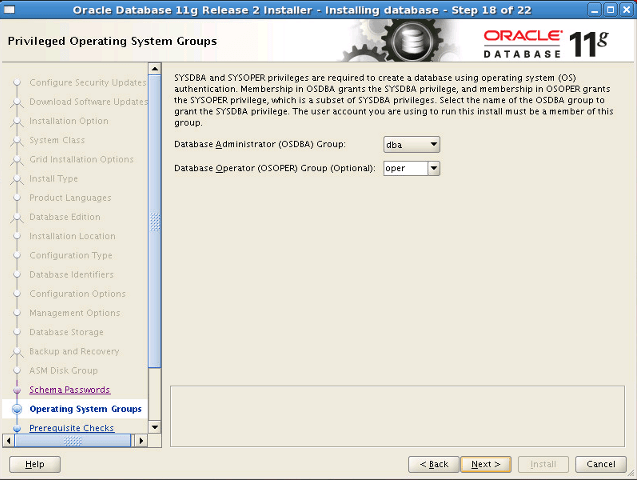
I select OS groups as follows.
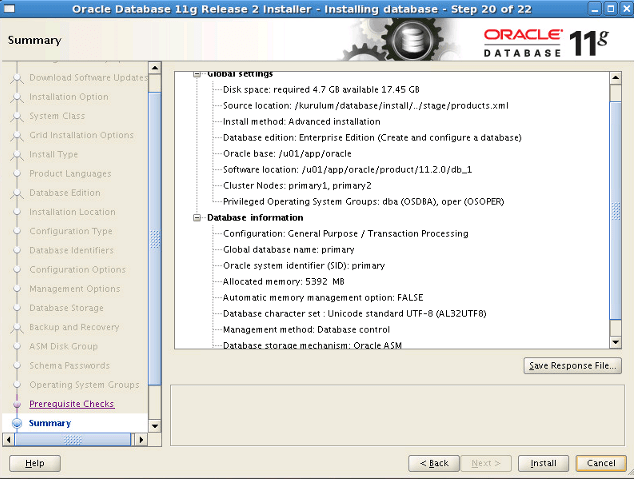
The summary page comes as follows. We start the installation with the “Install” button.
![]()