 Database Tutorials MSSQL, Oracle, PostgreSQL, MySQL, MariaDB, DB2, Sybase, Teradata, Big Data, NOSQL, MongoDB, Couchbase, Cassandra, Windows, Linux
In this article, will install oracle linux 8.2 to prepare the oracle rac installation. After this article you may want to read below articles.
How To Install Oracle Grid Infrastructure 19c on Linux,
How To Install Oracle RAC 19c on Linux
Install Oracle Linux
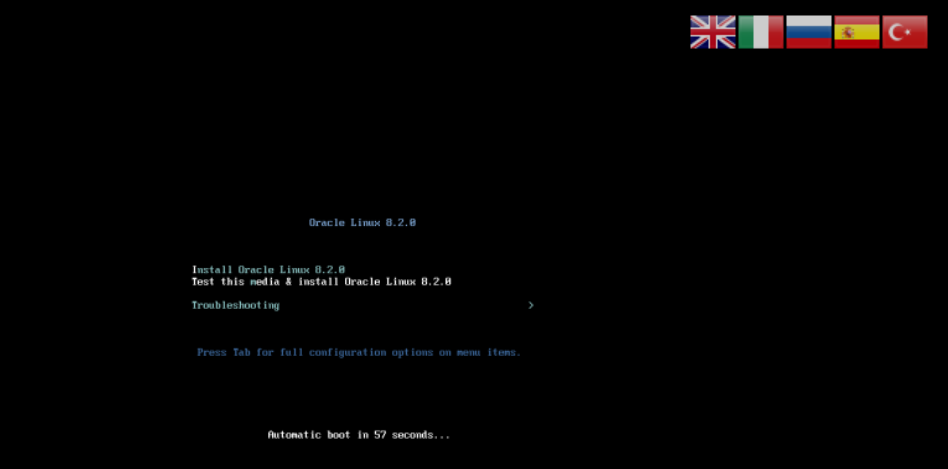
We start our installation with the “Install Oracle Linux 8.2” option by mounting our .ISO file.
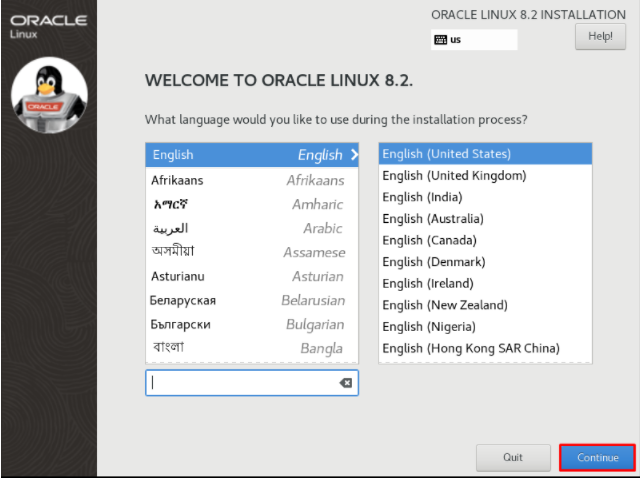
We choose our language for the operating system. Since we will be running the database, I leave it as it is and continue with “Continue”.
I will make my configurations for the operating system. I will first select the keyboard language from the screen that opens below.
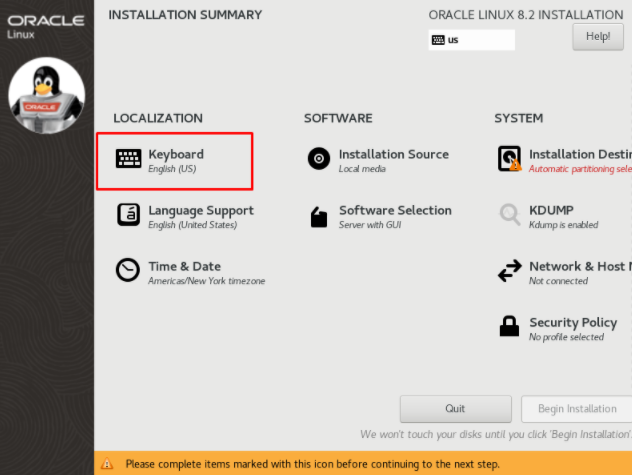
I can see the keyboards I will add with the “+” button.

You can filter by typing the keyboard you will add to the search section. Since I will use a Turkish keyboard, I click “Turkish” and add it with the “Add” button.
With the up button I take the keyboard I added to the top. In this way, the default keyboard will be “Turkish”. If you want, you can remove the keyboards you will not use with the “-” button.
I return to the previous screen with the “Done” button.

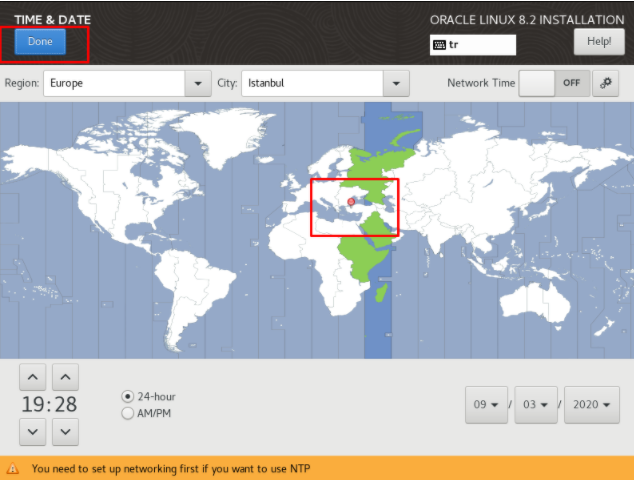
I will make my operating system date & time settings. This is important for cluster systems. I go to the Time & Date section.
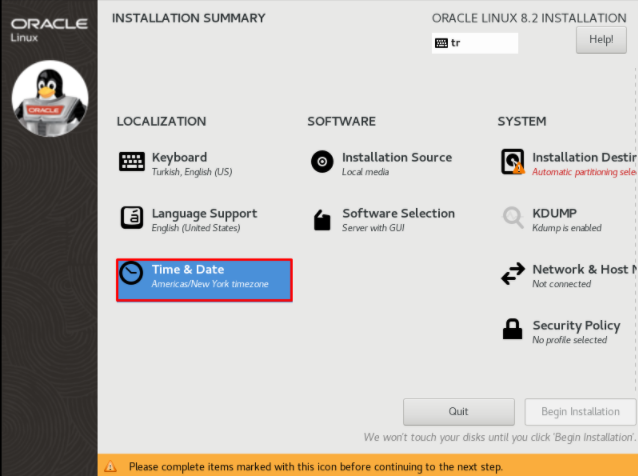
I choose my location from the screen that opens and go back with the Done button.
I enter the Software Selection menu. We will install additional applications here.
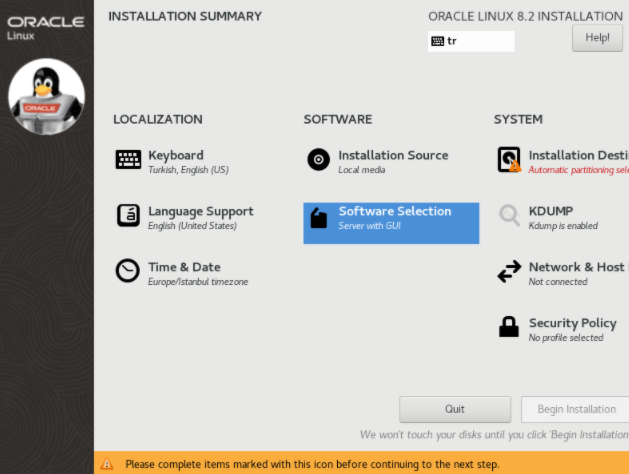
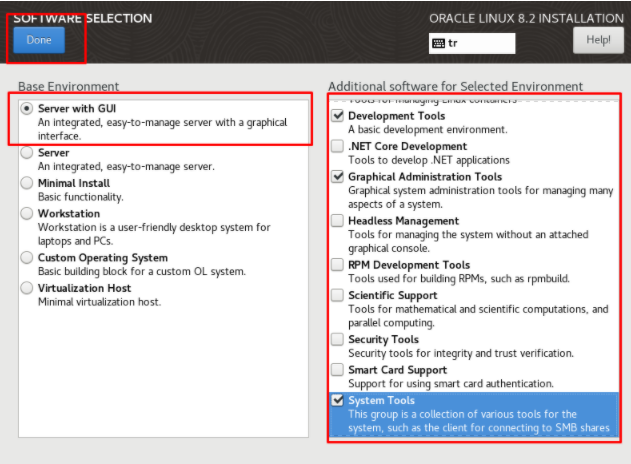
We add the following and click Done and return.
- Server with Gui
- Development Tools
- Graphical Administration Tools
- System Tools
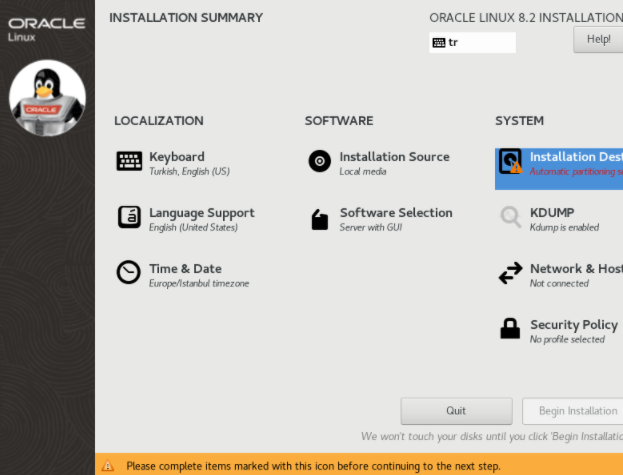
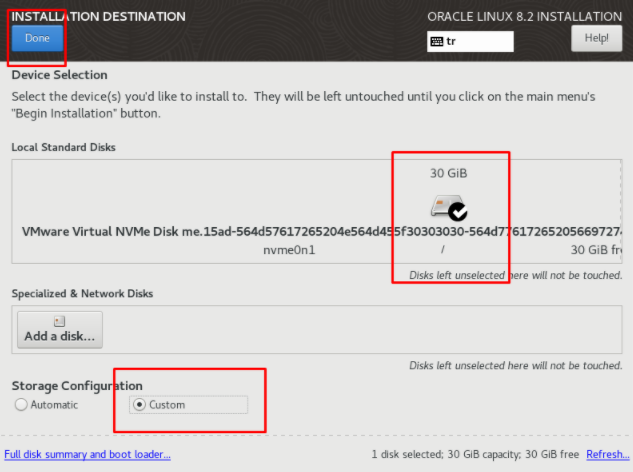
Now we will create the Disks. We enter the Installation Destination menu.
We click Done with the disk and custom selected as below.
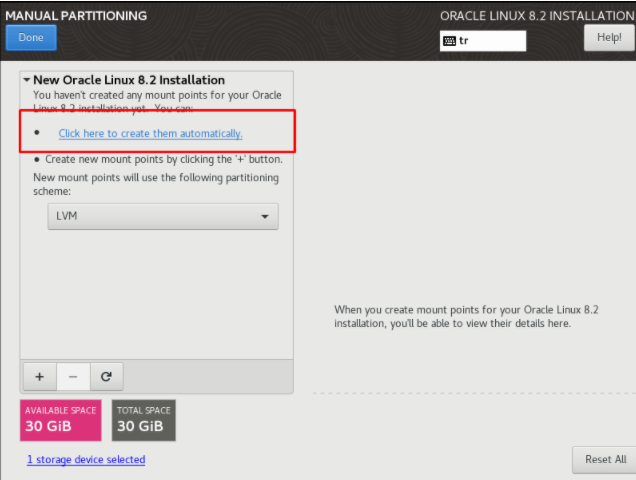
With the “Click here to create them automatically” option, we automatically configure the operating system depending on our source.
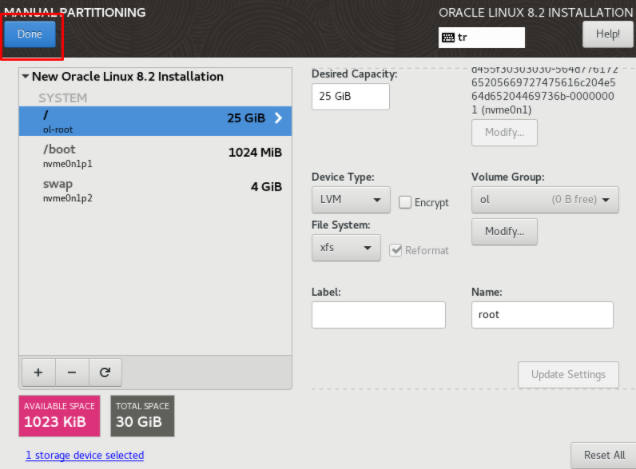
Our disk structure is created automatically. We continue by clicking Done.
We click “Accept Changes” to accept the changes.

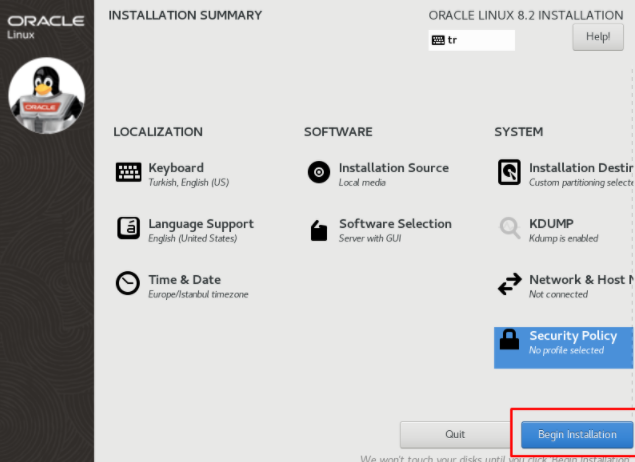
We are now in the final steps. For operating system installation, we click “Begin Installation”.
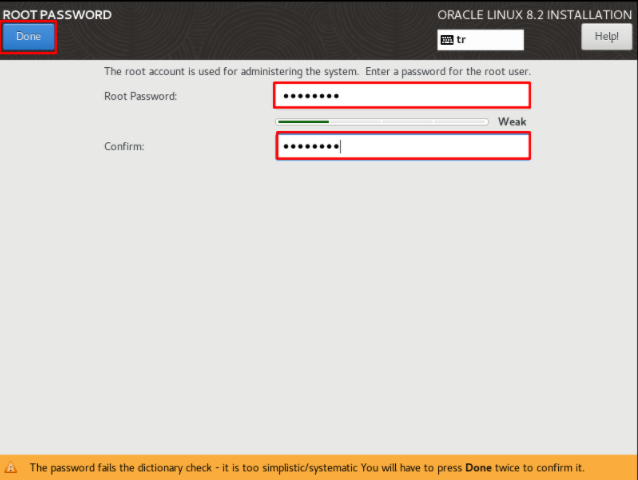
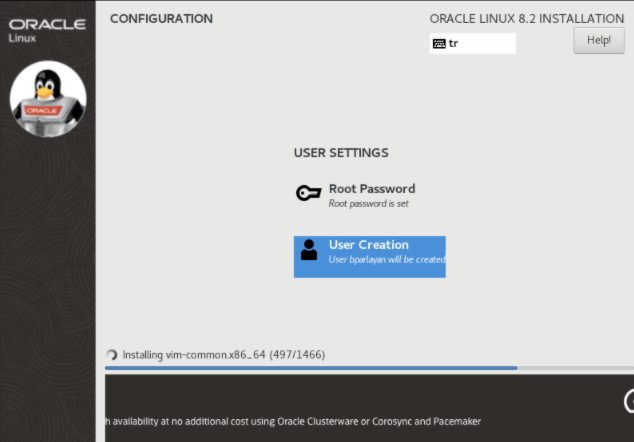
We are defining a password for the root user and for a new user.
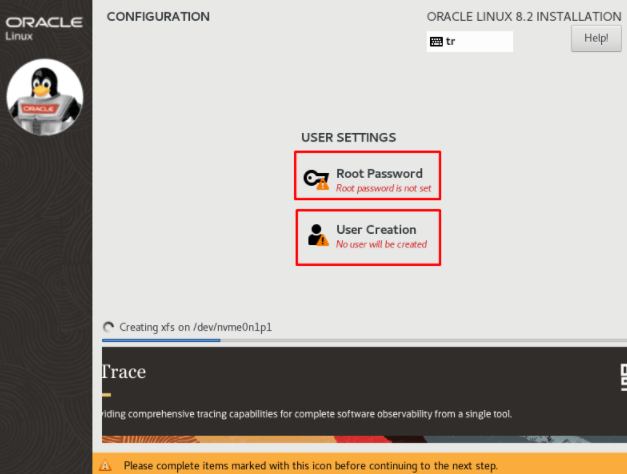
First I make the definitions for root. I go to the previous screen by clicking Done.
I go to the User creation section.
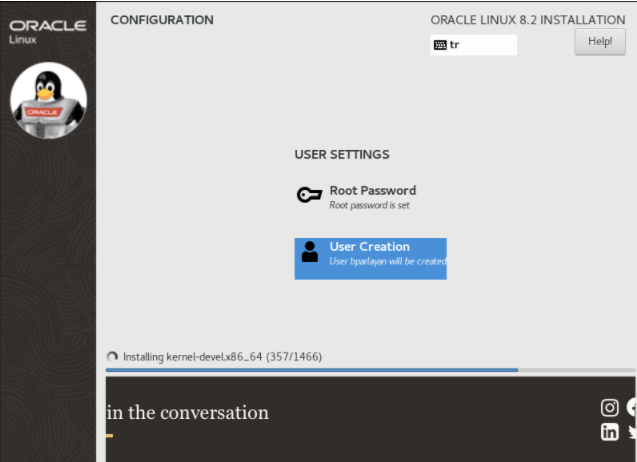
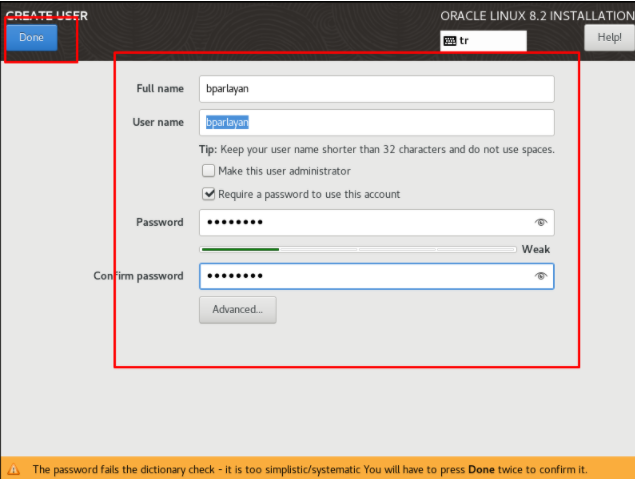
I write the necessary info on the required fields and click Done.
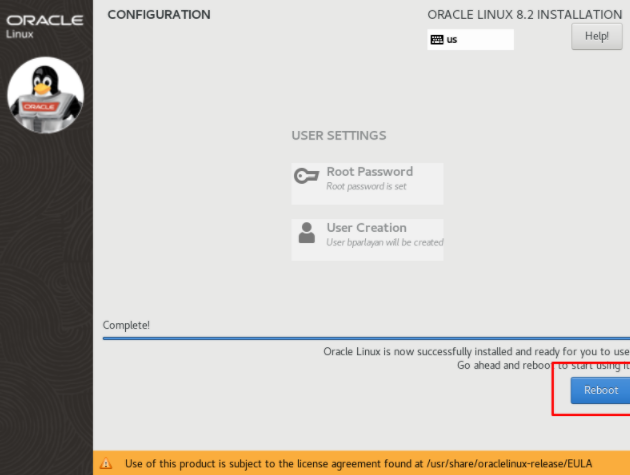
Everything is ready now, I am waiting for the operating system to be installed.
The installation step is complete. We are restarting our server.
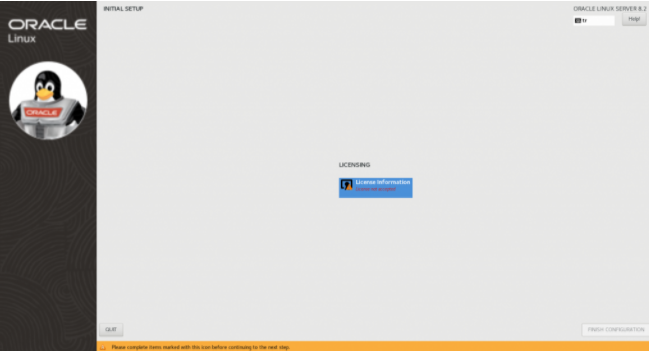
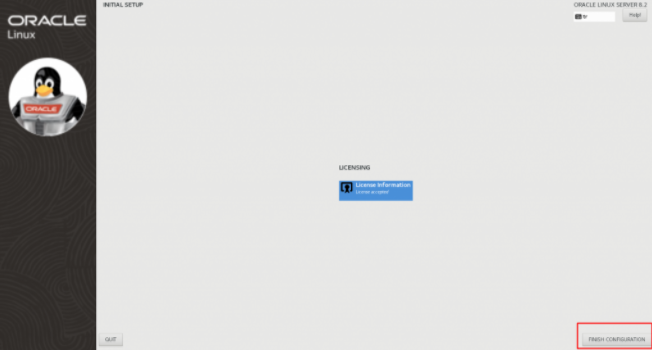
We go to the License Information section.
Sözleşmeyi kabul ederek Done diyoruz.
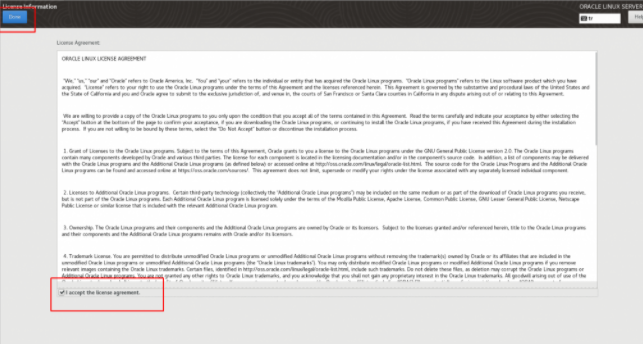
Click Finish Configuration to complete the setup.
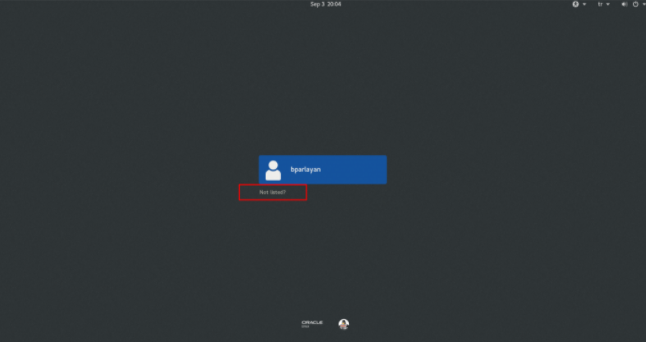
Our screen appeared. We will go to the Not Listed section and log in as root.
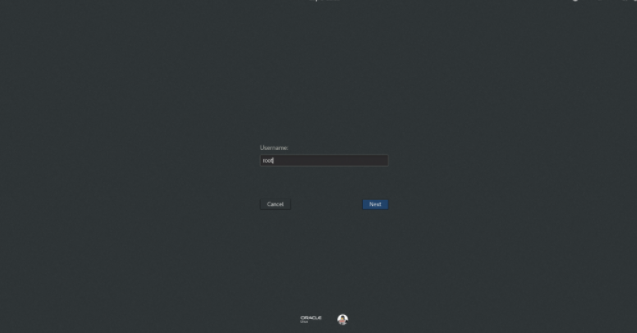
We write our root username.
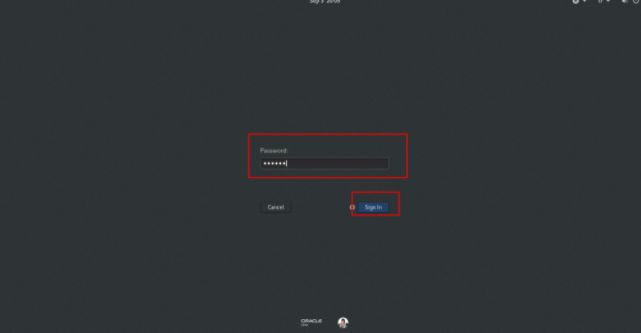
We write our password.
![]()