

Introduction
MySQL, the most popular Open Source SQL database management system developed, distributed, and supported by Oracle Corporation.
In this article we’ll go over the steps to install MySQL Server on your Ubuntu environment.
- Installed MySQ 5.7 packages
- First download APT package repository with command below
|
1 |
wget http://dev.mysql.com/get/mysql-apt-config_0.6.0-1_all.deb |
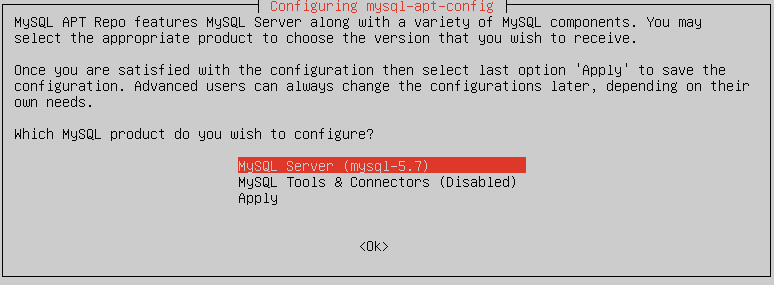
- Next, installed the .deb package previously downloaded with this command
|
1 |
sudo dpkg -i mysql-apt-config_0.6.0-1_all.deb |
Enter

- The next step is to update your package index
|
1 |
sudo apt-get update |
- Now we can installed MySQL Server Community with command below
|
1 |
sudo apt-get install mysql-server |
During the installation you will be asked to provide a password for root userID, type a secure one and make sure you remember it, because you’ll need it later.
II. Secure MySQL after Installation and initialize
|
1 |
sudo mysql_secure_installation |
This program enables you to improve the security of your MySQL installation in the following ways:
– You can set a password for root accounts.
– You can remove root accounts that are accessible from outside the local host.
– You can remove anonymous-user accounts.
– You can remove the test database (which by default can be accessed by all users, even anonymous users), and privileges that permit anyone to access databases with names that start with test_.
The next step is to initialize your MySQL with command below :
|
1 |
mysqld --initialize (For version 5.7.6 and later) or mysql_install_db (for version below 5.7.6) |
To test your MySQL service you can run below commands
|
1 |
sudo service mysql status |
you can also replace status with stop, start or restart to stop start or restart your service regardless of your situation.
to connect to your MySQL instance on CLI (command line Mode) run below command:
|
1 |
mysql -u root -p |
and you will be prompt to enter the root password your previously set (:
![]()
