


In today’s article, I will talk about the installation and promotion of NGINX HTTP Server on Pardus Server.
Nginx was first designed by a Russian IT specialist for the mail.ru infrastructure, and over time, it is made available to general use and starts to work on many platforms.
You can use features such as load balancing, proxy server and virtual server in this product, which is observed to be better in terms of structure compared to its counterparts in high traffic.
Now we can start Nginx installation.
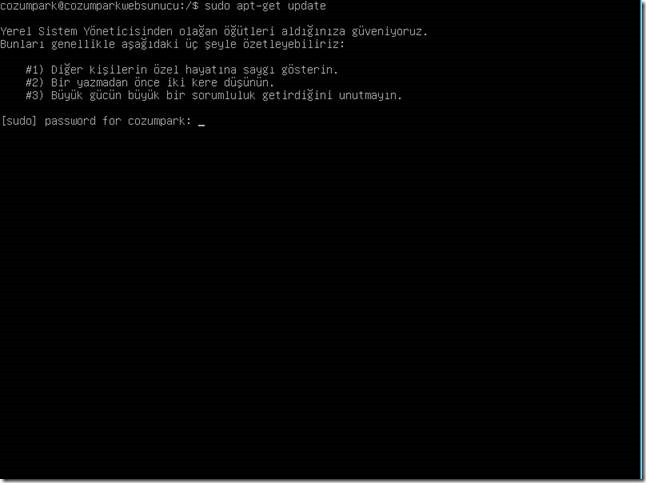

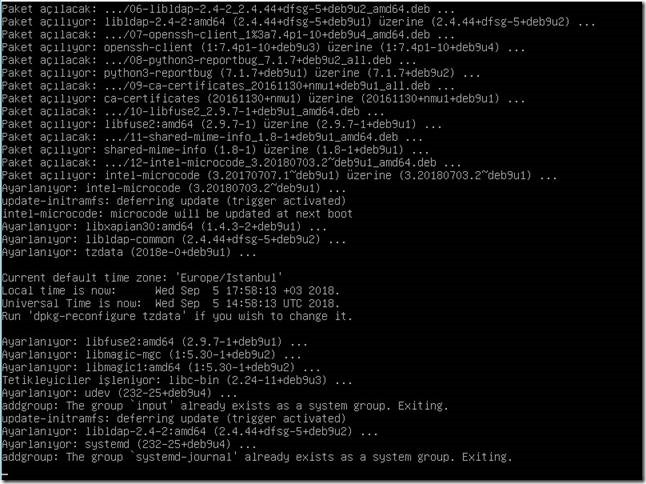
First of all, we will update our operating system. We update our repository by running the “sudo apt-get update” and “sudo apt-get upgrade” commands separately.

As we explained in the installation, we will have an update via ” depo.pardus.org.tr “.

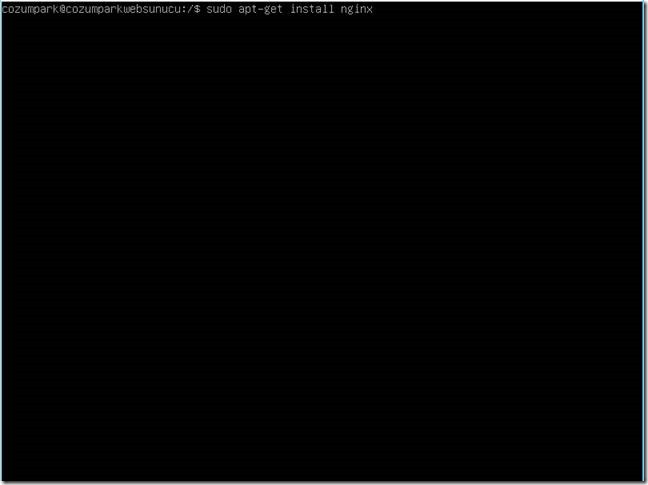
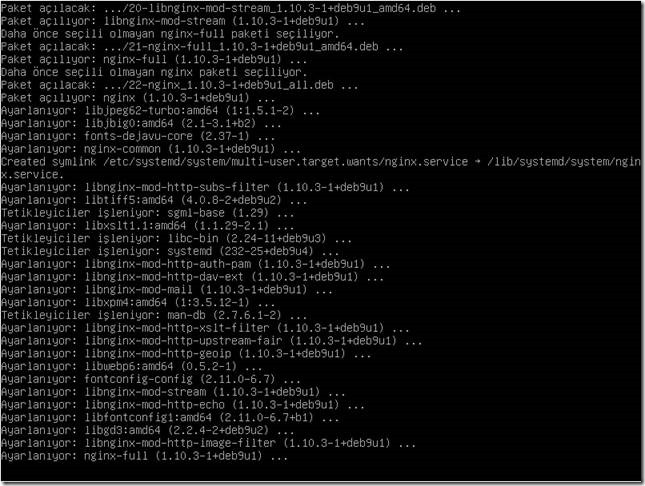
When the update of our operating system is finished, we give the command ” sudo apt-get install nginx ” and start the installation.
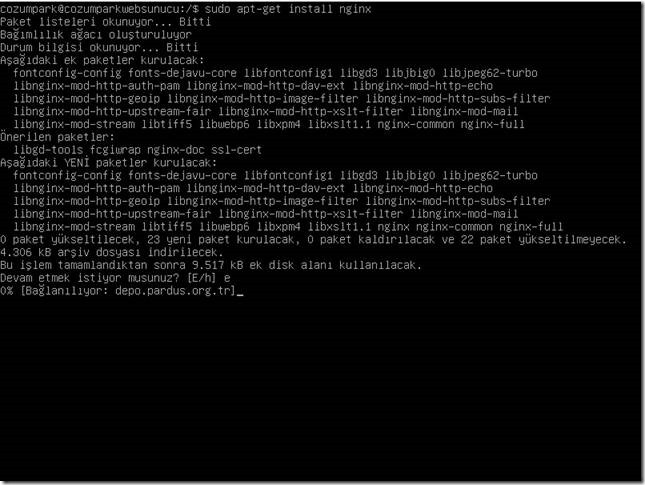

It will ask for confirmation of the transaction, press the letter “E” and it will continue automatically.

Now let’s activate our nginx http service. We execute the command “sudo systemctl enable nginx”.
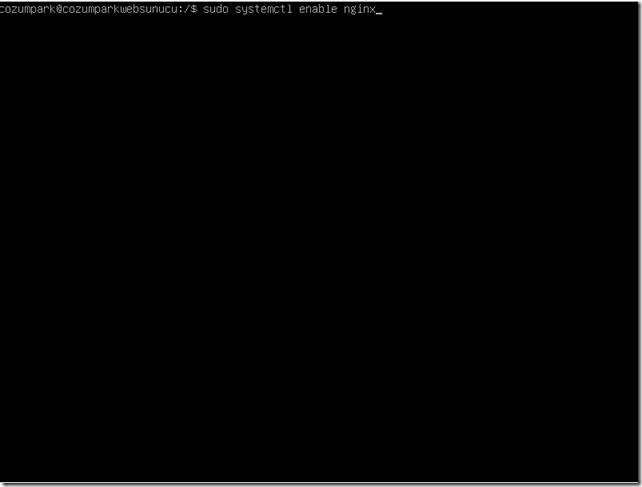

The service has been activated successfully.


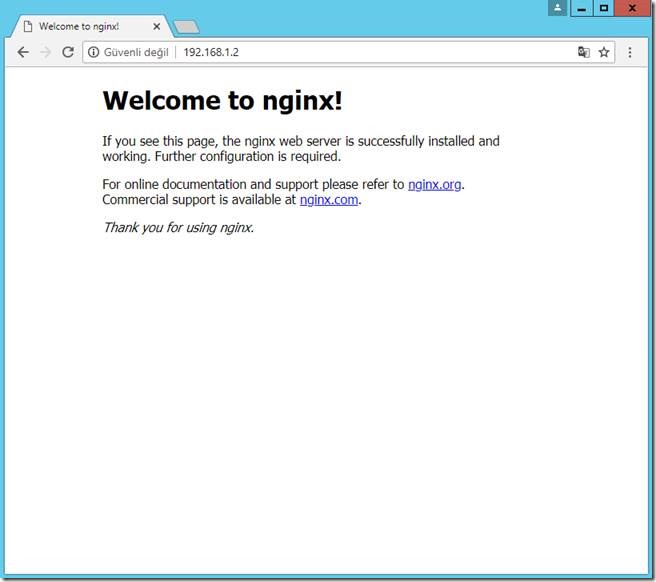
I check that the Pardus server is working by typing the IP Address into the browser.
As you can see, we installed and ran it without any hassle.

Key commands to know.
sudo systemctl enable nginx (enables http service and starts it automatically at startup)
sudo systemctl disable nginx (disables http service and turns it off completely)
sudo systemctl restart nginx (restarts http service)
sudo systemctl stop nginx (stops http service)
sudo systemctl start nginx (starts http service)
sudo systemctl status nginx (shows the status of the http service)
In a standard installation on nginx, the directory for your web pages is located under ” /var/www/html “. The web files that you put here will start to be published automatically.
![]()
