 Database Tutorials MSSQL, Oracle, PostgreSQL, MySQL, MariaDB, DB2, Sybase, Teradata, Big Data, NOSQL, MongoDB, Couchbase, Cassandra, Windows, Linux
We will install Oracle grid infrastructure 11g on linux in this article.
We are starting the Grid Infrastructure installation. We do this only on one node. (with grid user)
Step1:Before starting the installation, we run the following command with the user “root” to install on the graphic screen.
1 | # xhost + |
Step2: We copy the installation file to the “installation” folder with the grid user.
Step3: We extract the .zip file and starting installation
1 2 3 4 5 6 | # su - grid $ cd /installation $ unzip p13390677_112040_Linux-x86-64_6of7.zip $ cd /installation/grid $ ./runInstaller |
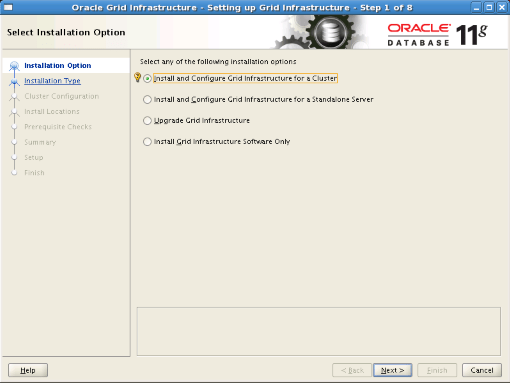
Step4: We select the “Install and Configure Grid Infrastructure for a Cluster” option and proceed.
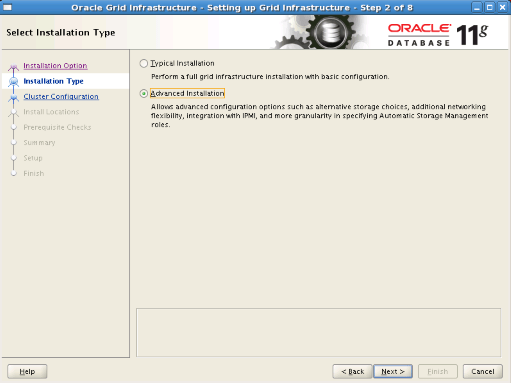
Step5: We select the “Advanced Installation” option and proceed.
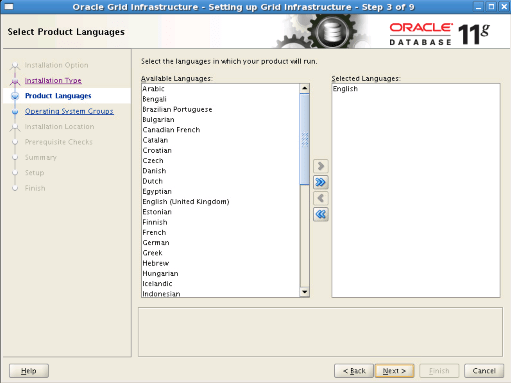
Step6: We choose “English” as the installation language and proceed.
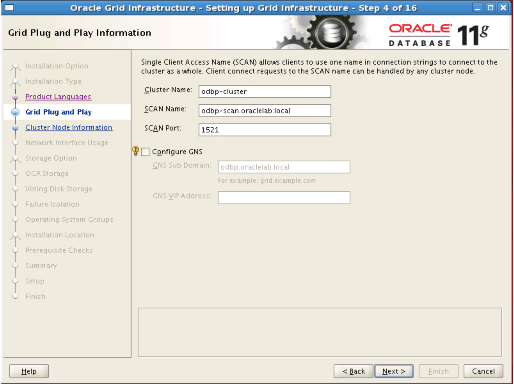
Step7: We write “odbp-cluster” as cluster name and “odbp-scan.oraclelab.local” as SCAN name. Here, SCAN name is the name we saved on the DNS server. SCAN port remains at 1521. We proceed without selecting the Configure DNS option.
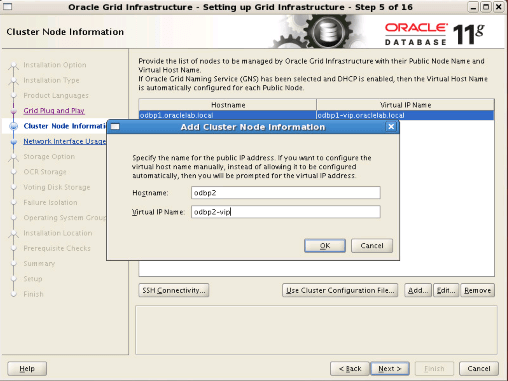
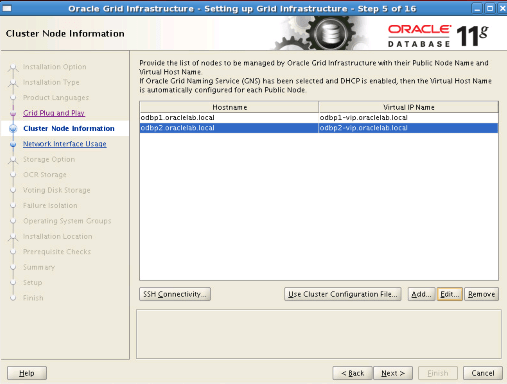
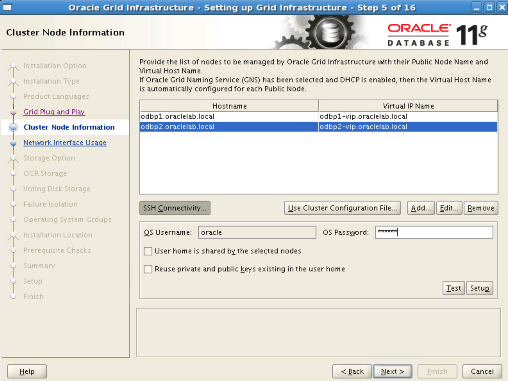
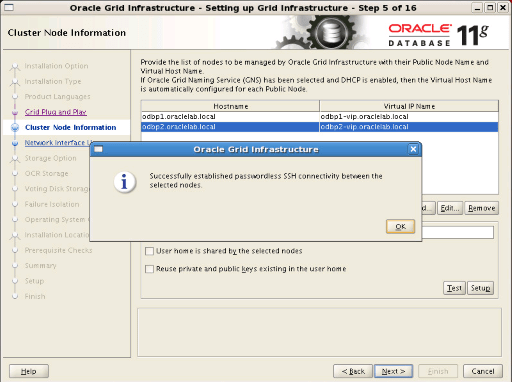
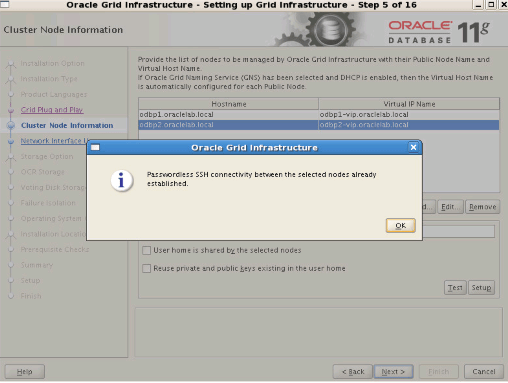
Step8: We click the “Add” button. In the window that appears, we write “odbp2.oraclelab.local” as the hostname and “odbp2-vip.oraclelab.local” as the virtual IP name. After clicking the SSH Connectivity button, we enter the oracle password and click the setup button. We check the process by clicking the test button and proceed.
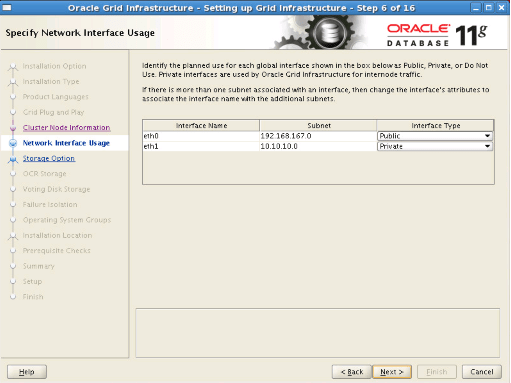
Step9: We proceed without making a change. (Check the accuracy of Subnets.)
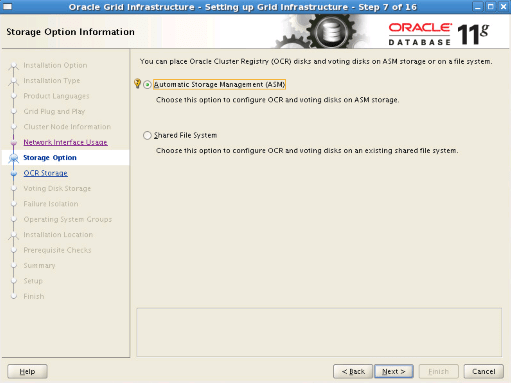
Step10: We select the Automatic Storage Management (ASM) option and proceed.
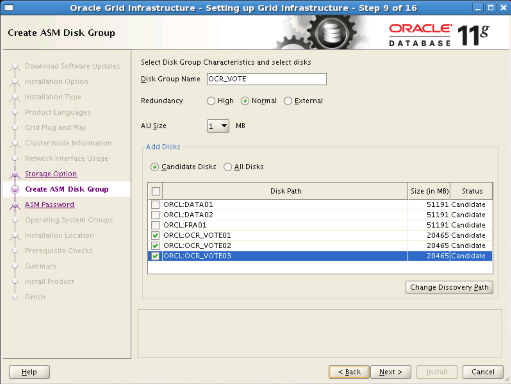
Step11: We write “OCR_VOTE” as the disk group name. We choose “Normal” as Redundancy. We select OCR_VOTE1, OCR_VOTE1, OCR_VOTE1 disks and proceed.
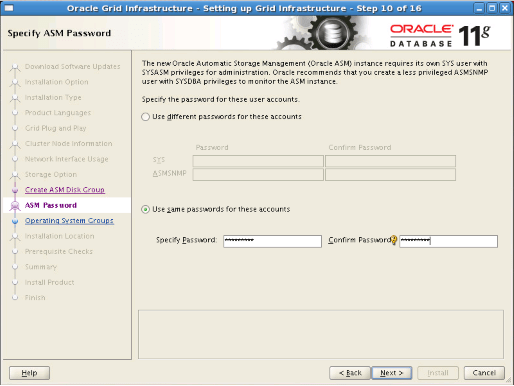
Step12: We select “Use same passwords for these accounts” option and write a password and proceed.
Step13: We select “Do not use Intelligent Platform Management Interface (IPMI)” option and proceed.

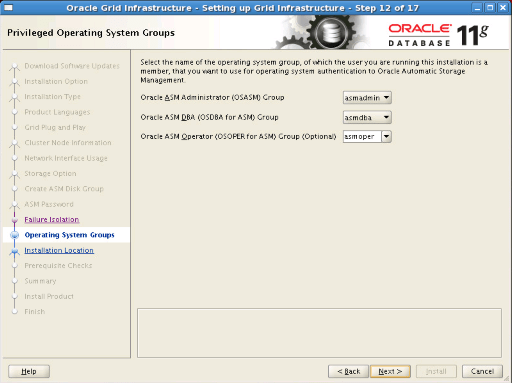
Step14: We select the groups as follows and proceed. If we choose all groups the same, we will receive a warning. We can continue without considering this warning.
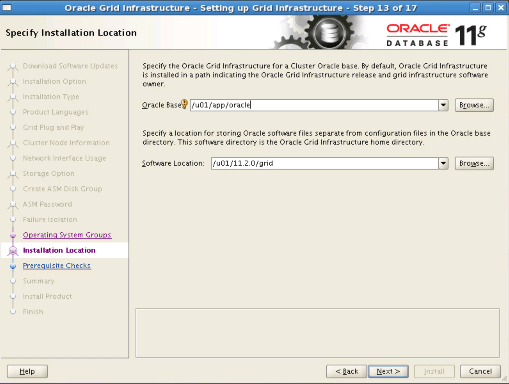
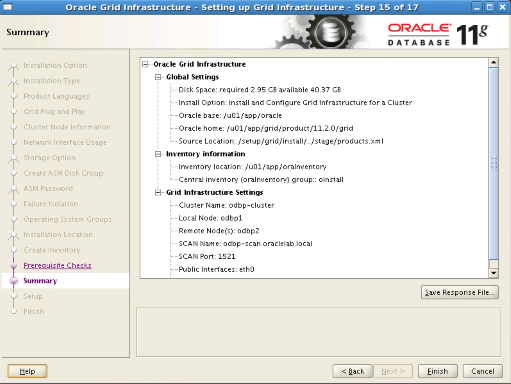
Step15: You will see the folders we have specified in the bash profile file. We check and proceed.
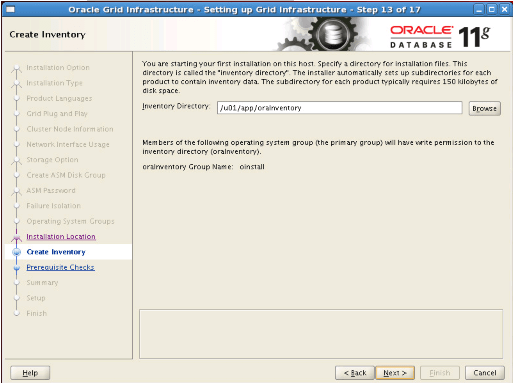
Step16: We proceed without making a change.
Step17: We start the installation by clicking the Finish button.
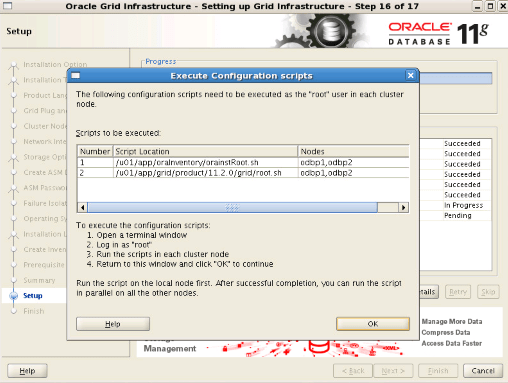
Step18: On the next screen, you will see the scripts we need to run at the end of the installation. We run these two scripts with the root user on the server we installed, and then on the other server, in the following order. We never run it on the second server before the process on the first server is finished. We should never click the OK button without running these scripts on both nodes. After running the scripts on both servers, we proceed by clicking the OK button.
1 2 | # /u01/app/oraInventory/orainstRoot.sh # /u01/app/grid/product/11.2.0/grid/root.sh |
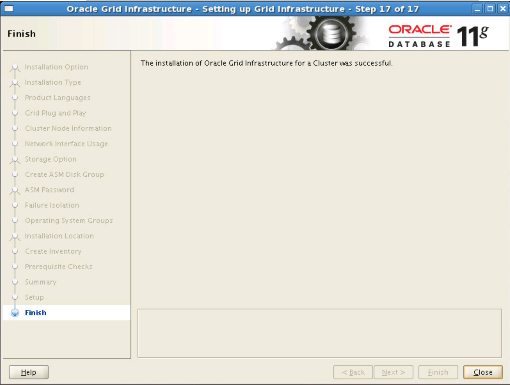
Step19: When the installation is completed successfully, we click “Close”.
Step20: We create the FRA field. We do this only on one node. (with oracle user)
a. We run the command $ grid_env.
b. We are running the command $ asmca.
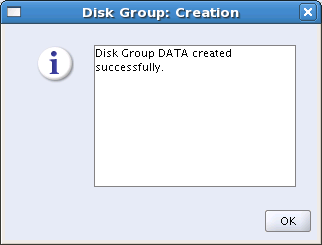
We click the “Create” button in the window that appears. We will create the “DATA” disk group. We select “External (None)” as Redundancy. We mark the disk DATA01 and DATA02 and click the OK button.
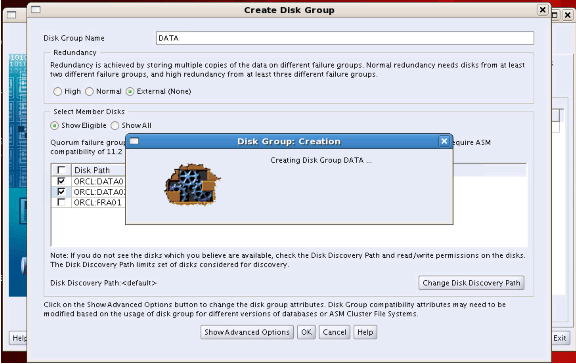
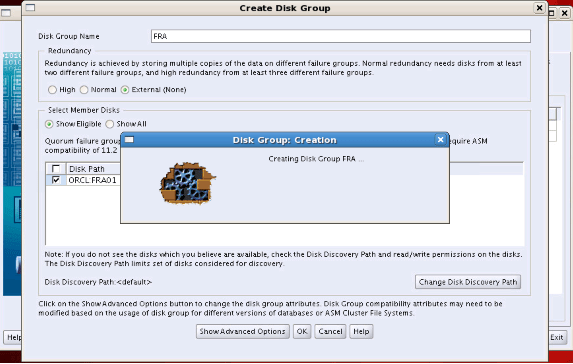
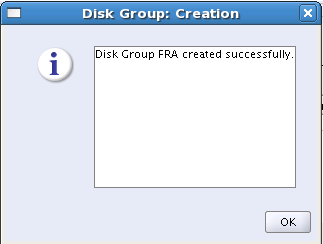
Step21: We write “FRA” as Disk Group Name. We choose “External (None)” as Redundancy. We mark the FRA01 disk and click the OK button.
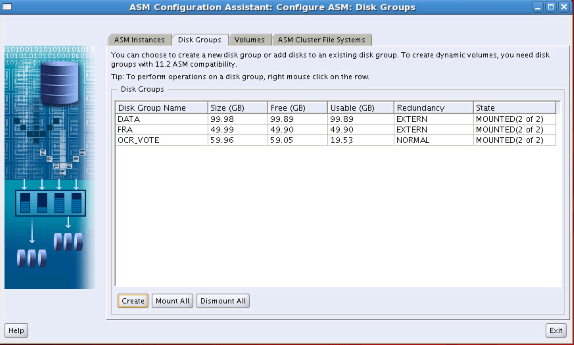
We see that OCR_VOTE, DATA and FRA disk groups are listed and we terminate them by clicking the Exit button.
![]()