 Database Tutorials MSSQL, Oracle, PostgreSQL, MySQL, MariaDB, DB2, Sybase, Teradata, Big Data, NOSQL, MongoDB, Couchbase, Cassandra, Windows, Linux
In this article I will explain the software and database installation of Oracle 11g database. You can download Oracle 11g software from this link. I’ll tell you the installation step by step, giving screenshots below.
After downloading the rar file, we launch the runInstaller command that is in the file named database, from the linux command screen as follows.
1 2 3 4 5 6 7 | [oracle@kuheylan database]$<strong> ./runInstaller</strong> Starting Oracle Universal Installer... Checking Temp space: must be greater than 80 MB. Actual 13706 MB Passed Checking swap space: must be greater than 150 MB. Actual 1791 MB Passed Checking monitor: must be configured to display at least 256 colors Rechecking installer requirements.... Preparing to launch Oracle Universal Installer from /tmp/OraInstall2007-10-07_04-14-47PM. Please wait ... |
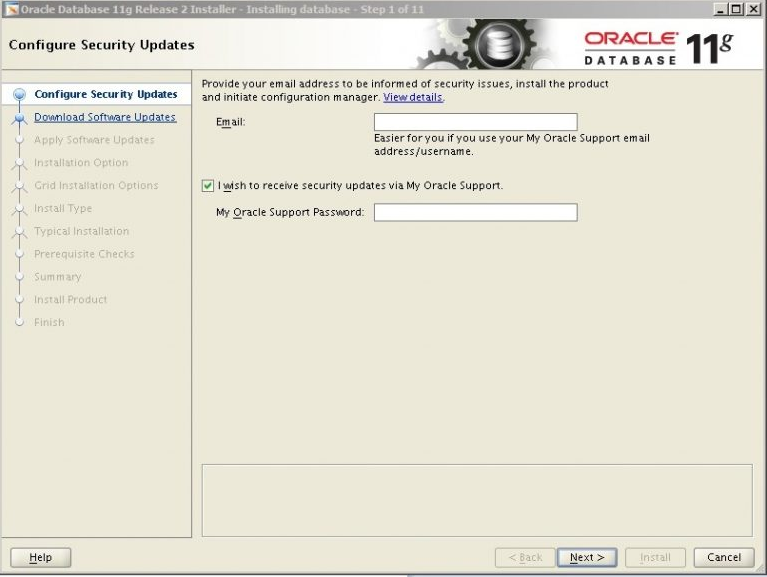
Step 1:This step requires Email and password to send Oracle Security updates. I unset this checkbox in this step and skip this step.
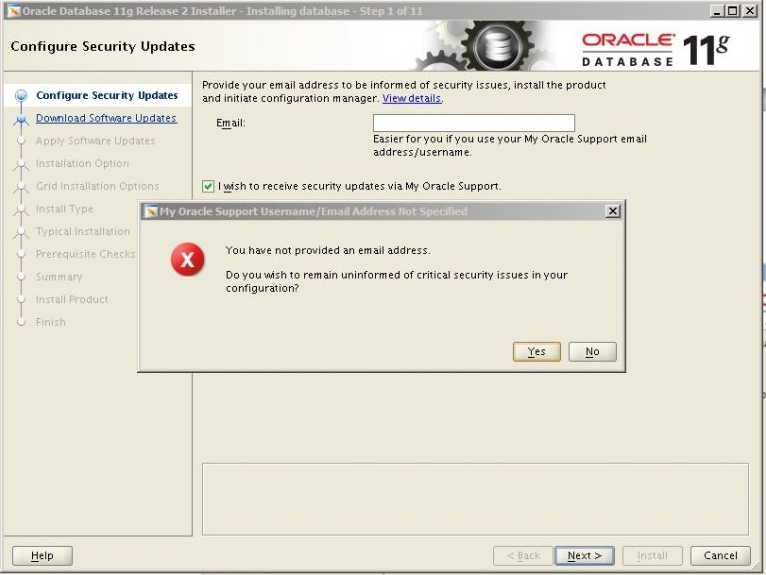
Step 2: It warns us that we do not specify email in the previous step. I’m moving on by clicking Yes.
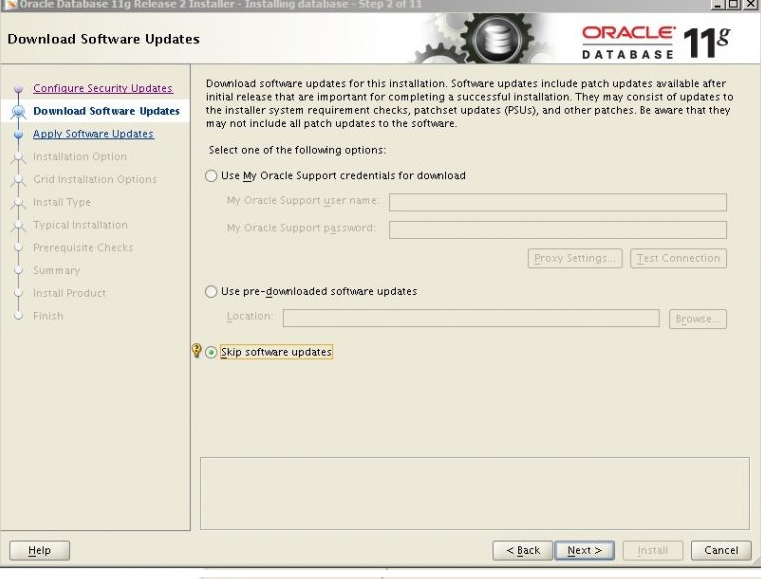
Step 3: In this step, it asks if we want the necessary updates for Oracle Software. Choose “Skip software updates” and click Next.
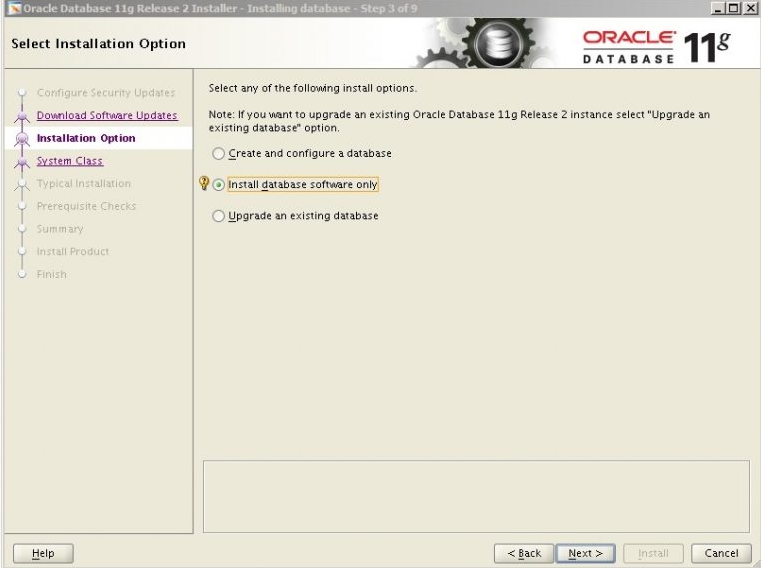
Step 4: In this step, I am going to install Oracle Database Software by selecting “Install database software only”.
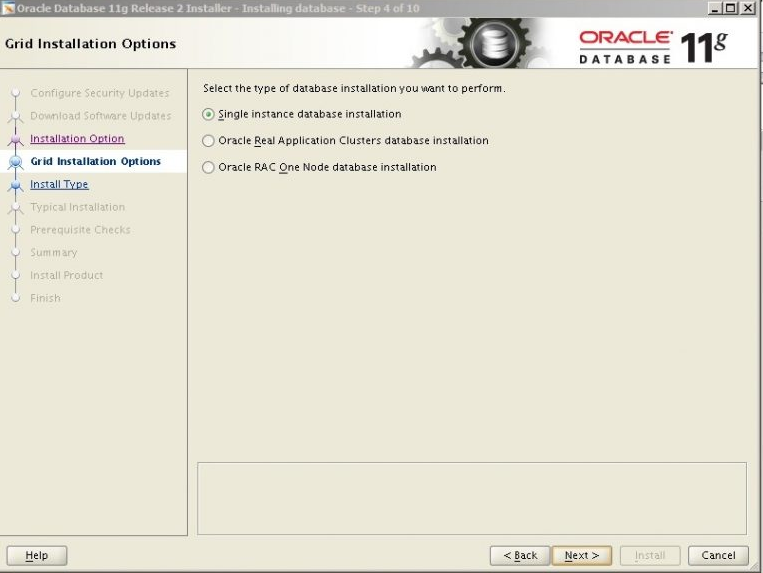
Step 5: In this step, I select the structure of the database to be installed.(Single instance or Real Application Cluster)
I will install single instance database. For this, I’m choosing the first option and moving forward.
Step 6: In this step, I choose Oracle Software Language in English.

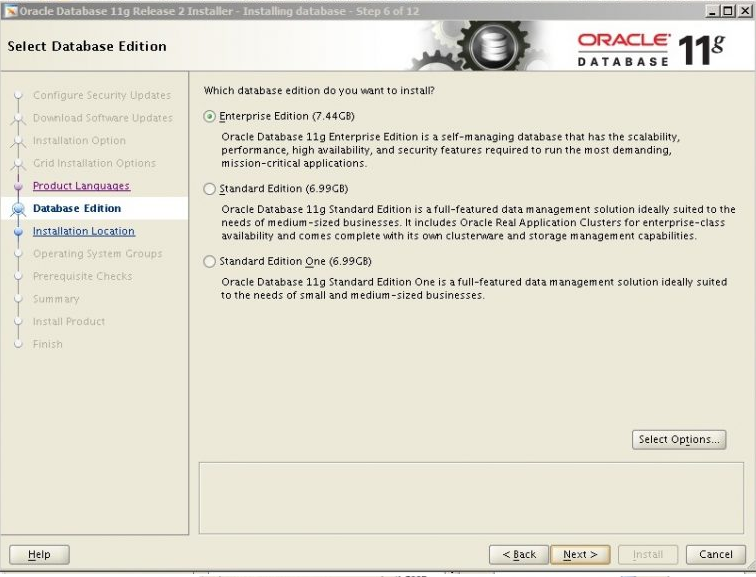
Step 7: I choose the version of the database in this step. Since the full version is Enterprise Edition, I continue by checking this version.
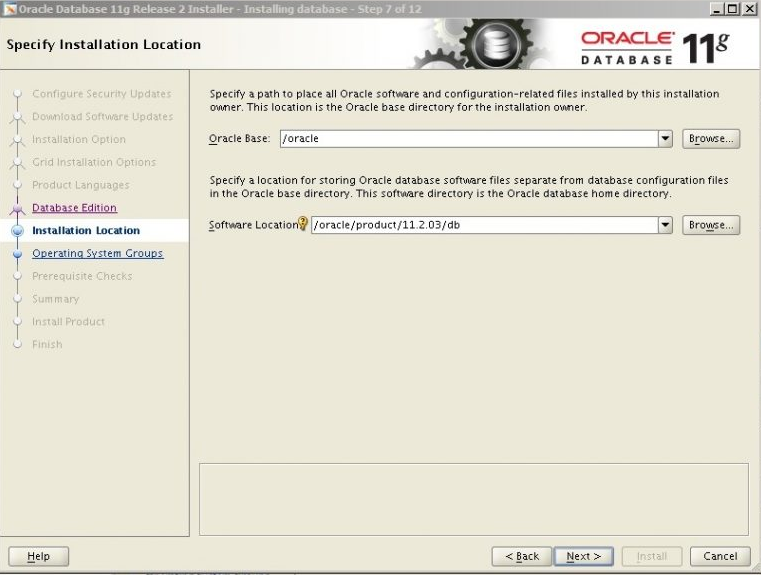
Step 8: This step is an important step. I set the Oracle base parameter to “/Oracle”. In the” Software Location ” section, I specify the folder that we will install the software. This is our oracle home.
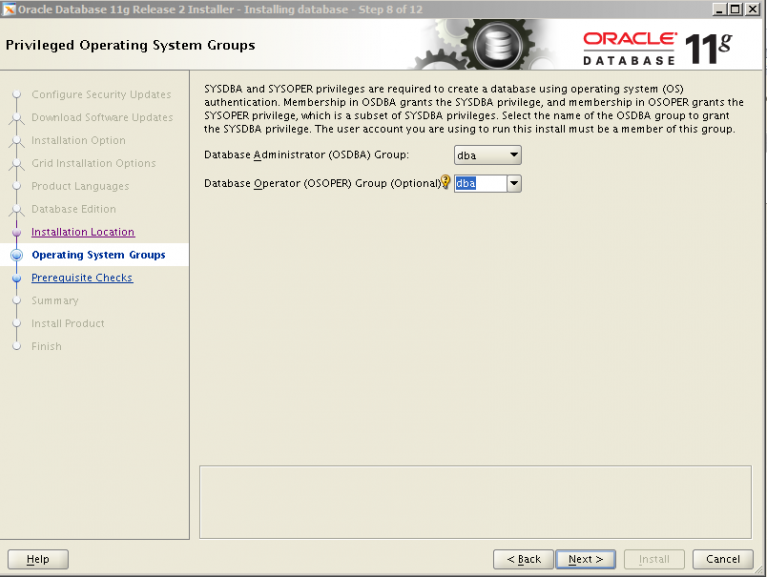
Step 9: In this step, I select the operating system’s Database operator group as dba.
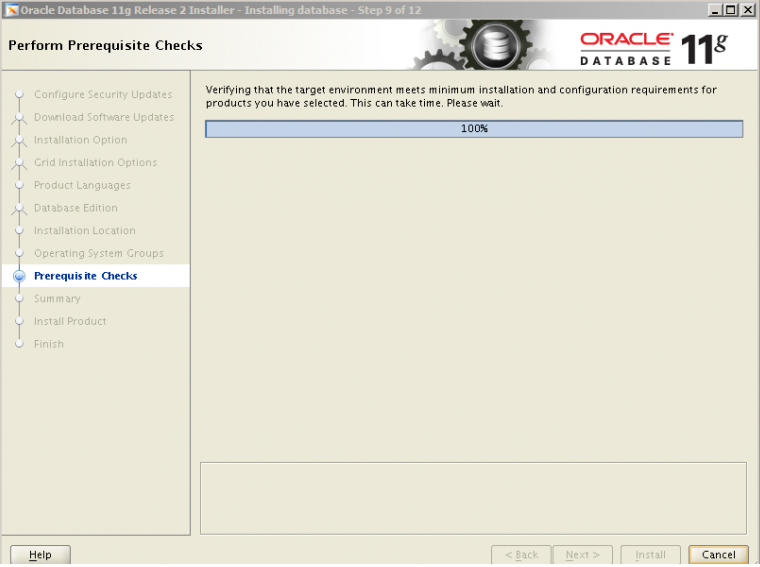
Step 10: At this step, Oracle checks the configurations required for installation. If there is no problem, click Next.
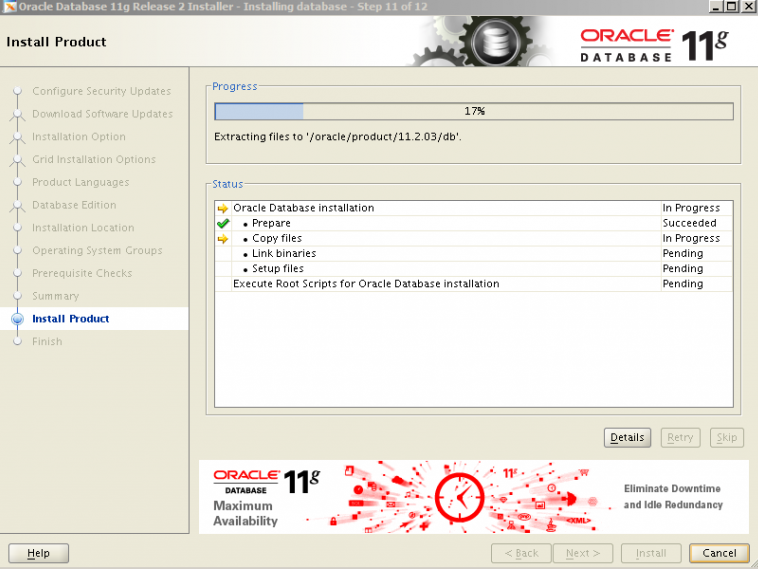
Step 11: After we have determined all the variables and configurations related to Oracle Software, we start the installation.
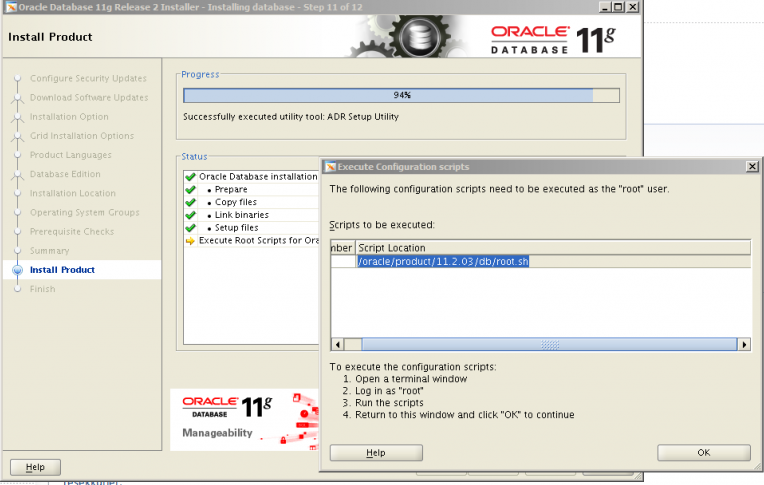
Step 12: In this step, we need to run the oracle’s configuration scripts with the root user to complete the Oracle software installation. Copy the root.sh script and run it with the Root user from the linux operating system.
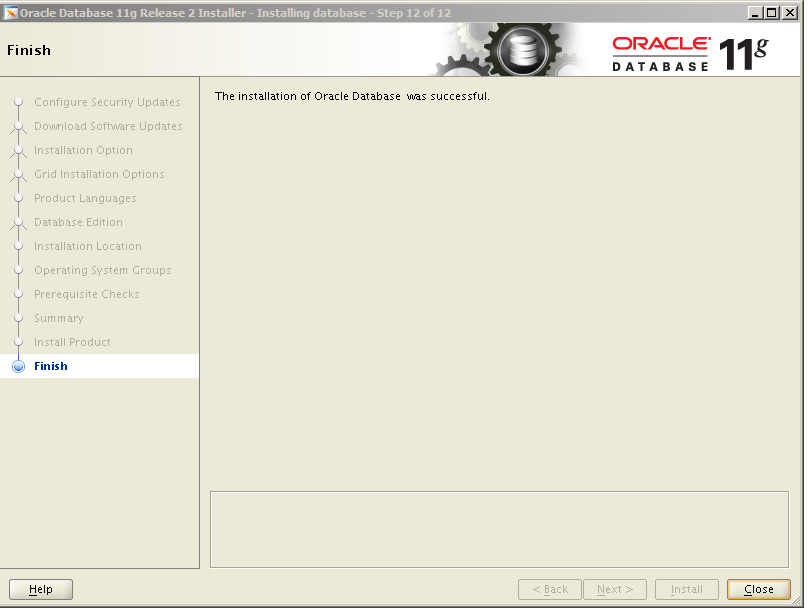
Step 13: Since all configurations and parameters are set correctly, Oracle software installation has been successfully completed as follows.
Step 14: After the Oracle software installation is completed, we will now create the database . We create the database instance with the dbca (database configuration assistant) tool that comes with Oracle software. For this, we run dbca from the linux command screen as follows.
1 | [oracle@kuheylan database]$<strong>dbca</strong> |
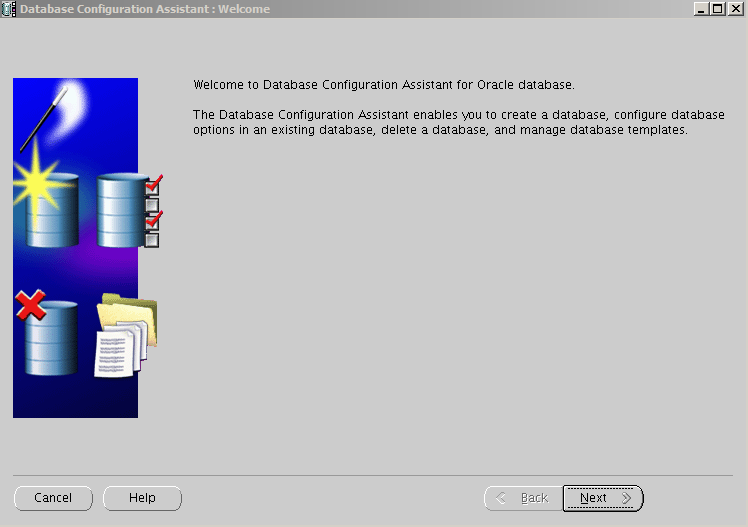
On the next screen, click Next to proceed.
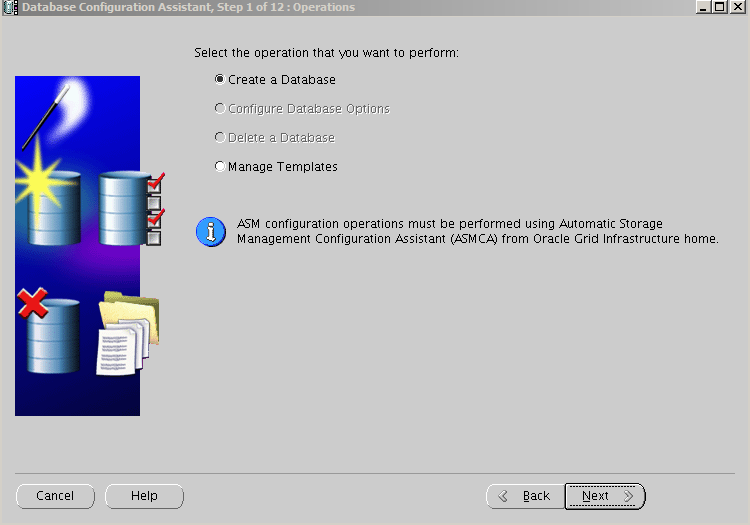
Step 15: To create a new database in this step, select Create a Database and click Next.
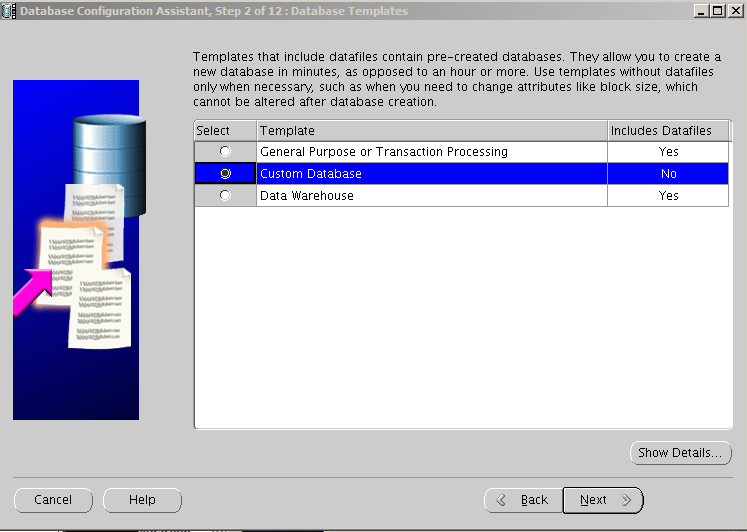
Step 16: In this step, we select Custom Database and proceed.
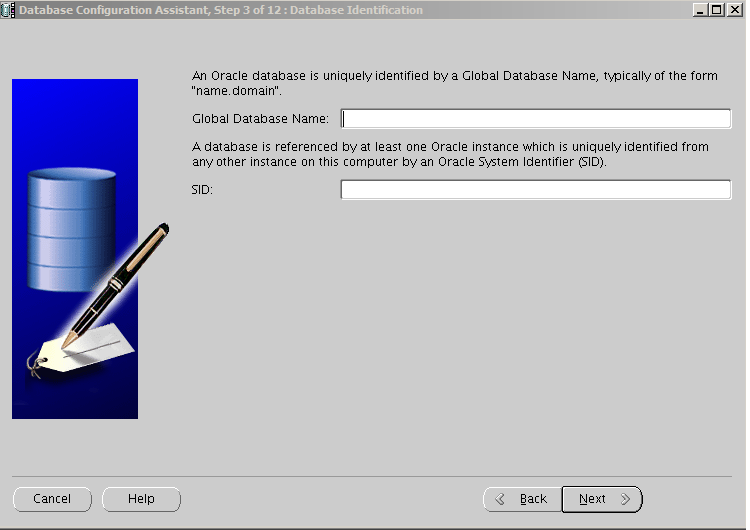
Step 17: In this step, we give a name to the database.
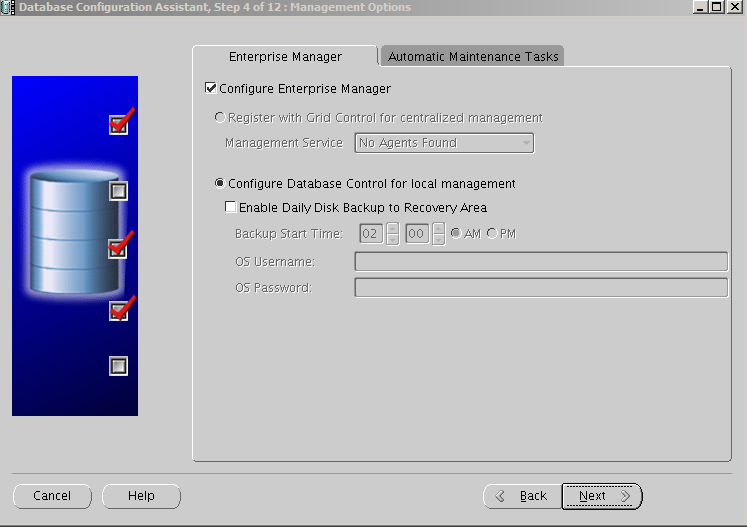
Step 18: In this step, we configure Enterprise Manager(the application that can manage the database). Optionally, we may not choose Enterprise Manager during initial setup.
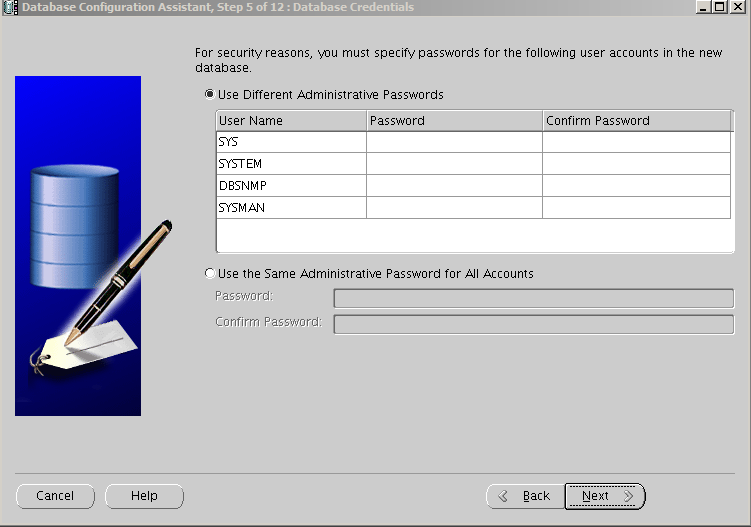
Step 19: In this step, we set the passwords of authorized users of the database for the security of the database. I’m writing the password by selecting the second option. Thus, all users will have the same password.
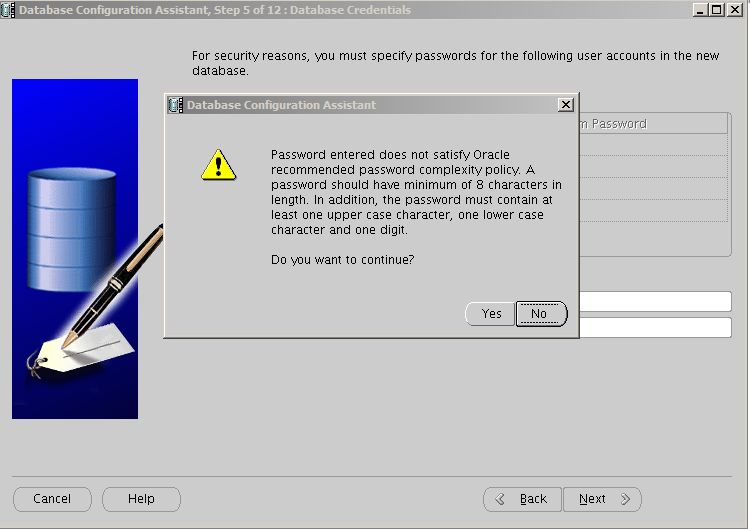
Step 20: In this step, there is a warning that the password we wrote above does not comply with oracle security policies. We are proceeding by clicking Yes.
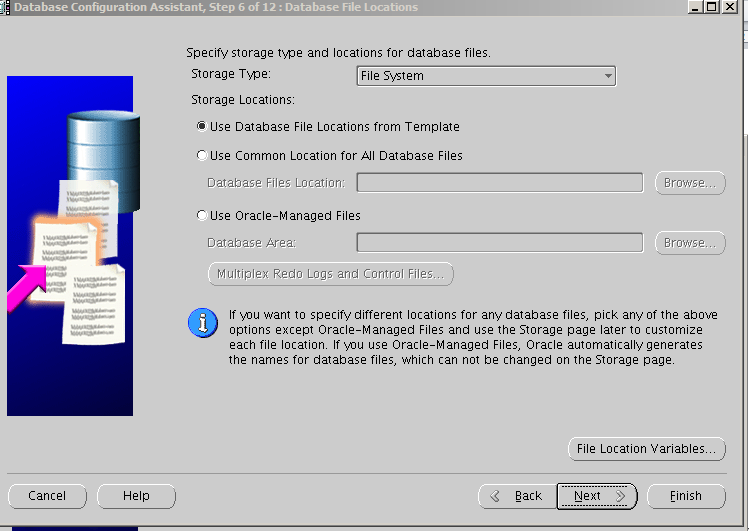
Step 21: In this step, we select the storage type where the database data will be stored. You can select File System or ASM (Automatic Storage Managemen) from Storage type. I select the following options and click Next to continue.
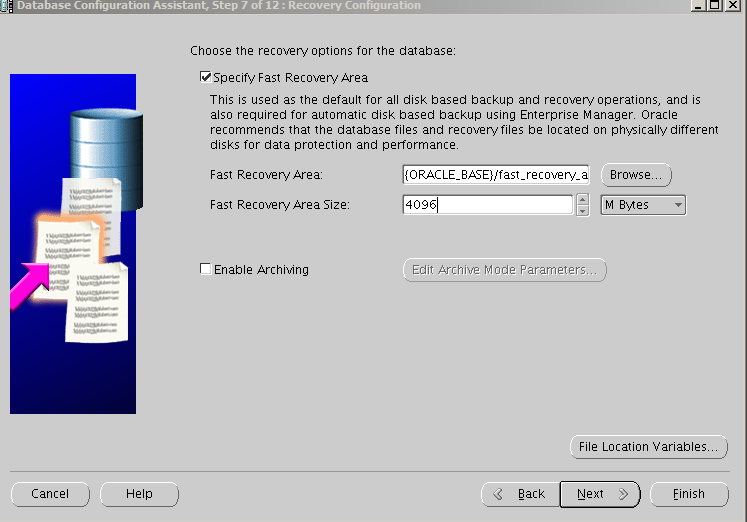
Step 22: In this step, we determine the Fast Recovery Area option required for Backup and recovery.
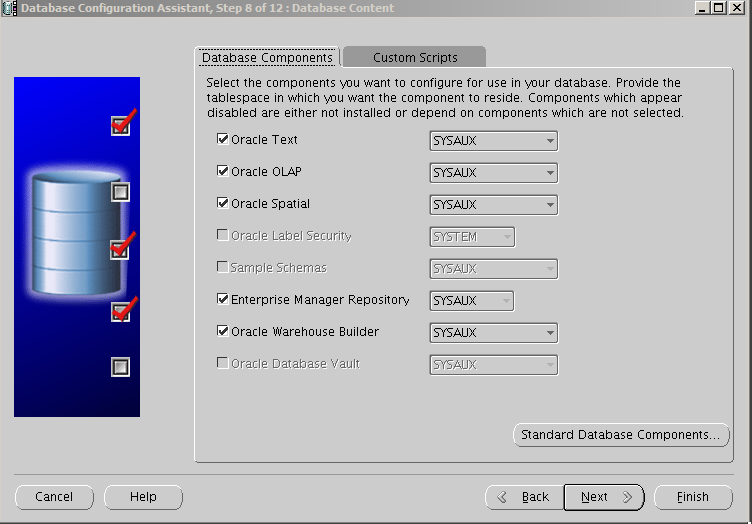
Step 23: In this step, we determine the extra components that can be used for the database.
Step 24: In this step, we determine the amount of Memory that the Oracle database will use. The memory value for the database of Enterprise applications is generally 40% of the server memory. This value can be changed according to need. You should read “Oracle Memory Components(SGA and PGA)”

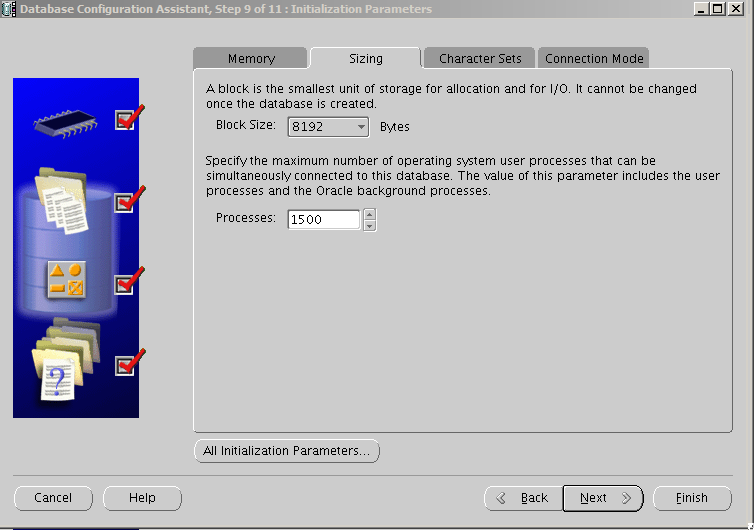
Step 25: In this step, we determine the Block size that Database data will use on the operating system and the number of processes that will perform Oracle tasks on the operating system as follows.
Step 26: Set the database character set in this step as follows and proceed.

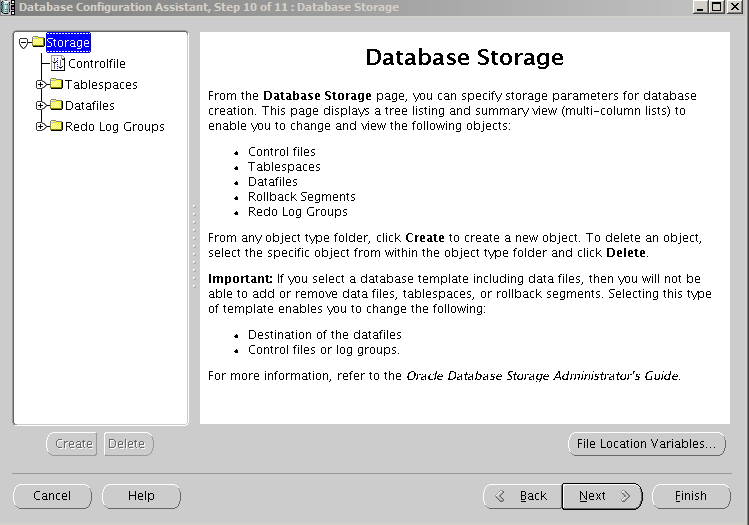
Step 27: In this step, we set the Redo log groups, Datafiles, Tablespace and Control files of the database. You can also create the Database without making these configurations.
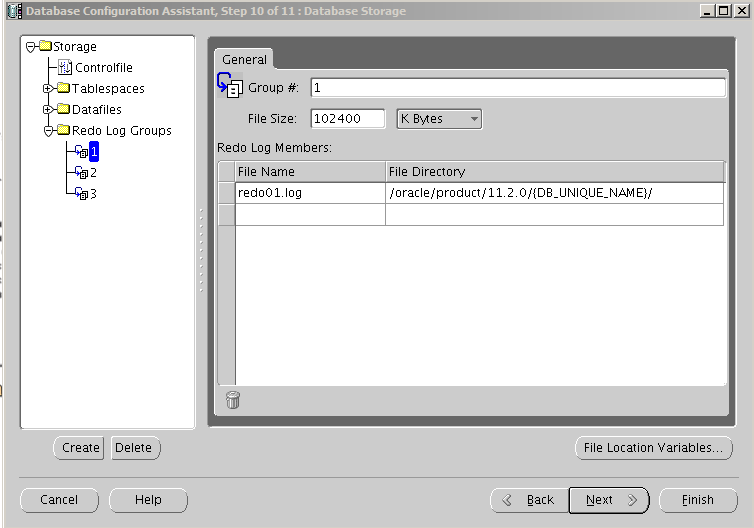
Step 28: We set the size of each Redo log group to 100MB as follows. You can give different sizes according to your need.
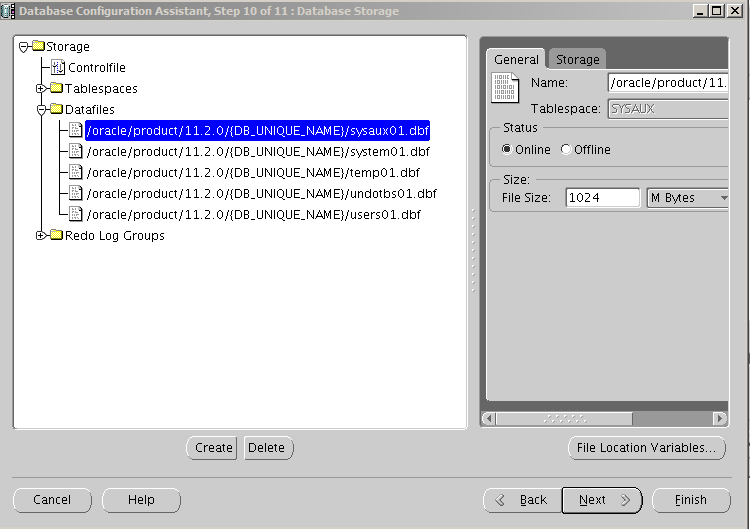
Step 29: In this step we set the size of each Datafile as follows.
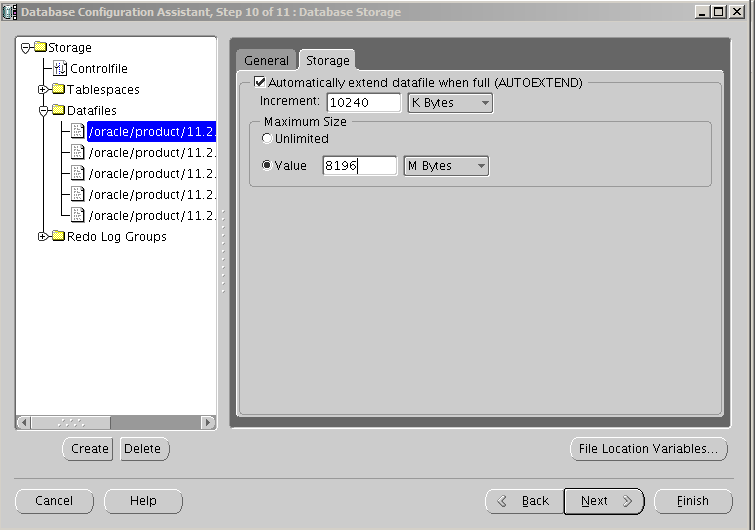
Step 30: set datafile’s Increment size and Maximum size as follows.
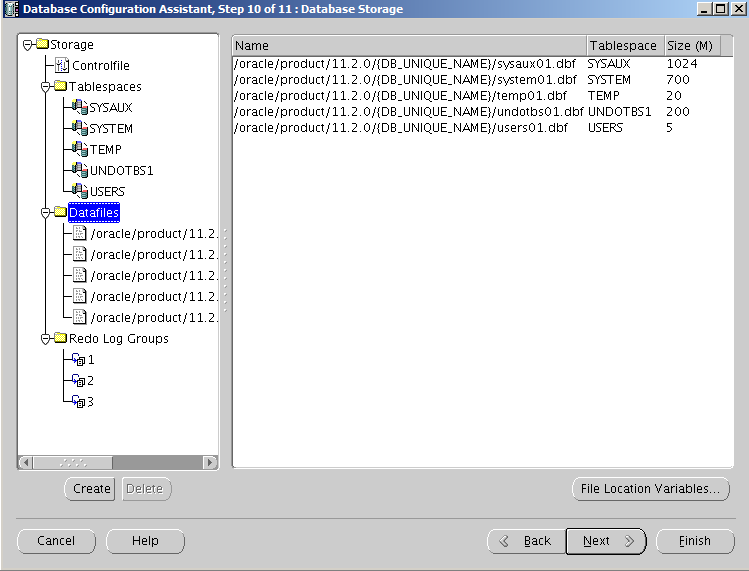
Step 31: You can specify the remaining datafiles and objects according to the needs as above. I’m not going to show them all. I’m going to create the database.
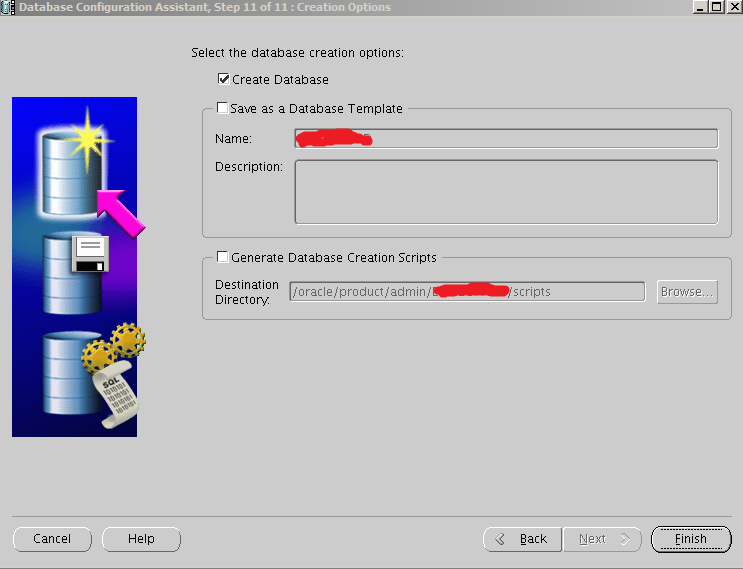
Step 32: After making all the configurations of the database in this step, we proceed by clicking Finish.
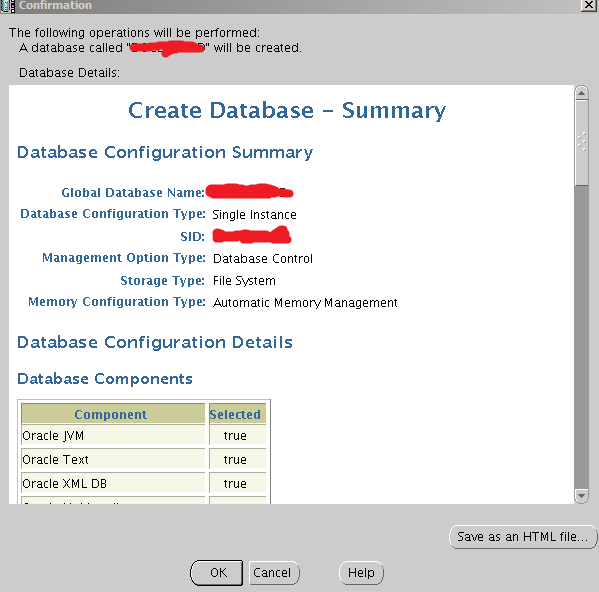
Step 33: This step shows the summary of the configurations of the database to be created. If there is not a problem, click the OK to create the database.
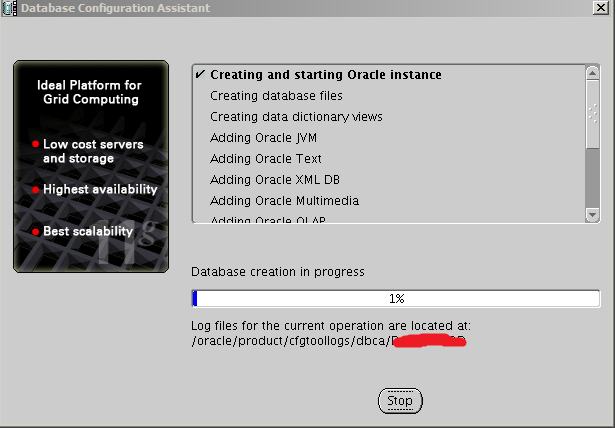
Step 34: Database creation is progressing as follows. This process can continue for 1-2 hours depending on the configuration.
Step 35: Database creation process is completed as shown below.
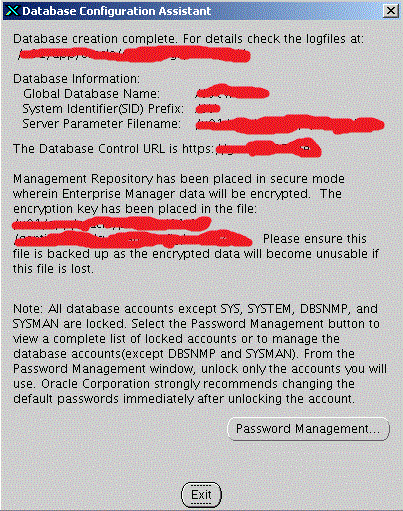
So we completed the installation of Oracle Database Software and Database.
![]()