 Database Tutorials MSSQL, Oracle, PostgreSQL, MySQL, MariaDB, DB2, Sybase, Teradata, Big Data, NOSQL, MongoDB, Couchbase, Cassandra, Windows, Linux
This article contains information about Oracle Database 19c Installation Guide. I will explain the installation and configuration of Oracle 19c on Oracle Linux 7.
I will install using VirtualBox.
Install Oracle Database 19c
First, we write server informations into the /etc/hosts

Then we write hostname into the /etc/hostname

Since we will do automatic installation in this article, we will install the “oracle-database-preinstall-19c” package , then we will do the update process.
1 2 | sudo yum install -y oracle-database-preinstall-19c sudo yum update -y |
After the above processes are completed, we will determine the password for the ‘oracle’ user.
1 | passwd oracle |
Adding /etc/selinux/config to see if SELINUX is as follows.
SELINUX = permissive
After the above process is completed, the machine is rebooted and the following command is run.
setenforce permissive
Linux security is disabled by forwarding the following commands.
systemctl stop firewalld
systemctl disable firewalld
The directories where Oracle will be installed are created and the oracle user is given the necessary privileges.
1 2 3 4 5 6 7 | mkdir -p /u01/app/oracle/product/19.0.0/dbhome_1 mkdir -p /u02/oradata chown -R oracle:oinstall /u01 /u02 c hmod -R 775 /u01 /u02 |
Log in as root and enter the following command.
1 | xhost +<machine-name> |
We will create a directory for the scripts we will use.
1 | mkdir /home/oracle/scripts |
A script file named “setEnv.sh” is created.
1 2 3 4 5 6 7 8 9 10 11 12 13 14 15 16 17 18 19 20 21 22 23 24 25 26 27 28 29 | cat > /home/oracle/scripts/setEnv.sh <<EOF # Oracle Settings export TMP=/tmp export TMPDIR=\$TMP export ORACLE_HOSTNAME=veridatadb.localdomain export ORACLE_UNQNAME=orcl export ORACLE_BASE=/u01/app/oracle export ORACLE_HOME=\$ORACLE_BASE/product/19.0.0/dbhome_1 export ORA_INVENTORY=/u01/app/oraInventory export ORACLE_SID=orcl export DATA_DIR=/u02/oradata export PATH=/usr/sbin:/usr/local/bin:\$PATH export PATH=\$ORACLE_HOME/bin:\$PATH export LD_LIBRARY_PATH=\$ORACLE_HOME/lib:/lib:/usr/lib export CLASSPATH=\$ORACLE_HOME/jlib:\$ORACLE_HOME/rdbms/jlib EOF |
A reference to the file “/home/oracle/.bash_profile” is added from the file “setEnv.sh”.
1 | echo</code> ". /home/oracle/scripts/setEnv.sh" >> /home/oracle/.bash_profile |
We switch to the Oracle user and set the DISPLAY variable.
1 | DISPLAY=<machine-name>:0.0; export DISPLAY |
We download the Oracle software from the link below.

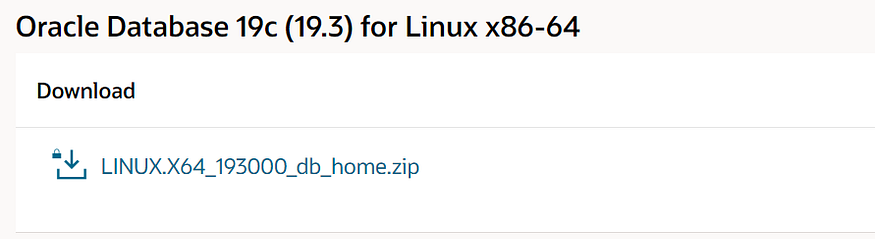
Go to the $ORACLE_HOME directory and unzip the downloaded Oracle software. The Oracle Universal Installer (OUI) software is then started.
1 2 3 4 5 | cd $ORACLE_HOME unzip -oq /path/to/software/LINUX.X64_193000_db_home.zip ./runInstaller |
After the software is started, the following screen will appear. Proceed by selecting Set Up Software Only.

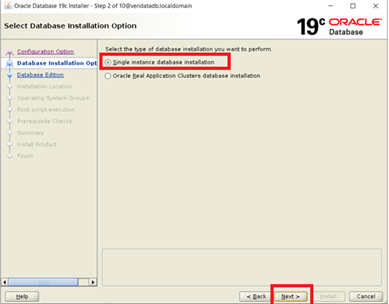
Continue by selecting Single Instance database option.
Continue after Enterprise Edition is selected.

Since the bash_profile settings were made before, it does not need to be done again. Proceed by clicking Next.
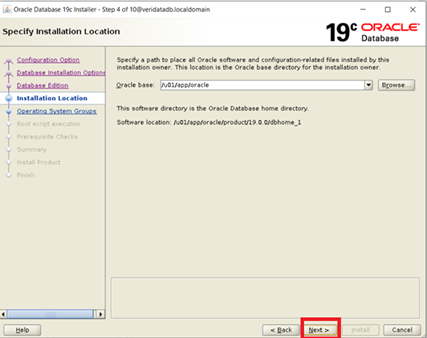
This step continues without changing anything.
Proceed by clicking Next.

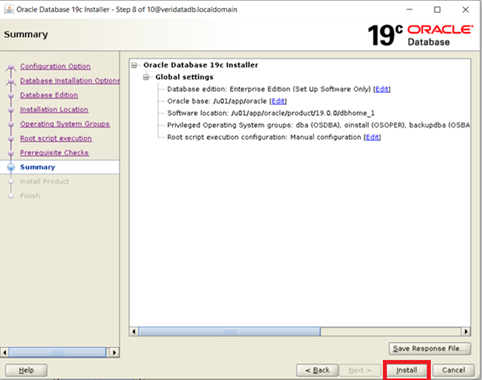
Clicking Install starts the installation.
After the installation is finished, the following command is run on the root user.
1 2 3 | /u01/app/oracle/product/19.0.0/dbhome_1/root.sh /u01/app/oraInventory/orainstRoot.sh |

After the installation is completed successfully, the screen is closed by clicking close.

After the Oracle software installation is finished, the Oracle Net Configuration Assistant software is started by typing net on the command line for the listener configuration. Proceed by selecting Listener configuration on the screen that comes up.

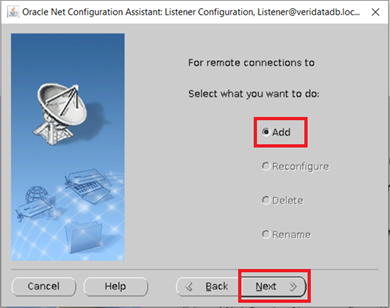
Proceed by selecting the Add option to create a Listener.
After the listener name is determined, it proceeds.

The default settings are continued without changing.

Continue by selecting the standard port number option.
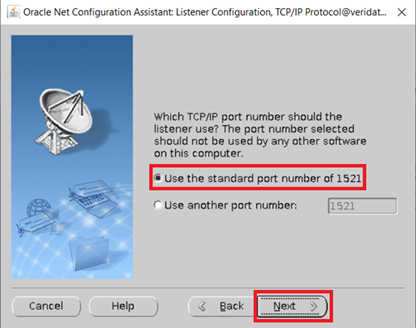
Continue by clicking Next.

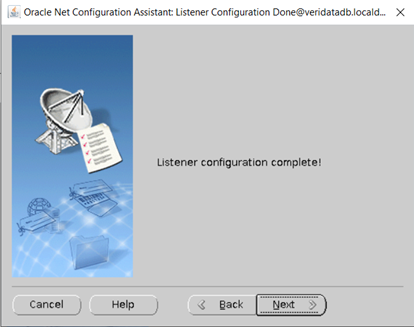
After the Listener configuration is done successfully, click Next.
Netcat is closed by clicking Finish.

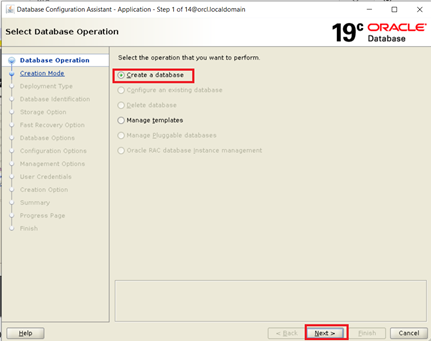
After the Listener configuration process is completed, the database must be created. Database Configuration Assistant is started by typing dbca on the command screen. On the screen that comes up, the Create a database option is selected and proceeds.
As we move forward, we are asked whether we want to continue with the settings set by default or in advanced mode. Continue by selecting Advanced mode.

After selecting the database type and database template to be created, it continues.

Continue after entering the database name and SID.

The place where the database files will be saved is selected and proceeded.

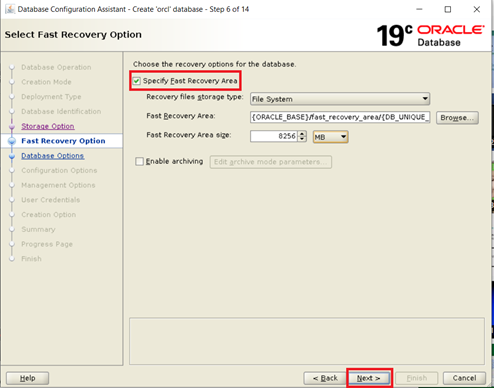
The backup area is selected for the database. Specifically, the Fast Recovery Area is selected and proceeded.
Here, the previously created listener is selected. If desired, a new listener can be created by selecting create.

In this step, proceed by clicking next.

Continue by selecting Automatic Memory Management.

Since the data to be saved in the database will be in Turkish, the Turkish character set is selected and continued.

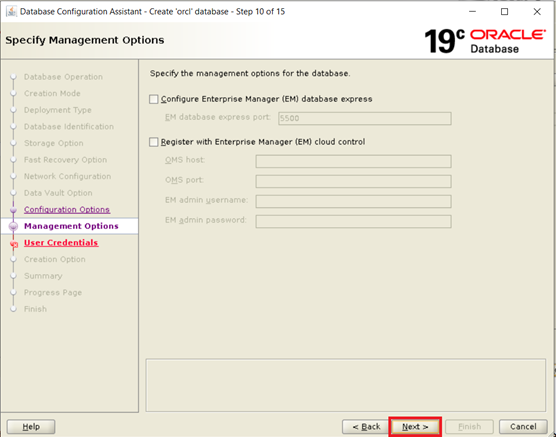
Since Enterprise Manager can be installed later, it is continued without selecting it. Optionally, this step can also be selected.
A password is required to be assigned to SYS and users for the database. Instead of giving a password to both of them separately, the option to give a single password is selected and the password is entered.

Continue by selecting the database creation option.

The summary contains the information of the database to be monitored. Clicking Finish starts the installation process.

The database was created successfully. By clicking the Close button, dbca is closed.

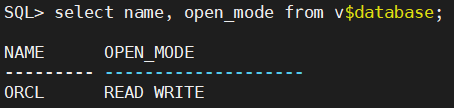
When logging in with SQLplus, a connection to the database can be made.

The following command checks whether the database is open or not.
1 | select open_mode name from v$database; |
Hope it is useful.
![]()