 Database Tutorials MSSQL, Oracle, PostgreSQL, MySQL, MariaDB, DB2, Sybase, Teradata, Big Data, NOSQL, MongoDB, Couchbase, Cassandra, Windows, Linux
In today’s article I will describe SQL Server Service Pack Upgrade Best Practice.
Sometimes you may want to upgrade the service pack of the version of SQL Server you are using. For this, you must first select the appropriate service pack file from Microsoft’s site. One of the issues you need to pay attention to here will be a small INTERRUPTION during this process.
In this article, we will upgrade SQL server from SQL Server 2014 SP1 to SP3.
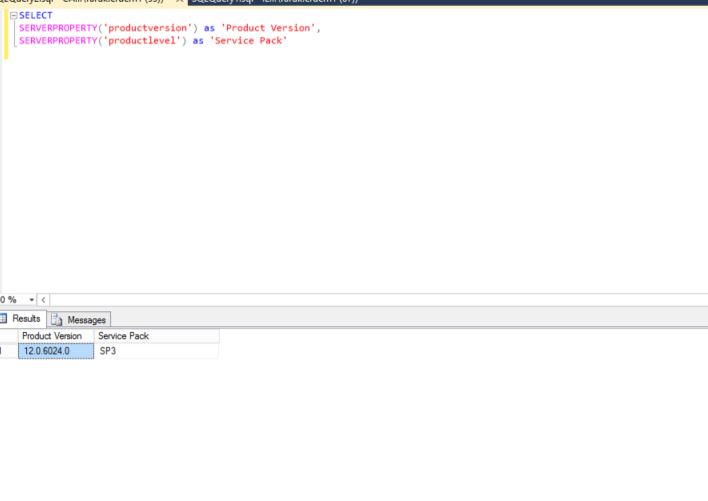
Let’s find out which version of SQL Server and which sp is installed with the help of the following command.
1 2 3 4 | SELECT SERVERPROPERTY('productversion') as 'Product Version', SERVERPROPERTY('productlevel') as 'Service Pack', SERVERPROPERTY('edition') as 'Edition', |
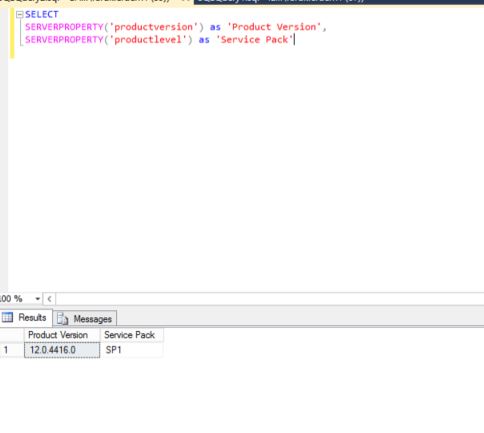
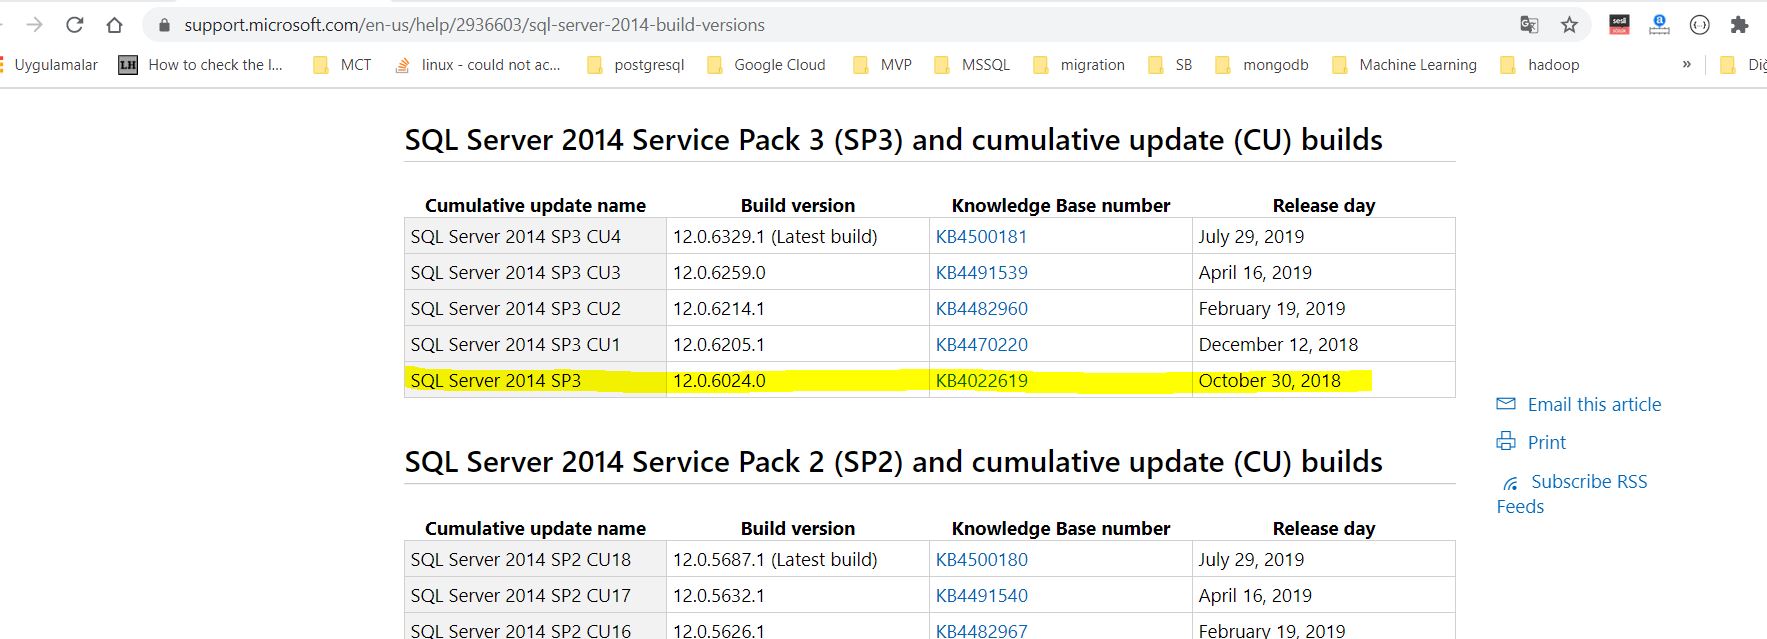
As seen above it is using SQL 2014 and SP1. Let’s download our appropriate Service Pack file from the link below. I am downloading it because I will install SQL Server 2014 SP3 in this article.
1 | https://support.microsoft.com/en-us/help/2936603/sql-server-2014-build-versions |
After downloading, let’s continue the installation as follows.
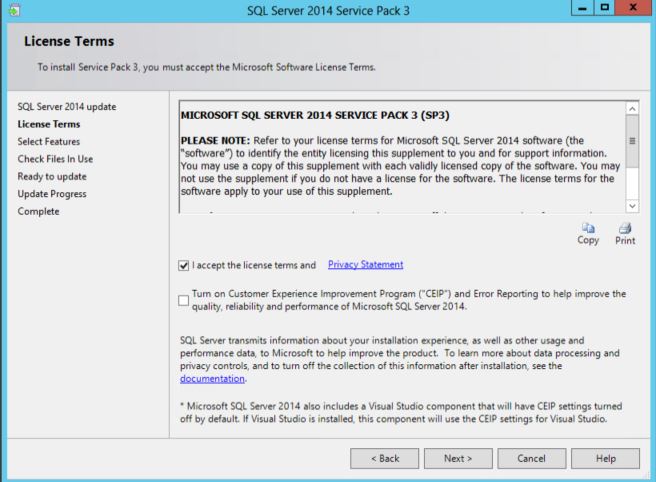
We choose “I accept the license terms and Privacy Statement” and click Next.
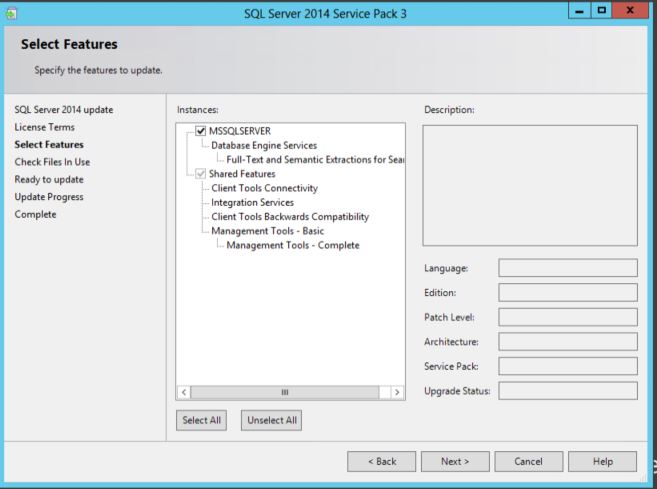
The Instance installed on our server is selected above. In cases where more than one instance is installed on the same server, other instances will also be listed on this tab. Continue by clicking the Next button.
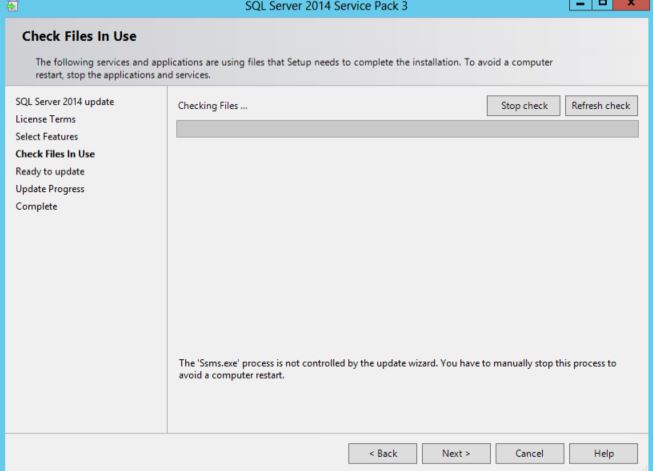
Here SQL server is doing a pre-upgrade check. After the check process is finished, we continue by clicking the next button.
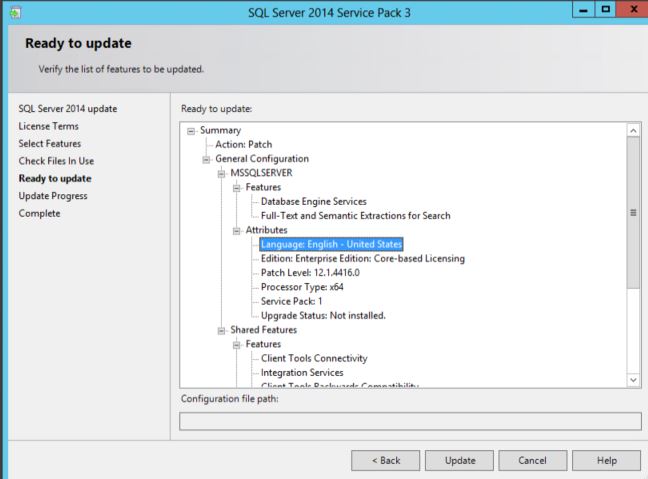
In the picture above, there is information before the upgrade. By examining this section carefully, we have started the Service Pack3 upgrade by pressing the UPDATE button, making sure that you are doing it in the right instance.
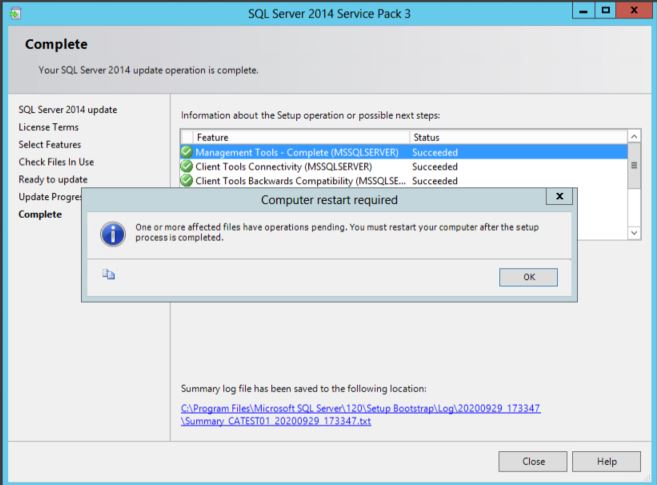
After the upgrade is completed, our installation will be completed with a screen like the one below.
Let’s check it on SQL server.
 As you can see above, we have upgraded to service pack 3.
![]()