 Database Tutorials MSSQL, Oracle, PostgreSQL, MySQL, MariaDB, DB2, Sybase, Teradata, Big Data, NOSQL, MongoDB, Couchbase, Cassandra, Windows, Linux
In today’s article, we will talk about OBIEE Oracle Business Intelligence Installation 11.1.1.9.
Note: You can use Oracle XE 11G product as database for Oracle BI product.
You can download Oracle BI 11.1.1.9 from the address below.
1 | https://www.oracle.com/middleware/technologies/bi-downloads.html |
The files you need to download are as follows
1 2 3 4 5 | bi_linux_x86_111190_64_disk1_1of2.zip bi_linux_x86_111190_64_disk1_2of2.zip bi_linux_x86_111190_64_disk2_1of2.zip bi_linux_x86_111190_64_disk2_2of2.zip bi_linux_x86_111190_64_disk3.zip |
I uploaded all these folders that I extracted from the archive under the ORACLEBI folder that I just opened in the root directory.
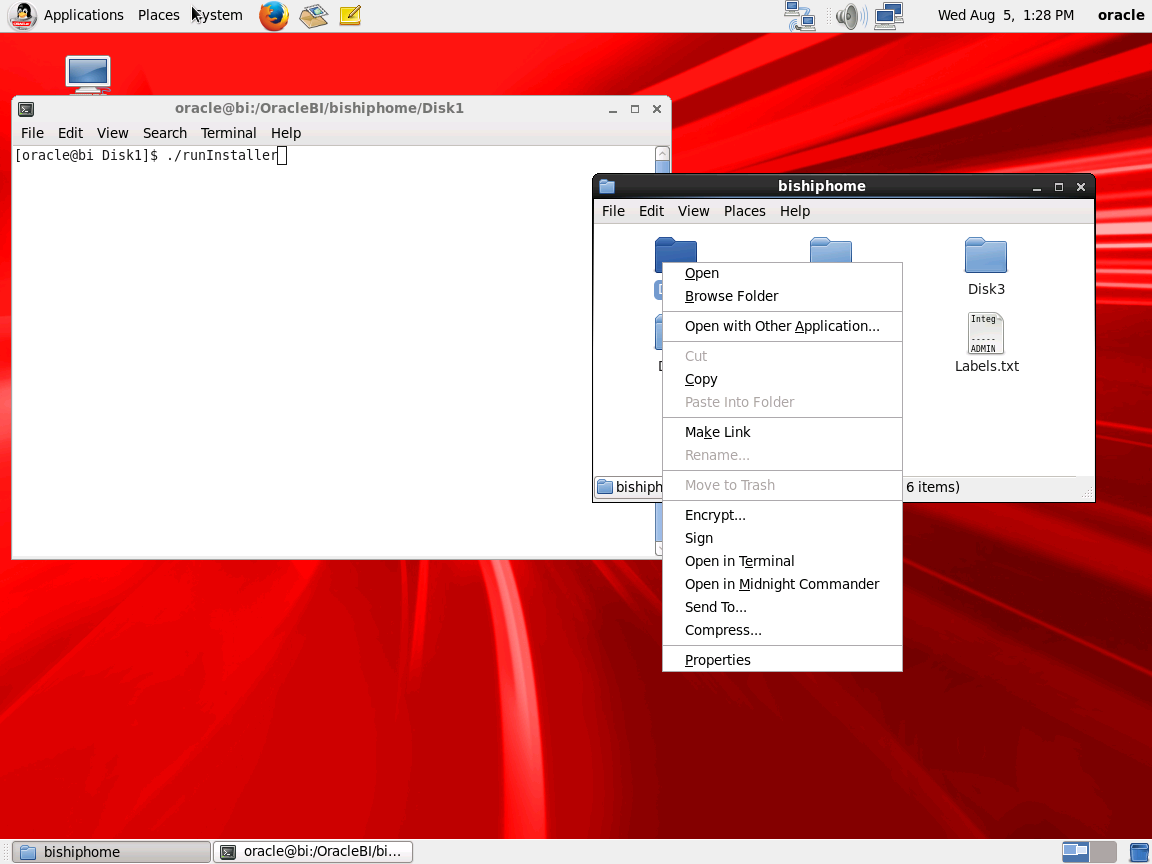
Desktop > Computer > Filesystem > OracleBI > bishiphome > Right click on Disk1 and click -open in terminal-. Linux will automatically connect us to the terminal screen in Disk1 ‘e directory.
After our terminal opens
We start the installation with $ ./runInstaller.
If the installation does not start at this point, you can do the following.
First, open the terminal window with root user and enter the following command on the screen
#DISPLAY=:192.168.42.191:0.0; export=DISPLAY (ip address will be the ip address of an installation machine)
After this process, run the following command with the root user again, Yum will automatically install provided that you are connected to the internet.
1 | # yum install xorg-x11-app* |
After the installation is finished, restart the system, open a terminal window with the Oracle user again and give the “xclock” command.
An example clock will appear. If the clock appears, you can start the installation. If the clock does not appear, try the operations again.
On this screen, the system states that it will mount the installation under the /home/oracle/oraInventory/ directory, depending on the “oinstall” group.
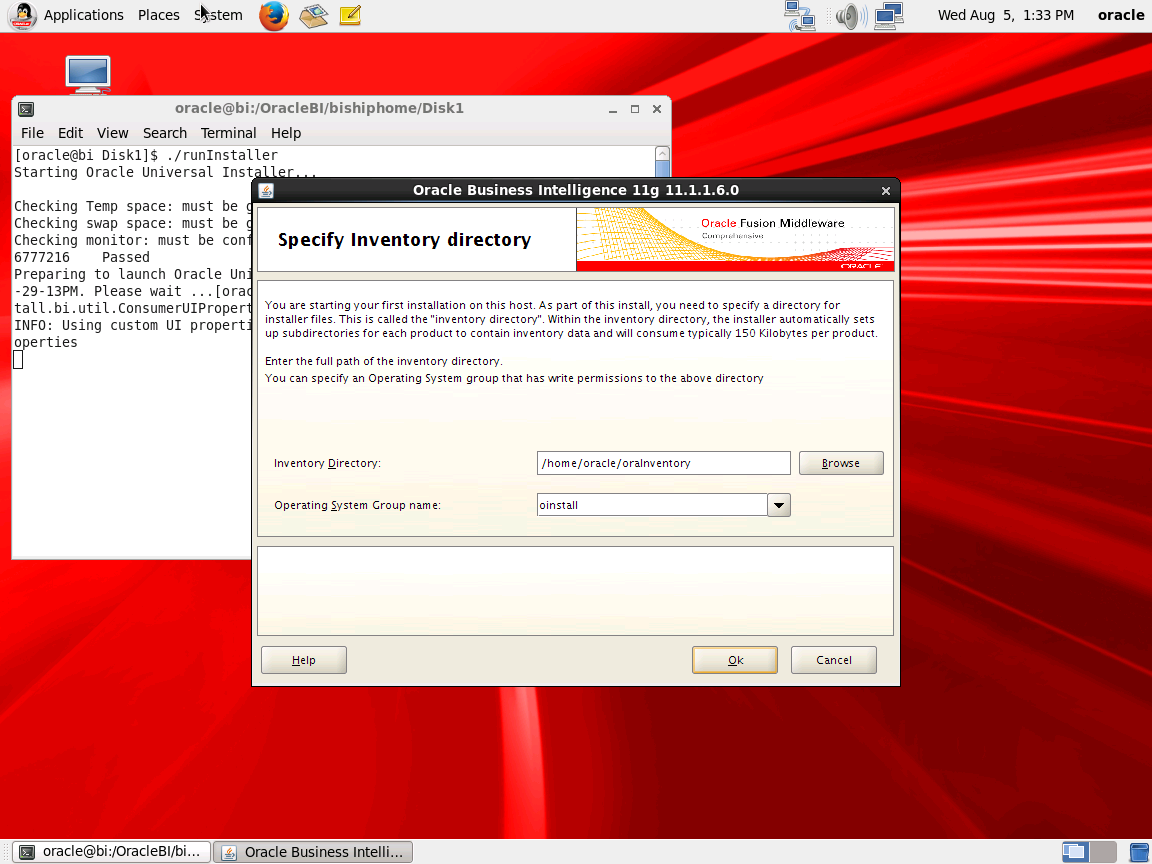
When we click the “OK” button, OracleBI states that it cannot find the current directory and informs us that it will create it.
It also states that we need to run the “createCentralInventory.sh” shell script with the root user in the Bizden terminal window.
Opening the terminal window, we come to the “/home/oracle/oraInventory/” directory.
$cd /home/oracle/oraInventory
$./ createCentalinventory.sh
We run the script with the command.
Continue by clicking the “OK” button. The installation will automatically shut down and start again after the permissions are set.
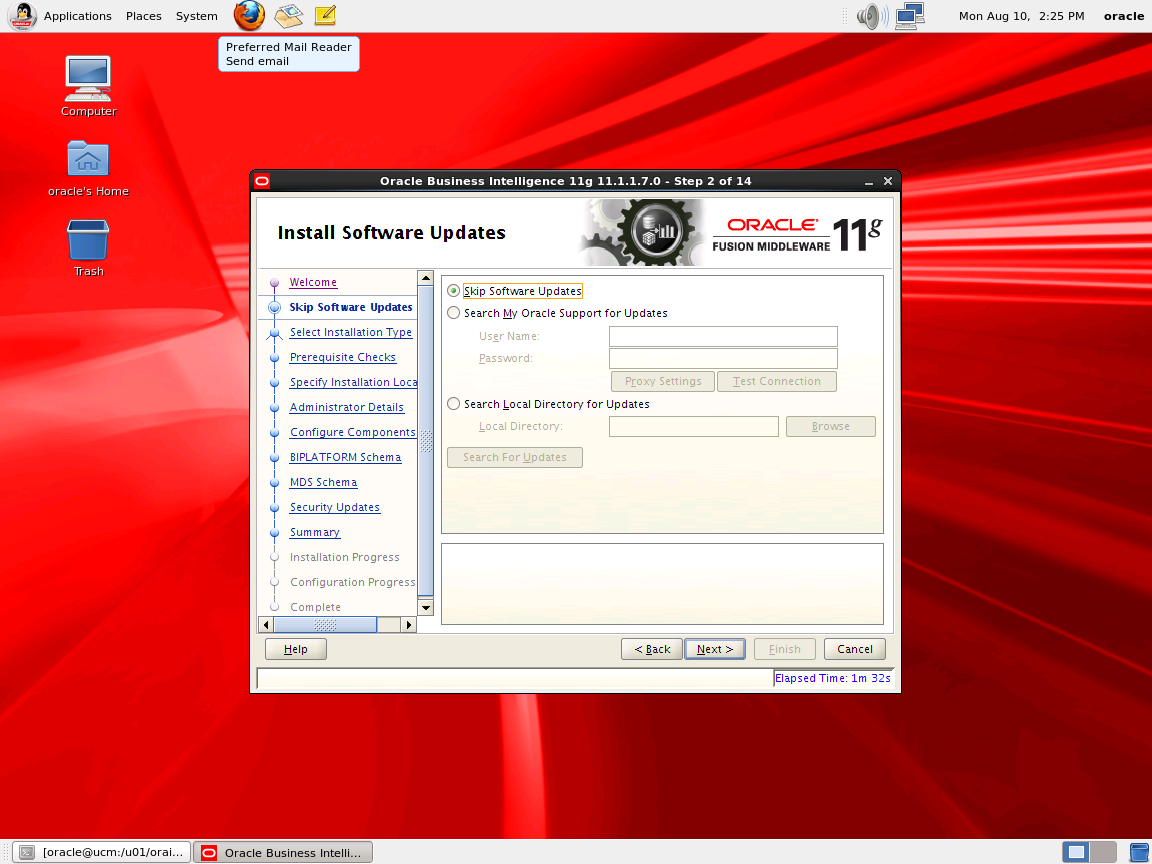
We do not have an Oracle support account, we select the “Skip software Updates” tab and click the “NEXT” button to continue.
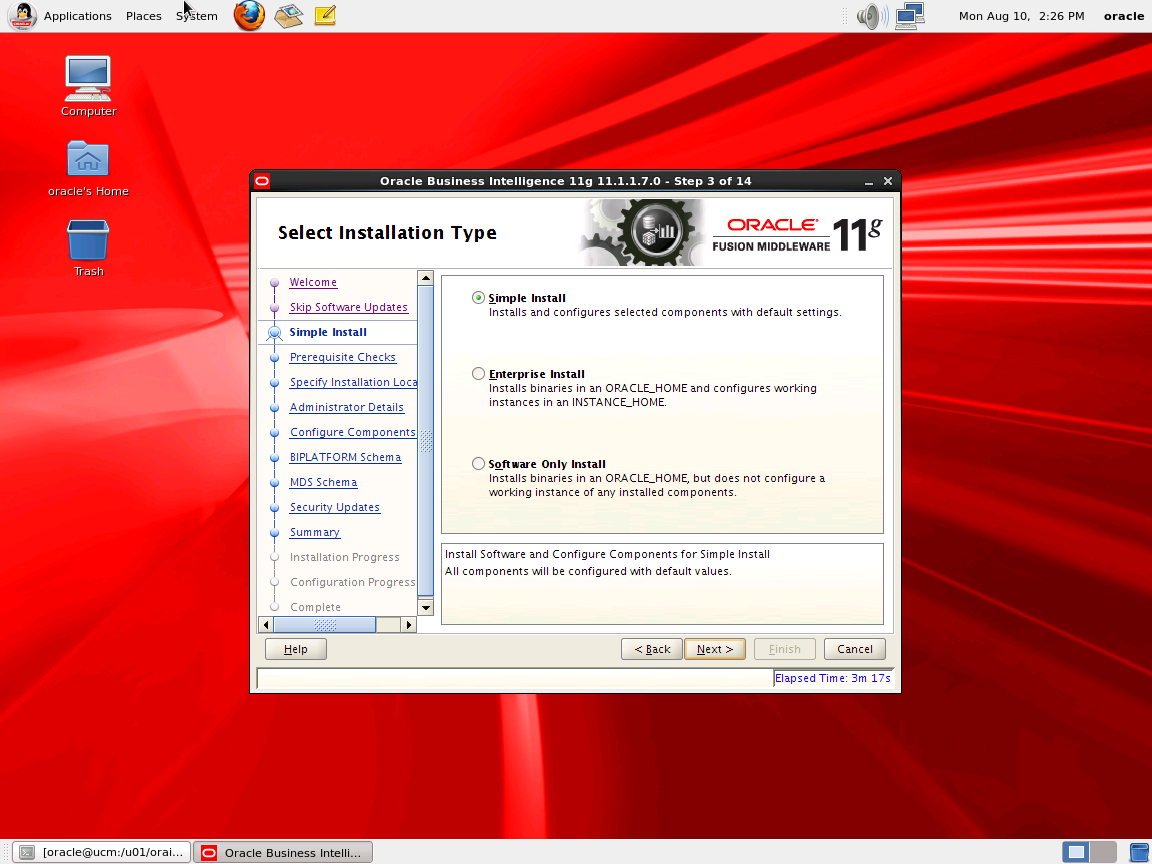
Select the “Simple Install” option and click the “NEXT” button to continue.
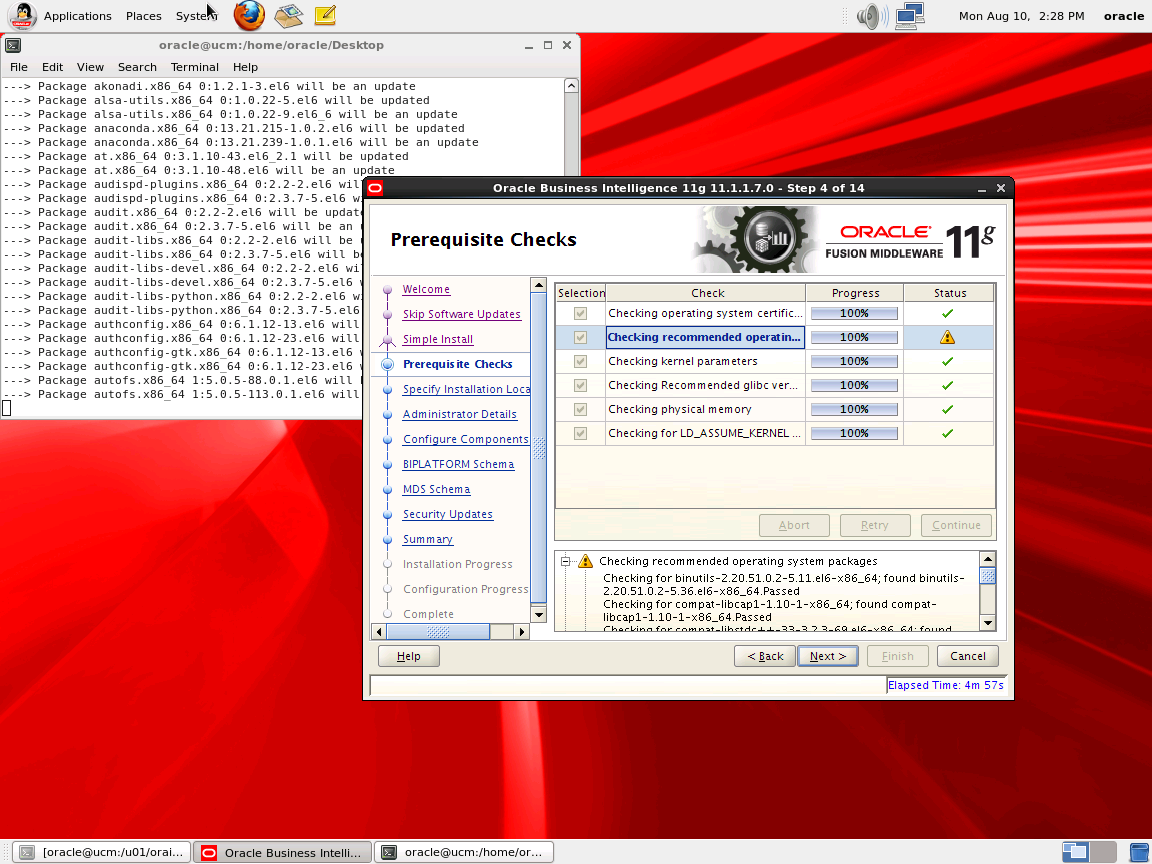
Oracle BI performs a check on this screen and informs that some classes are not checked. Since the current library is usable in its current state, we continue by clicking the “NEXT” button.
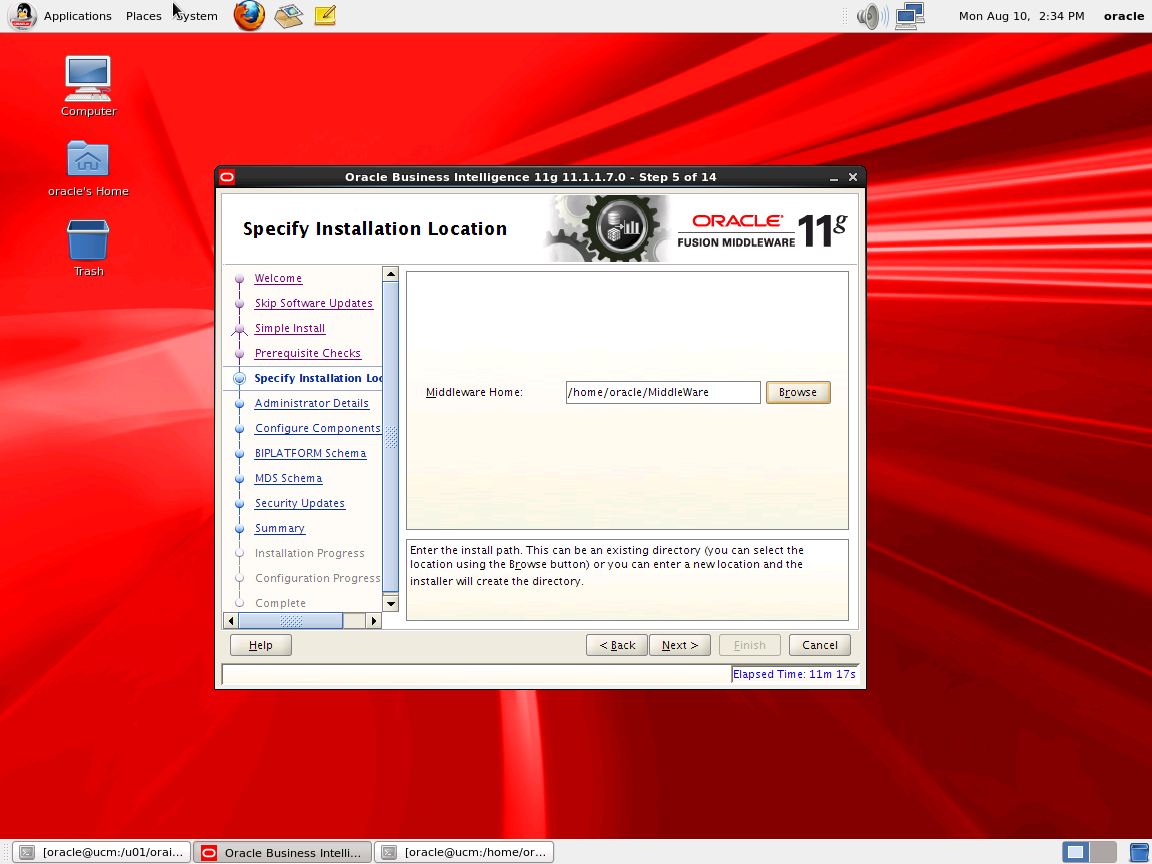
Oracle BI installation asks where to do it. I will install under /home/oracle/MiddleWare directory.
You have to open the folder manually as we explained on the first page. By defining the path, we click on the “NEXT” button and continue.
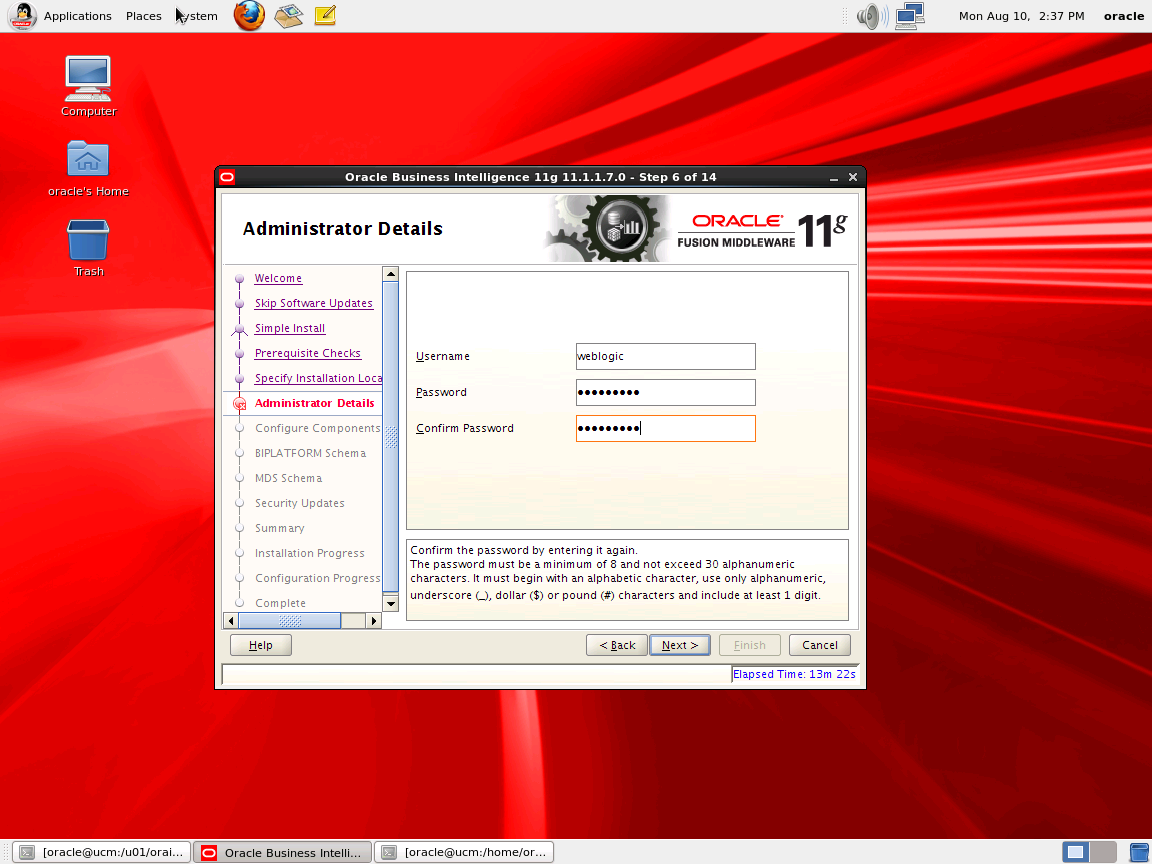
We enter our password for Oracle BI Weblogic. Since we are doing a test setup, I enter it as “weblogic1”.
After entering our password, we continue by clicking the “NEXT” button. Then you can change your password via http://localhost:7001/console.
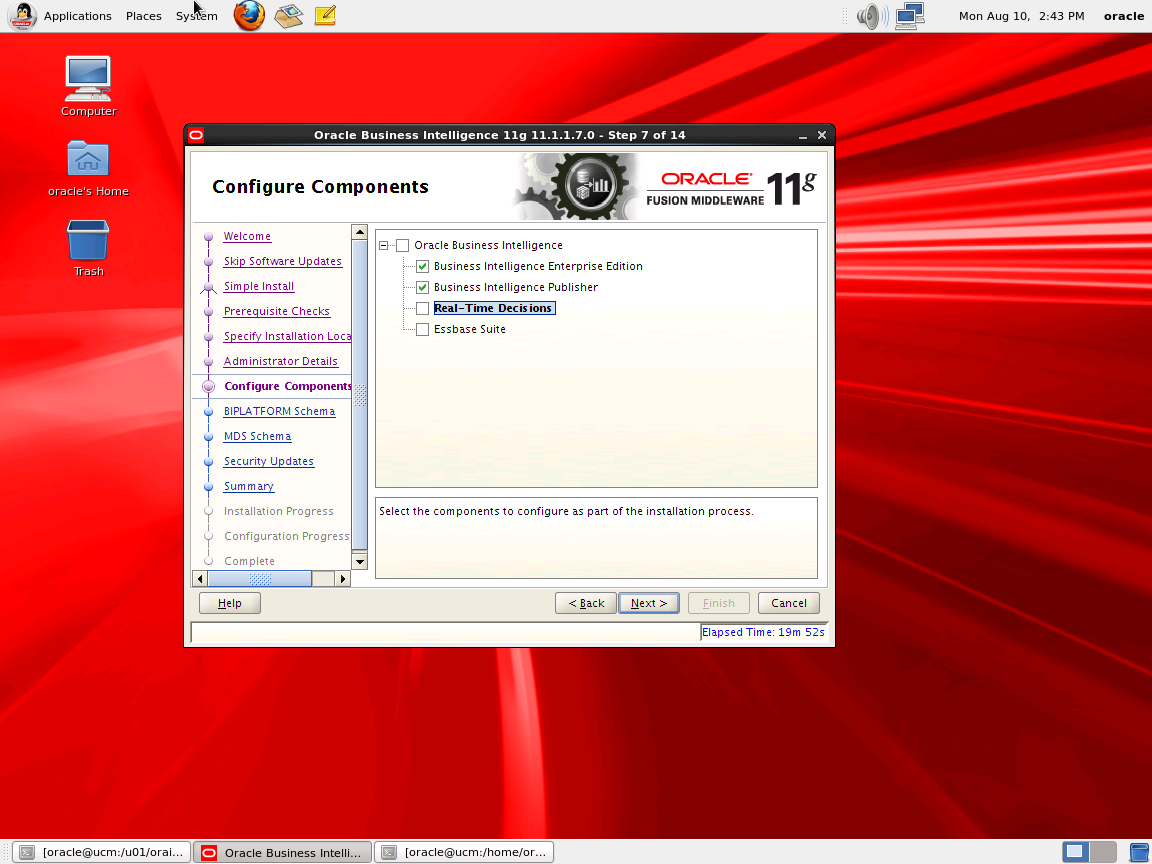
We continue by unchecking Real-Time Decissions and Essbase Suite (Only BI Ent. Ed. and BI Pub will remain) by clicking the “NEXT” button.
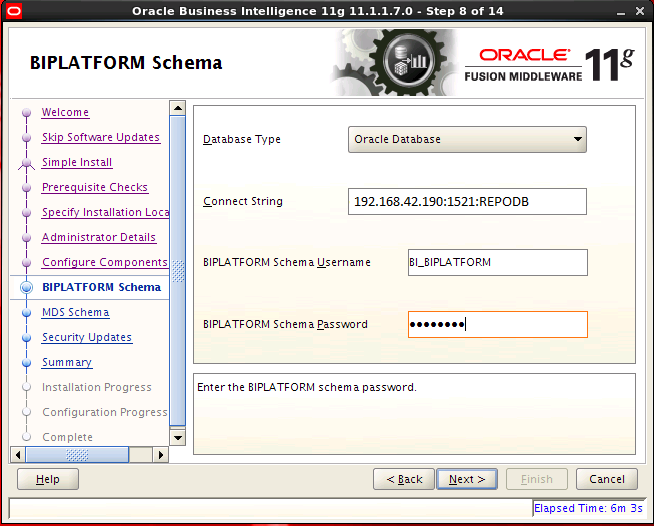
We will enter the connection information and other information.
1 2 3 | Connect String: 192.168.42.190:1521:REPODB (our repo db path), BIPLATFORM Schema Username : , BI_BIPLATFORM ( Schema name we created RCU ) , BIPLATFORM Schema Password : ( Password we created ) , |
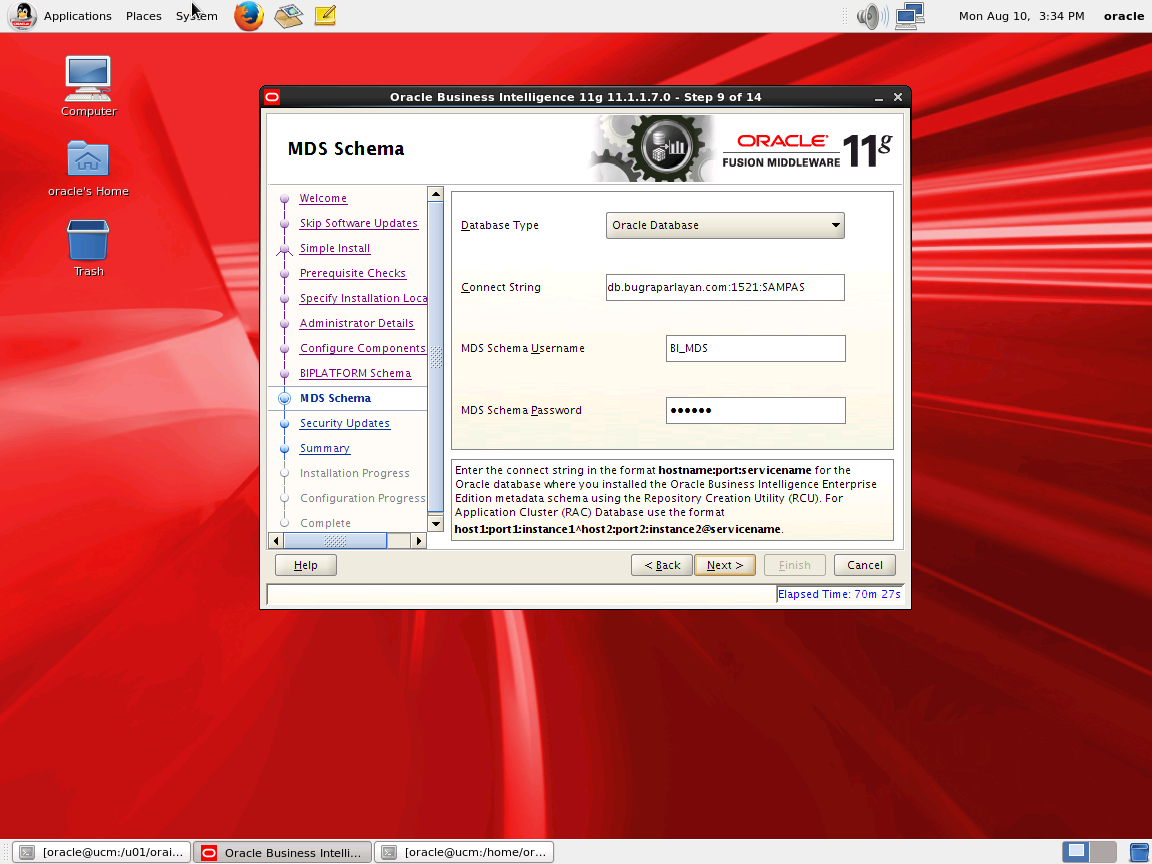
It automatically fills in the information according to BI_MD5. Continue by clicking the “NEXT” button.
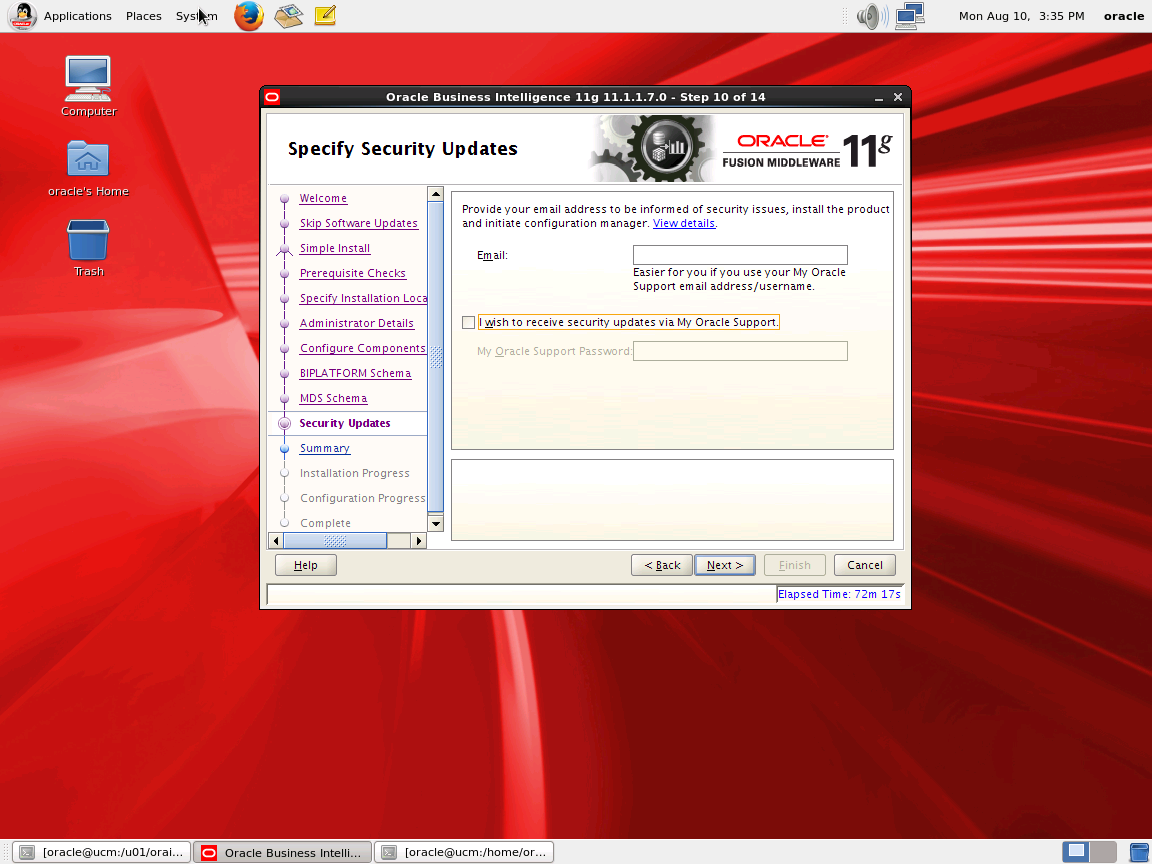
We leave the mark “I wish to receive security update via my oracle support” and say “NEXT“.
It informs us that we will not be able to receive critical updates because we did not enter our email address. We Say “Yes”
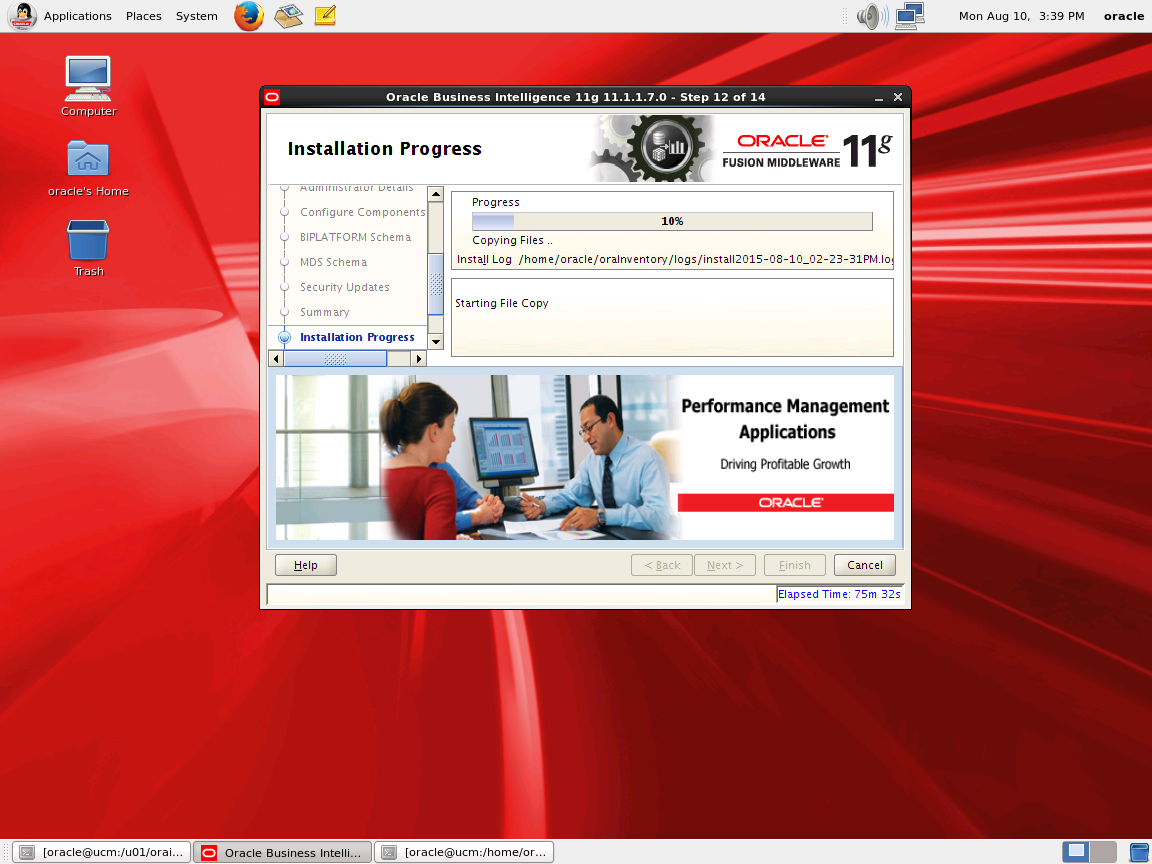
Finally, we start the installation by clicking the “Install” button.
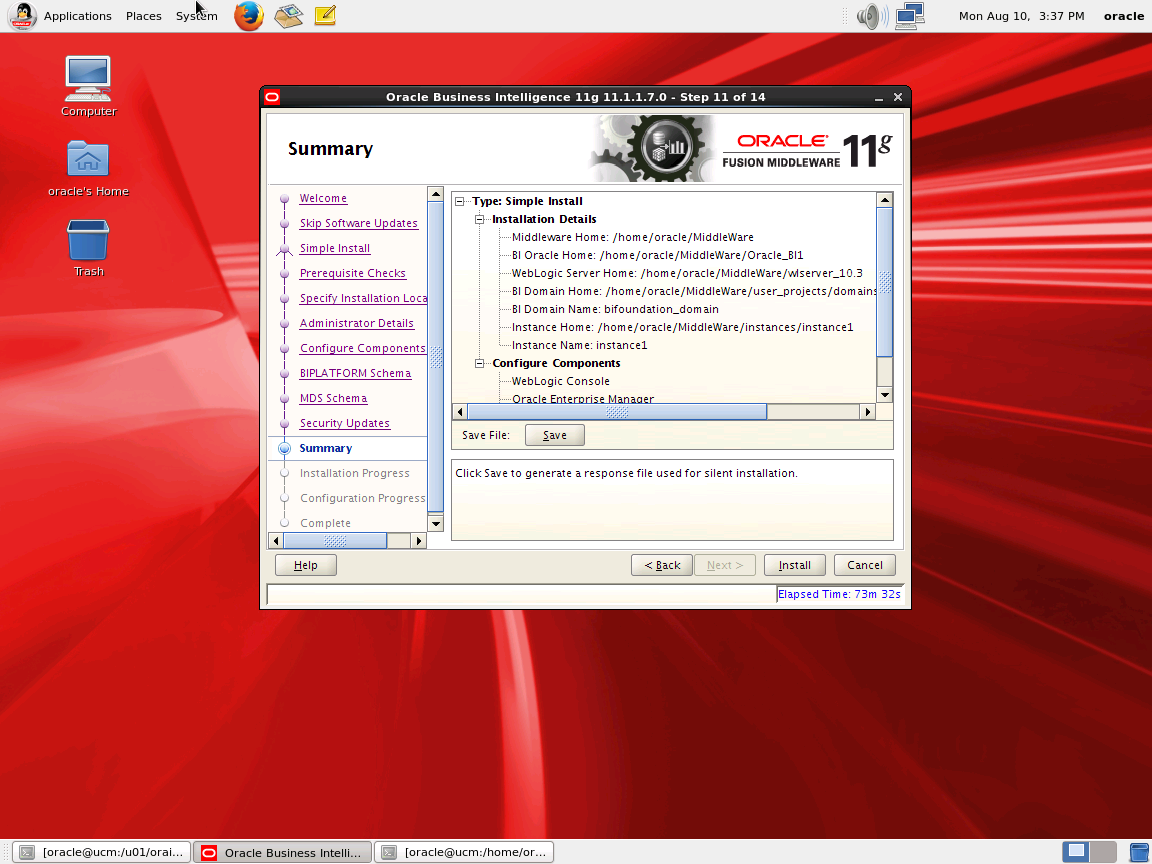
Our log files will be copied under /home/oracle/oraInventory and our Installation files will be copied under /home/oracle/MiddleWare/.
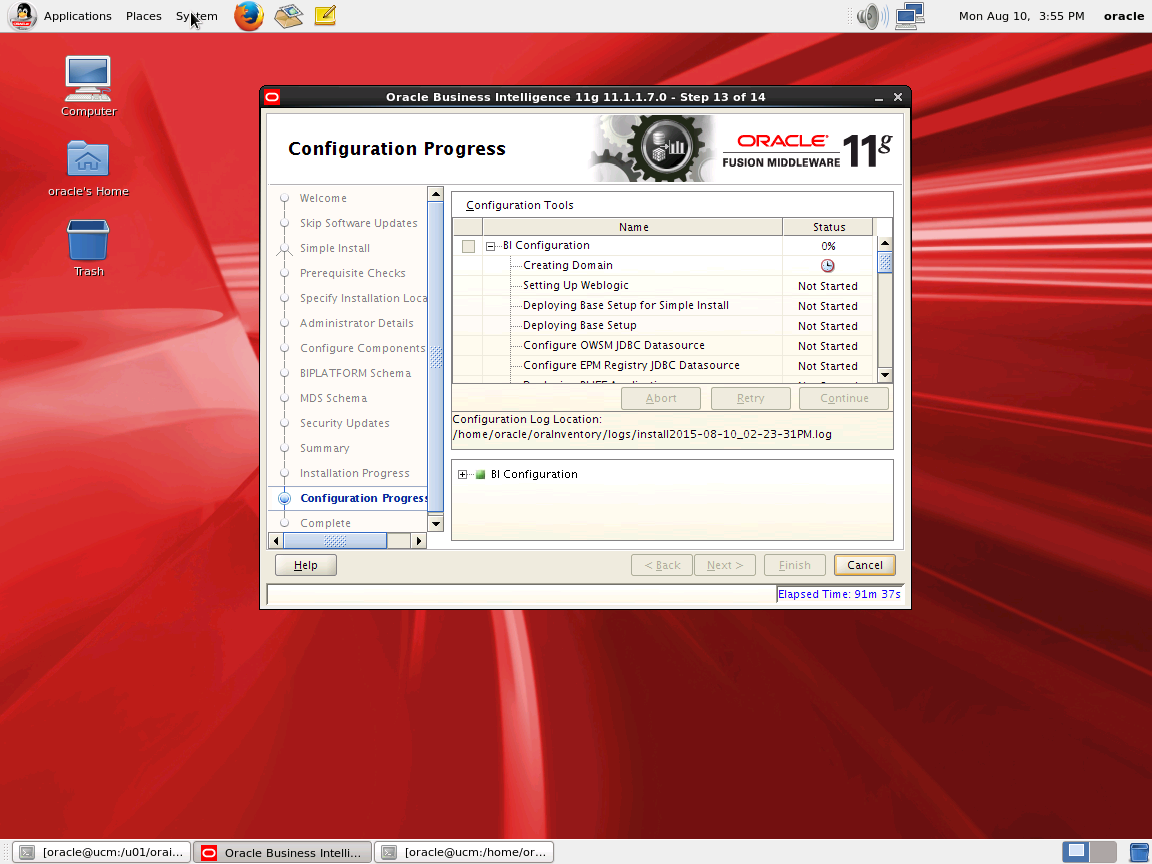
We have successfully completed the installation. Now it will do the Configurations automatically.
This process takes about 25 minutes.
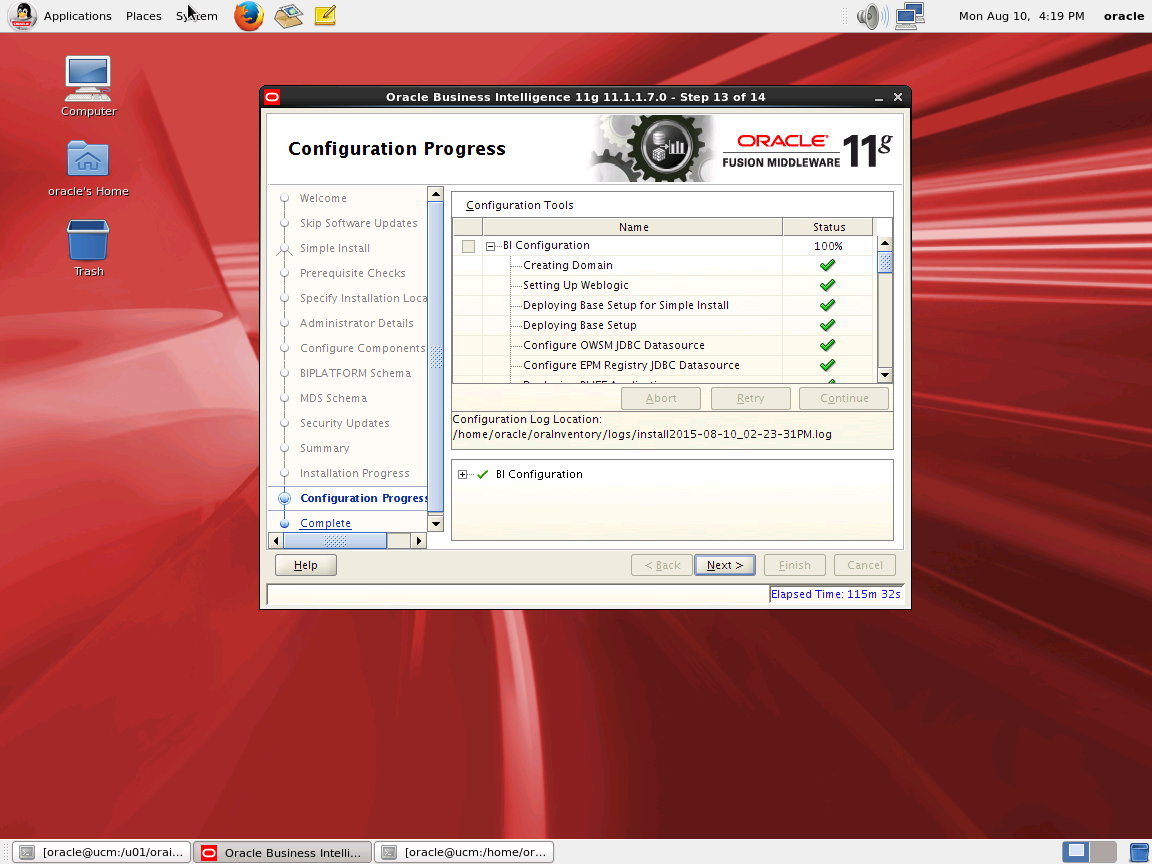
Our configuration process is finished, we continue by saying “NEXT”.
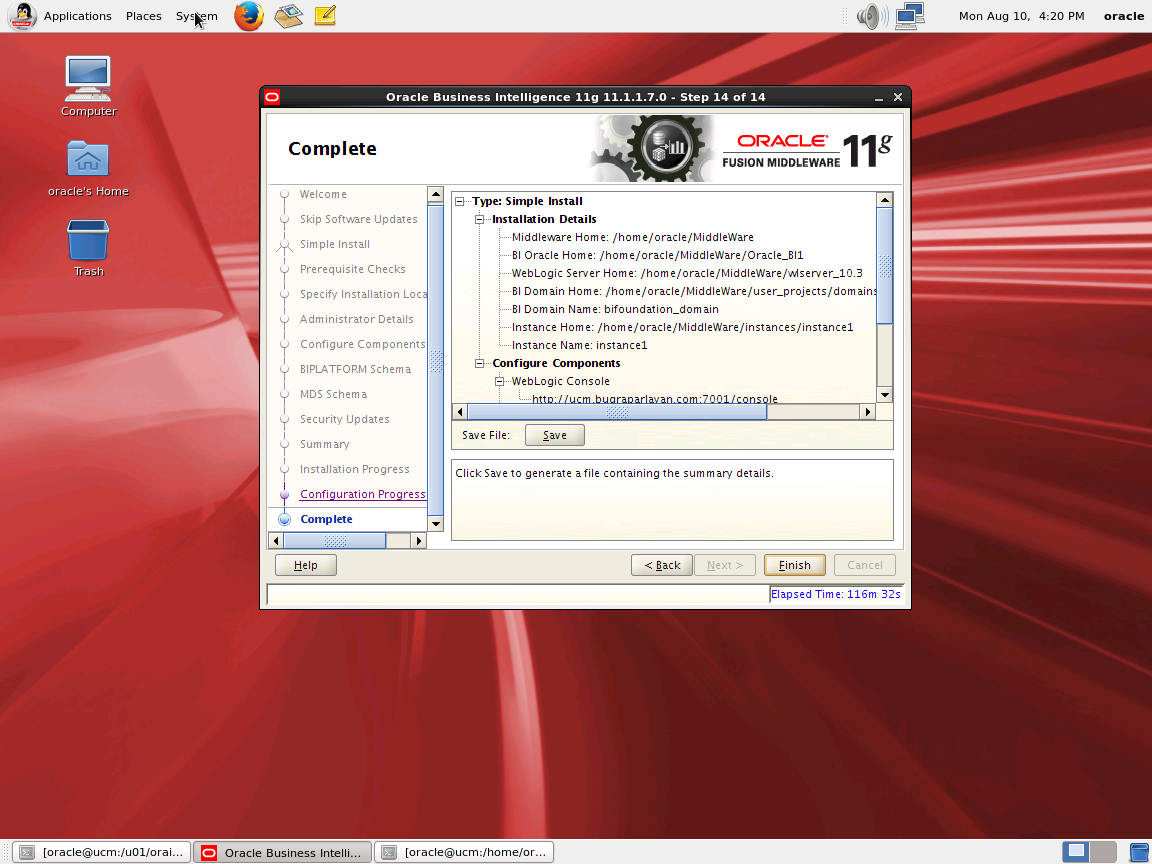
Finally, we complete the installation by clicking “Finish”.
When the installation is finished, our Oracle BI page will open automatically.
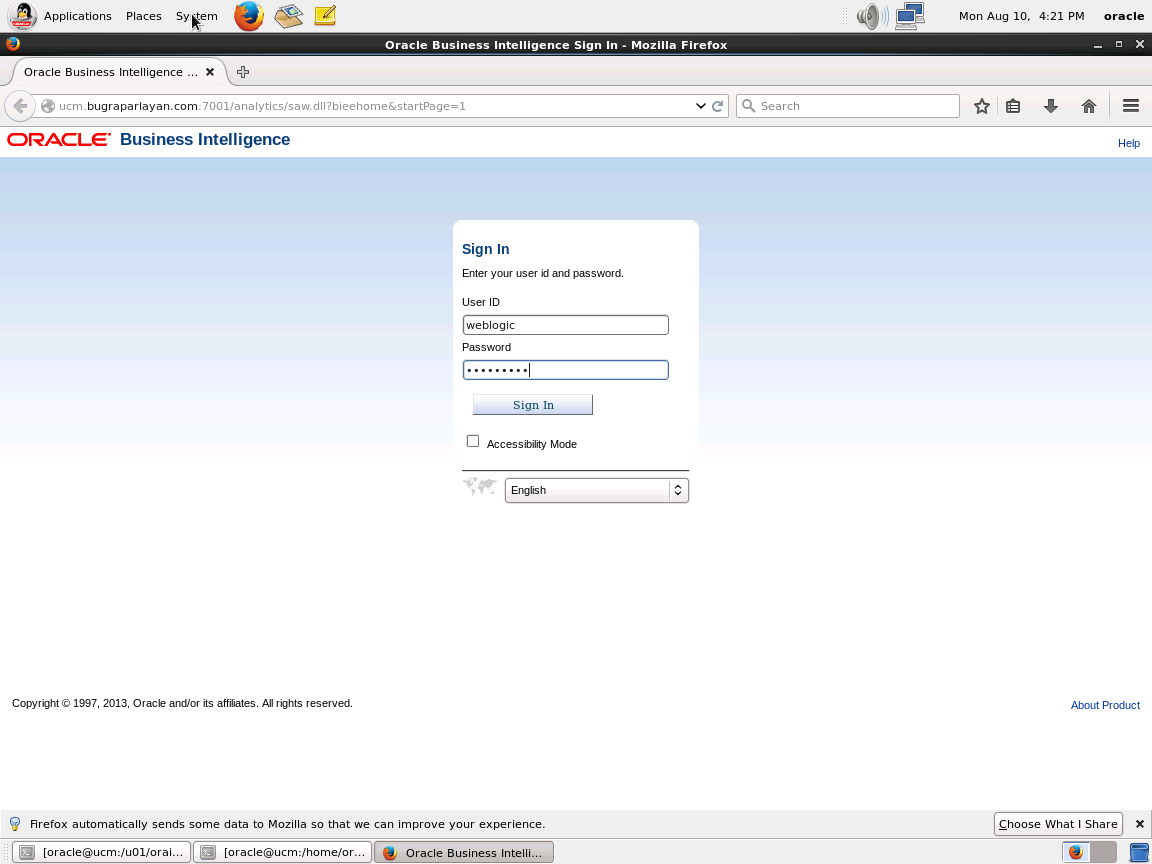
After the installation is finished, we will encounter the Oracle BI interface.
We log in by entering our username and password. During the installation, we acted as weblogic/weblogic1.
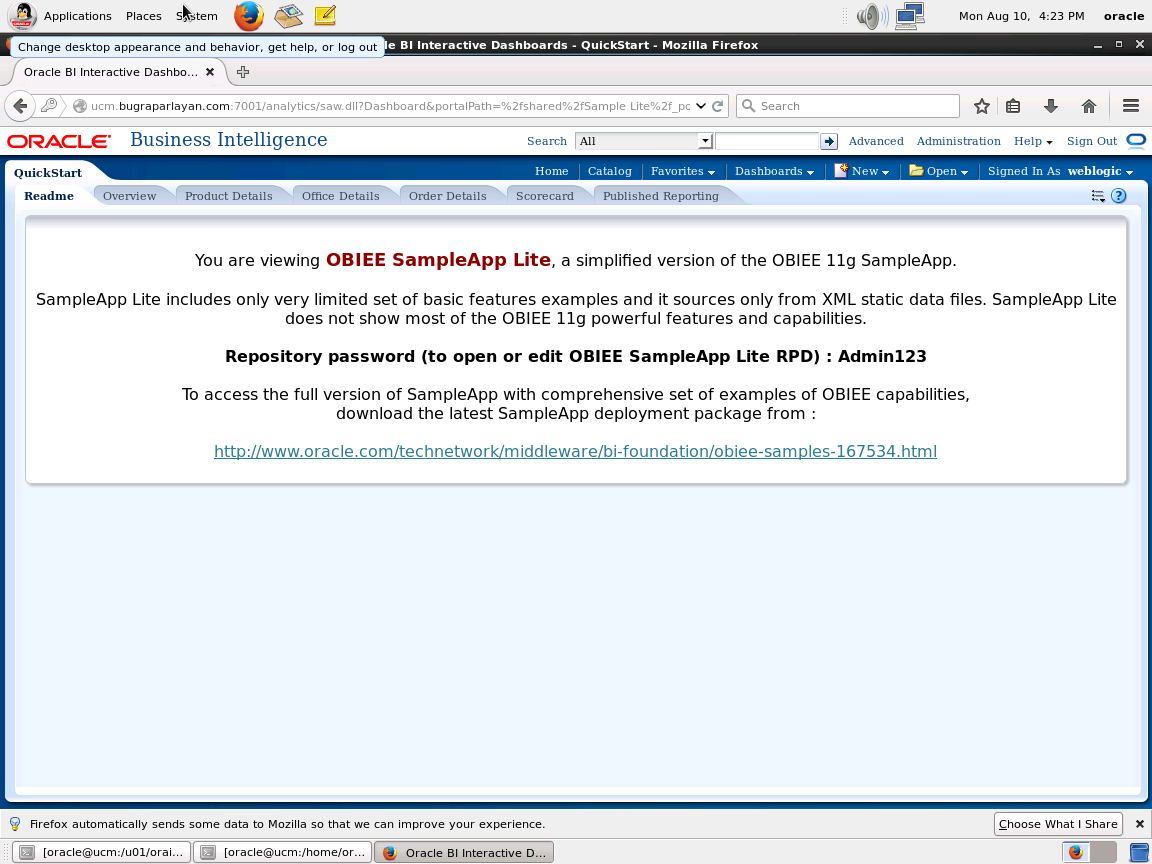
Here BI warns us. It asks us to install SampleApp Lite for the report pool and shows us our password for Oracle ODI “ Admin123 “ Our installation process is complete.
![]()