 Database Tutorials MSSQL, Oracle, PostgreSQL, MySQL, MariaDB, DB2, Sybase, Teradata, Big Data, NOSQL, MongoDB, Couchbase, Cassandra, Windows, Linux
In today’s article, we will Create Azure SQL Database Using Powershell.
There are two different steps to create the Azure SQL database.
First, we can create it through the Azure Portal, as the second way, we can create it via powershell.
In our previous articles, we explained how to create an Azure SQL database through the Azure portal,now let’s consider how we can do it through powershell.
As the first step, we need to run Powershell as administrator.
For this, we need to type powershell ISE in start and right click and run as administrator.

On the powershell screen that comes up, we run the “Login-AzureRmAccount” command, which we need to login to our azure account.
But first, we run the “Set-ExecutionPolicy RemoteSigned” command and accept the signature policy,
then if the powershell library / module required for azure is not installed in our system, you will be faced with an error screen like the one below.

To solve the encountered error, it will be sufficient to run the commands below and accept the notifications of the warning.
1 2 | Install-Module AzureRM Install-Module Azure |

In order to confirm that the installation processes were successful, you can run the “Get-Module -List” command and access the list of available commands.

After getting the necessary confirmation information, we run the Login-AzureRmAccount command again.
A login screen like the one below appears.
We enter the information of our Azure account and log in.
After entering the information, we can see the account details with the screen below.

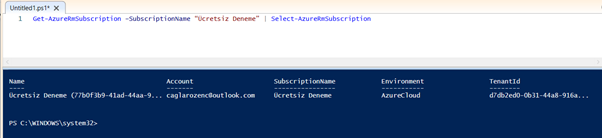
You can verify your account with the “Get-AzureRmSubscription” command.
Now that we can successfully log in to the Azure account with Powershell, we now need to set the subscription we will work on as default.
If there is more than one subscription, you can limit it with the command below and assign your desired subscription as default.
1 | Get-AzureRmSubscription –SubscriptionName “Free Trial” | Select-AzureRmSubscription |
In order to create an Azure SQL database, we first need to create a server where the database will run.
I currently have a resource group named dmcbilgiteknolojileri_demo and I will work in it.
You need to change it according to your own information.

When you run the code block shown in the picture above, it will ask you for username and password information.
The information you provide here will be the Server Admin user access information of the Azure SQL Database server you created.
As the last step, we now need to create the Azure SQL database.
We should use the following code block in this process.
1 2 | New-AzureRmSqlDatabase -DatabaseName “dmcdbpshell” -ServerName “dmcdemopowershell” -ResourceGroupName “dmcbilgiteknolojileri_demo” -Edition “Basic” |
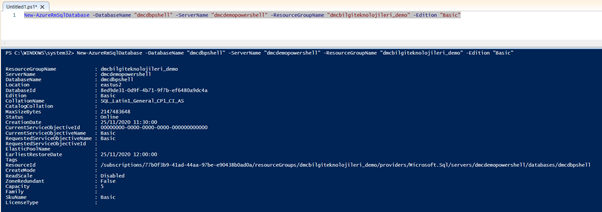
If you have successfully completed all the steps, you have now created an Azure SQL database in your Azure account using powershell without the need for an interface.
All you have to do to connect is to complete the firewall configuration.
![]()