 Database Tutorials MSSQL, Oracle, PostgreSQL, MySQL, MariaDB, DB2, Sybase, Teradata, Big Data, NOSQL, MongoDB, Couchbase, Cassandra, Windows, Linux
In today’s article, I will explain how to install dbeaver and connect to the database.
Dbeaever offers a free version of enteprise for students. If you are a student, I recommend using it.
1 | https://dbeaver.io/download/ |
Go to the site using the link above.

Since the computer I use is windows 64 bit, we start the download process by selecting the link marked above.
After our installation file is downloaded, we come to the first window, the language selection window, by double-clicking on our installation file.
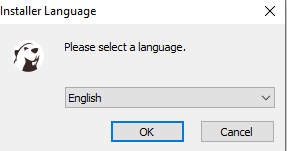
We continue by choosing English from the language options.
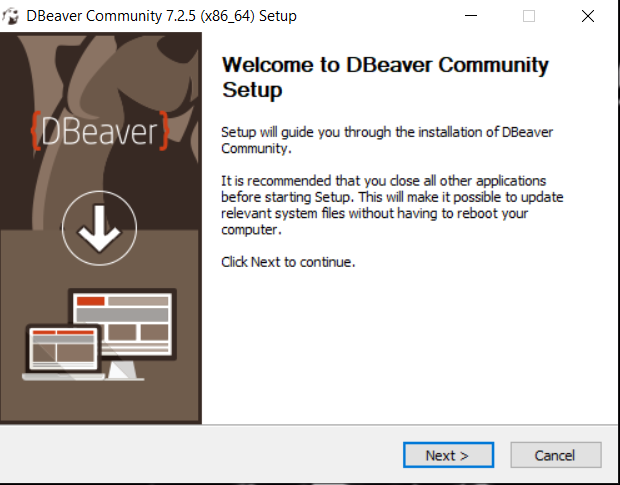
We continue by saying Next.
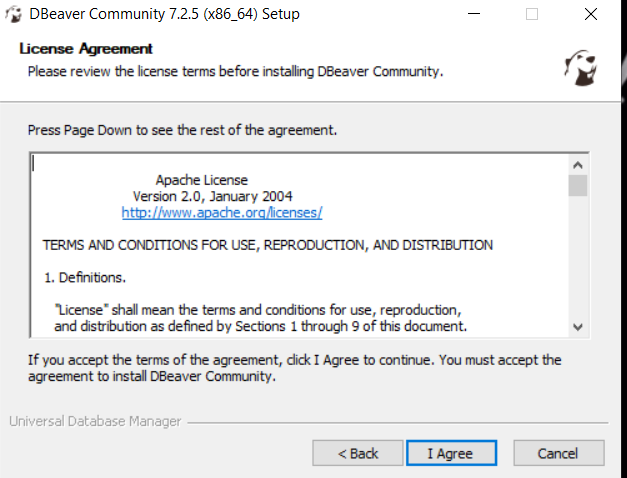
Continue by clicking the I Agree button.

By choosing “For anyone who uses this computer (all users)”, we make the necessary selection for it to work on all users and continue.
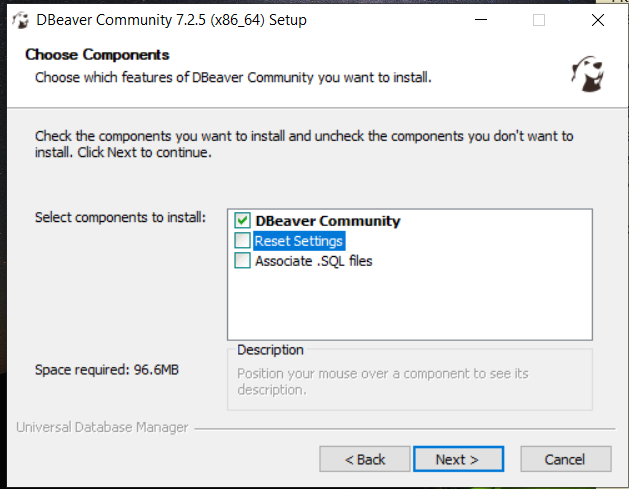
Here we continue by saying Next.
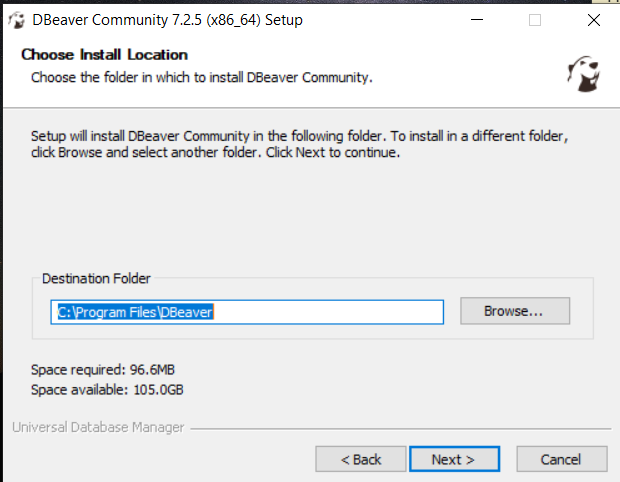
In this section, it is stated where to install Dbeaver, I recommend leaving it as it is if you do not have a space problem in the directory.

Click the Install button to start the installation.
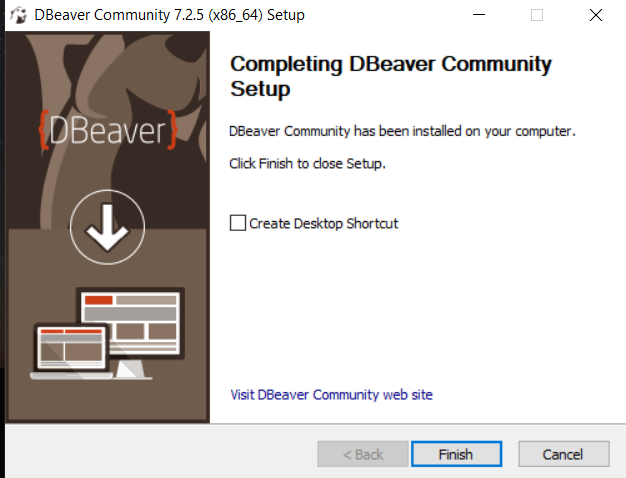
Our installation is complete.
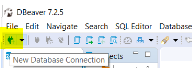
After opening Dbeaver, we continue by clicking the new connection button as above or by making New Connection from the Database section.
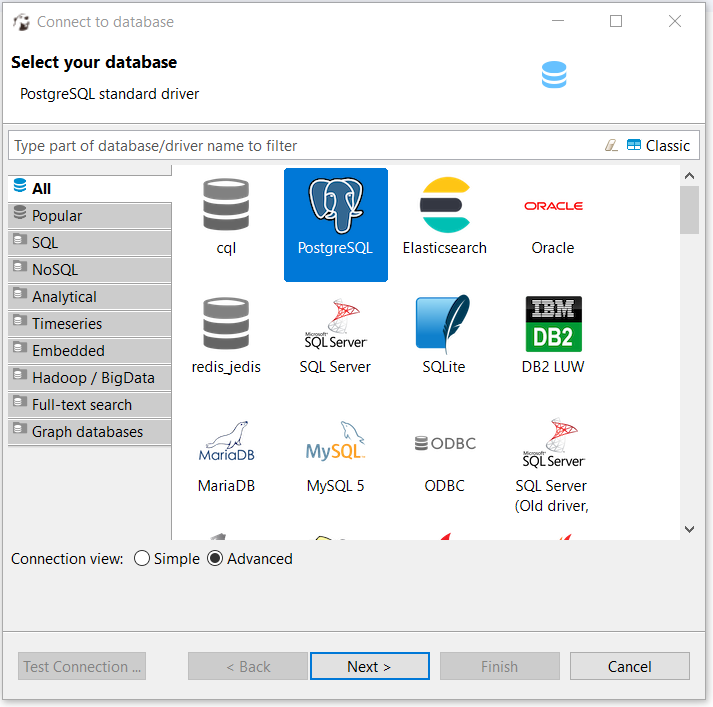
We continue with the Next button by selecting PostgreSQL from the incoming window.

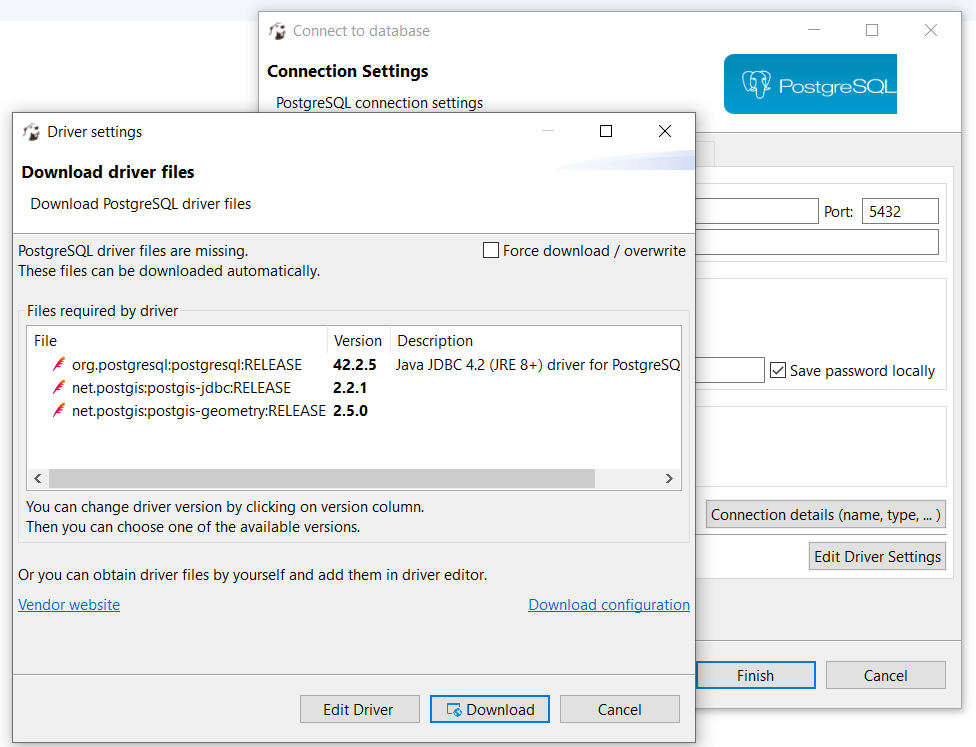
We need to download the jdbc drivers required for PostgreSQL connection.
We continue by saying Download and download the necessary files.
Host: The IP we want to connect to
Database: The name of the database to be connected
User: PostgreSQL user
Password: Password of the PostgreSQL user
After filling in the fields as above, we add a connection by saying finish.
![]()