 Database Tutorials MSSQL, Oracle, PostgreSQL, MySQL, MariaDB, DB2, Sybase, Teradata, Big Data, NOSQL, MongoDB, Couchbase, Cassandra, Windows, Linux
In this article, we will install Oracle Weblogic 12.2.1.3. Installation will be on Java JDK version 1.8 on Oracle Linux 7 operating system.
Weblogic is the world’s best Java application server in terms of both security and accessibility offered by Oracle.
It provides high efficiency with its High Availability, Cluster and many corporate features.
You can access the installation files with Oracle from the link below.
1 | https://edelivery.oracle.com/ |
1 | $ java - jar fmw_12.2.1.3.0_wls.jar |
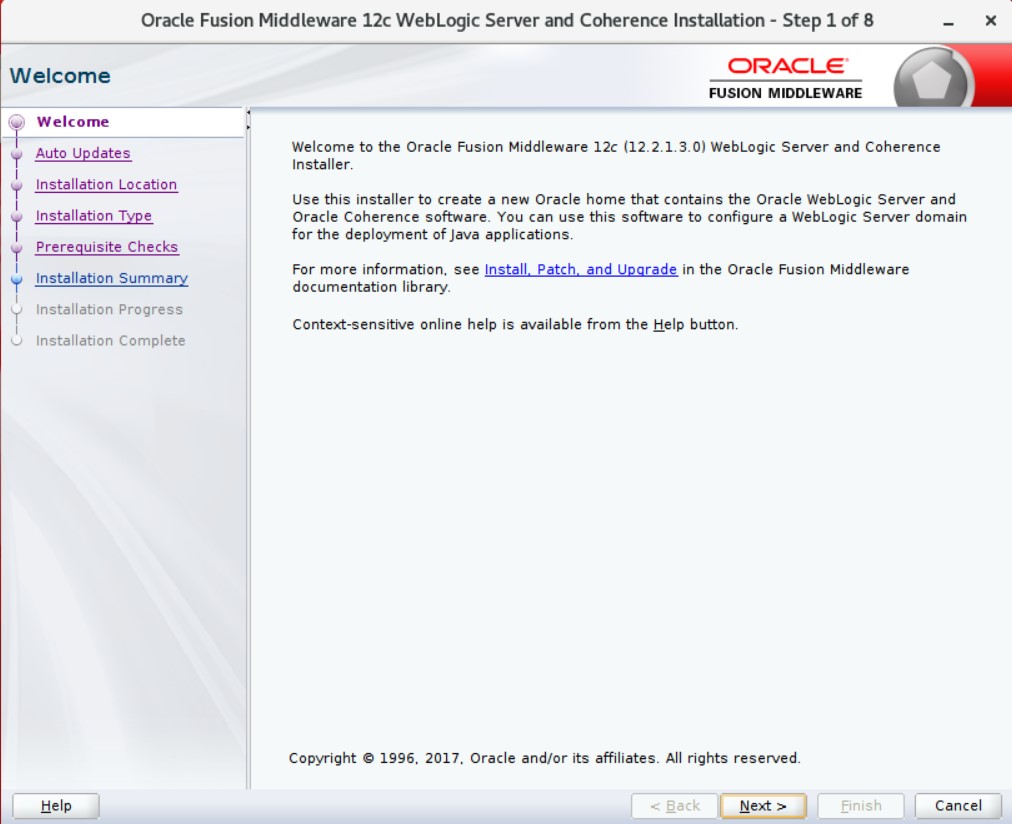
Next and Continuing.
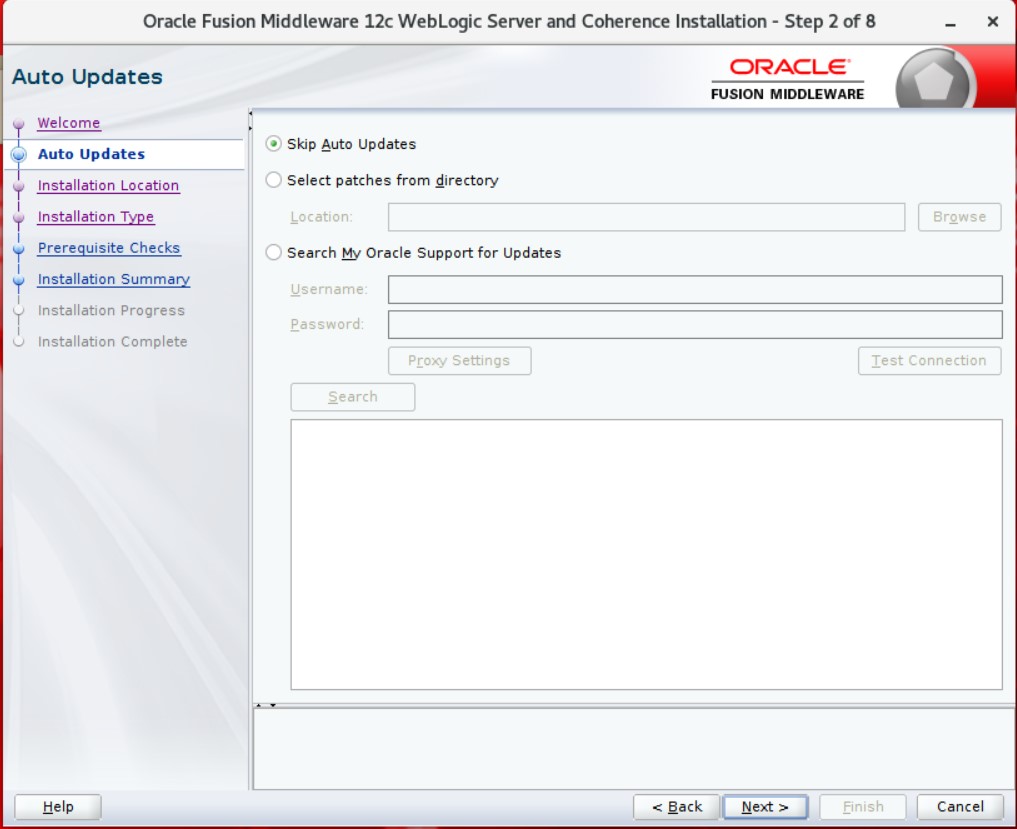
In this step, it asks our Support account to check for relevant updates. We continue by saying “Skip Auto Updates”.
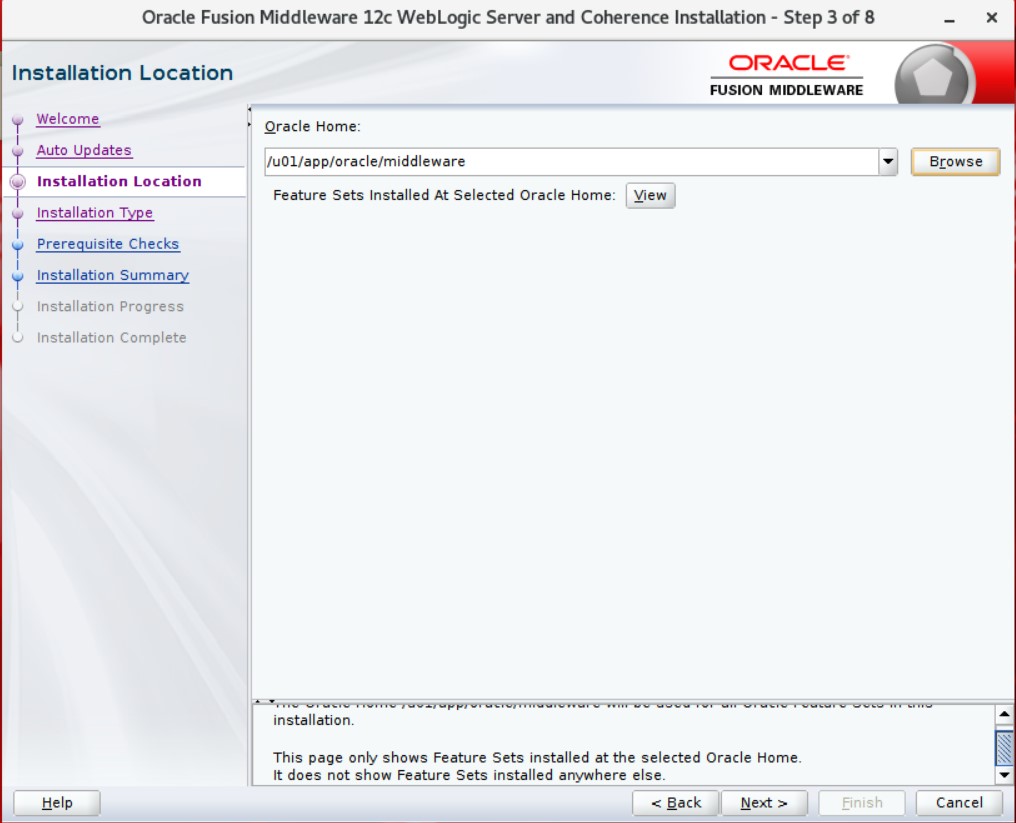
It asks for our folder path for installation. We continue by specifying the folder path.
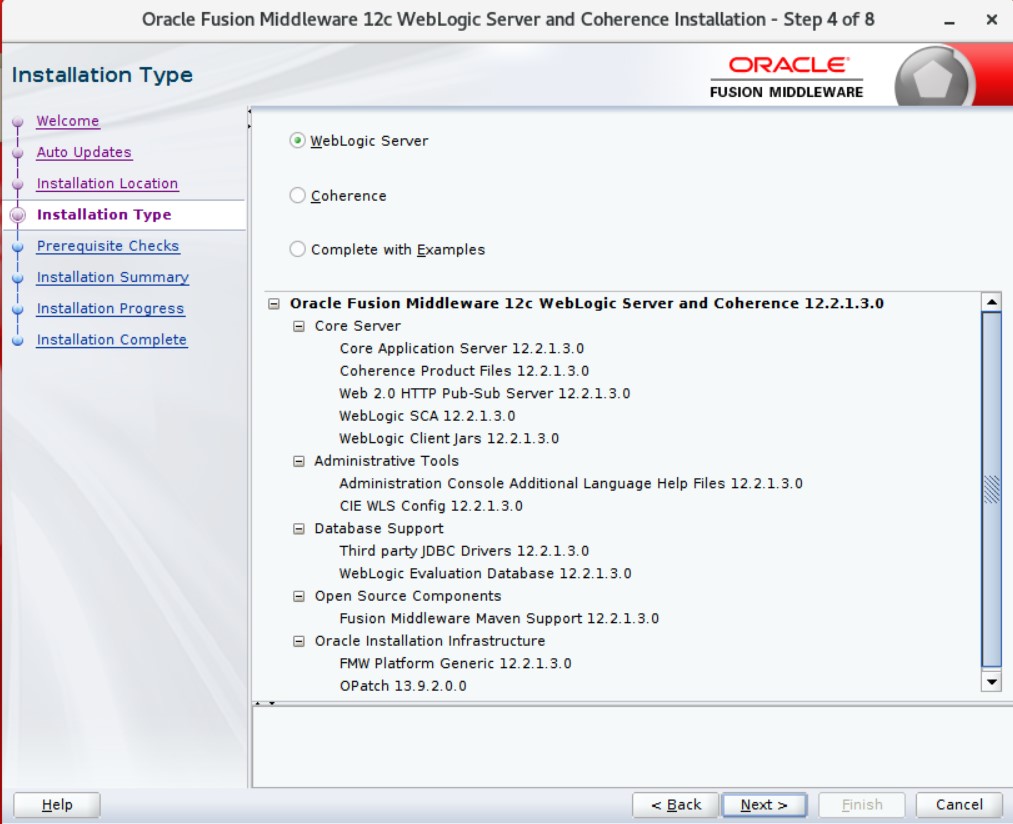
We continue with Weblogic Server selected.
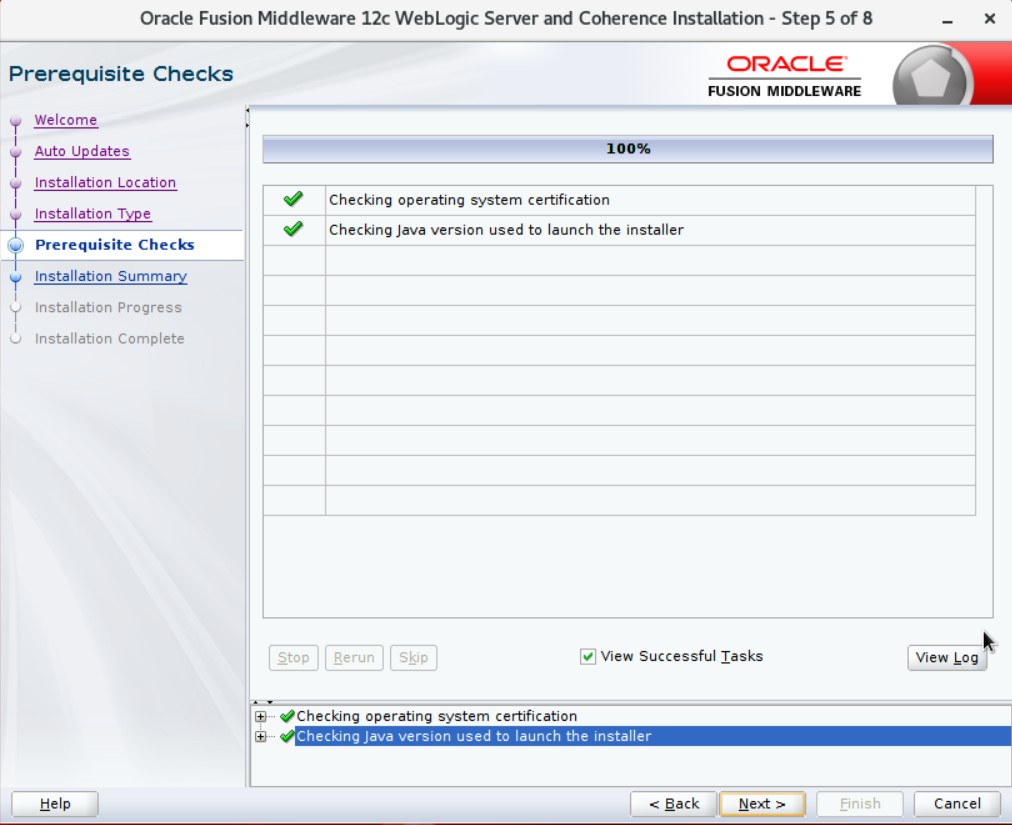
Security and operating system checks were made. We continue.
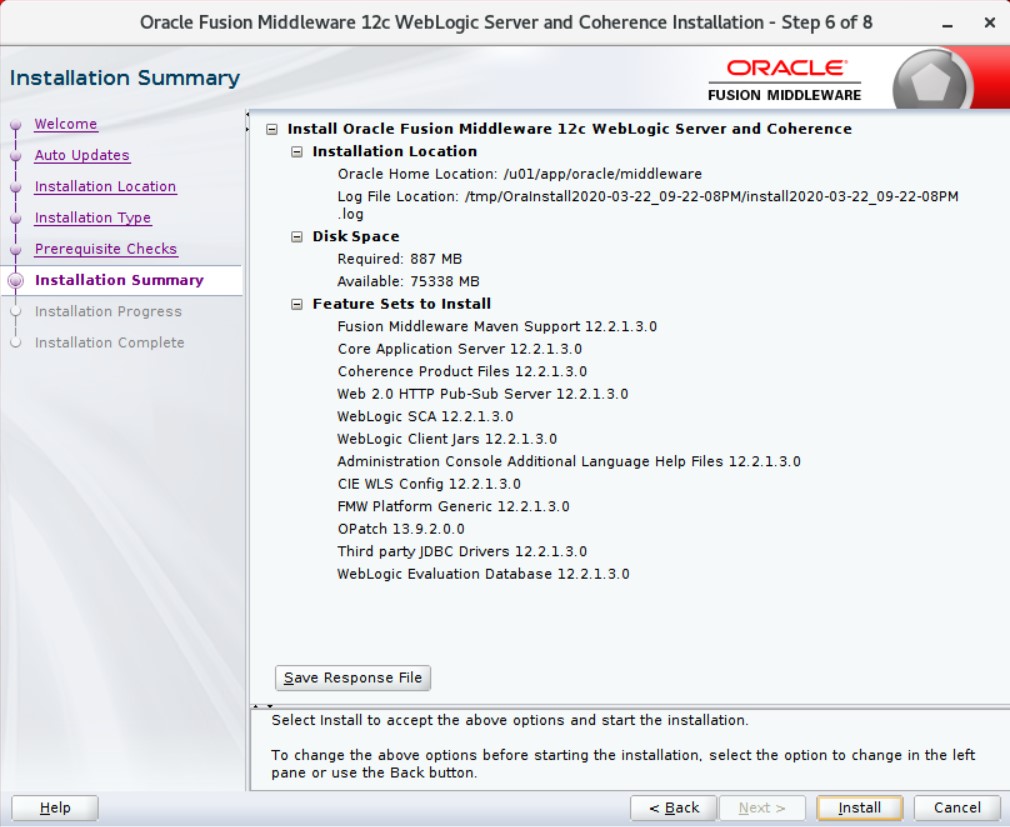
The summary for the installation is displayed. We continue by saying Next.
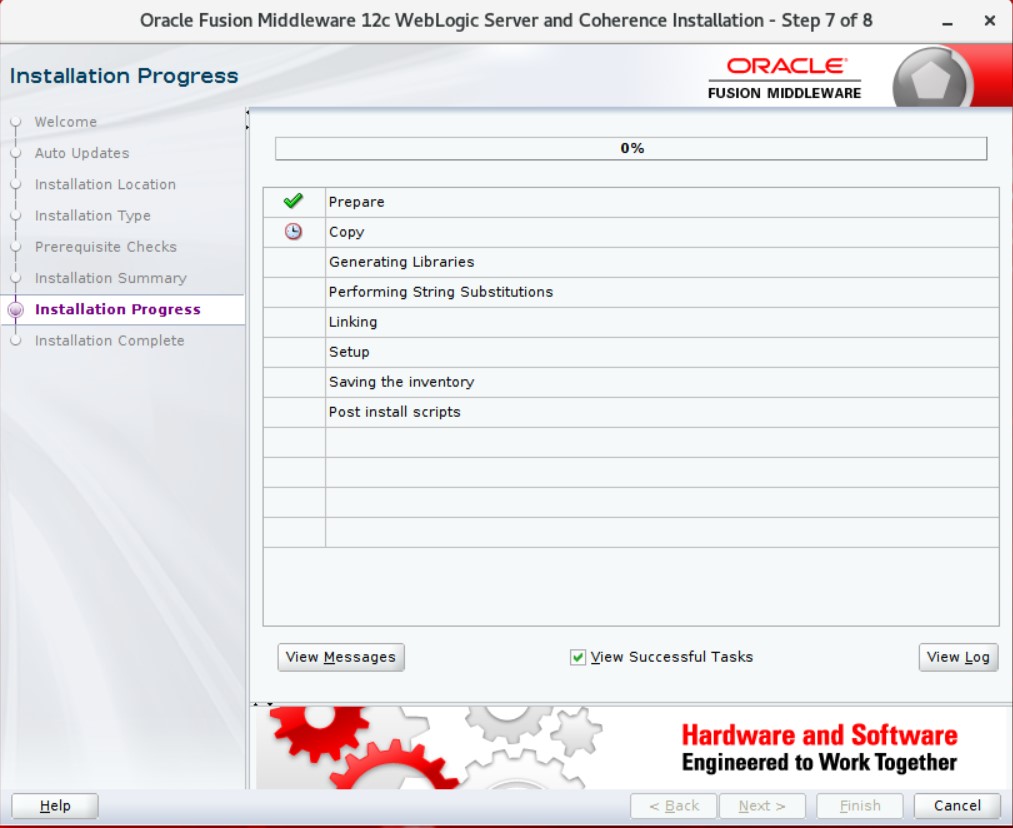
The installation will be in order. We are waiting for the process to finish.
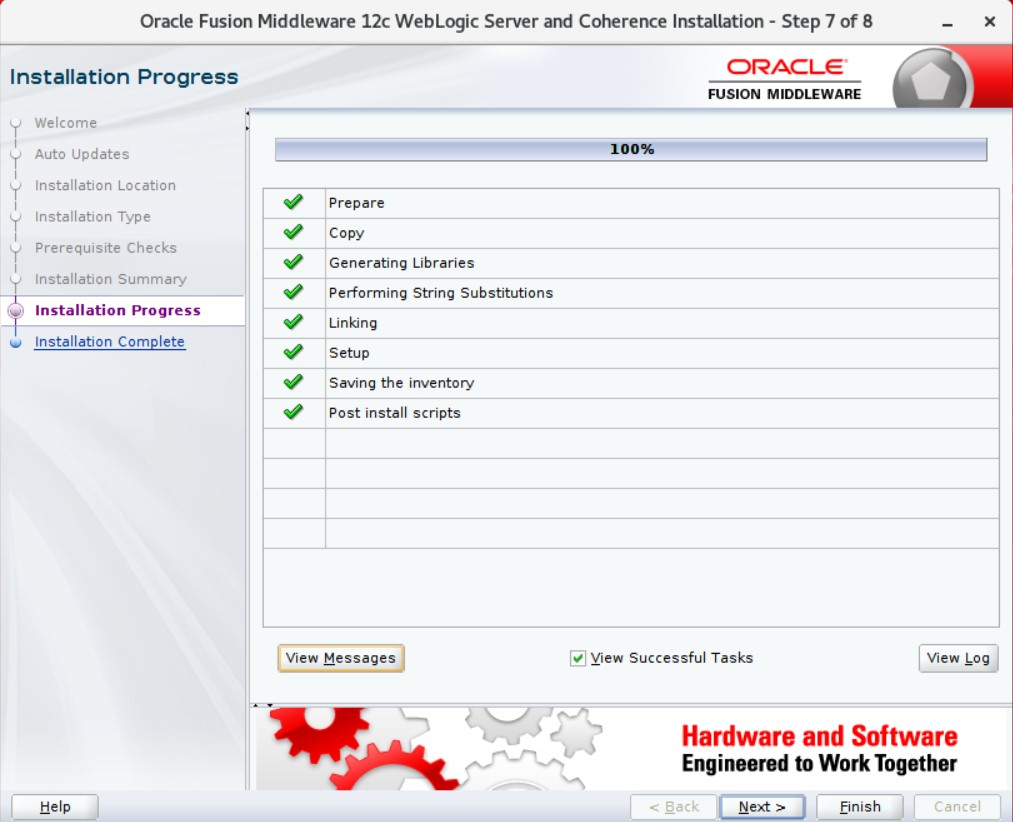
Installation is complete. We continue by saying Next.
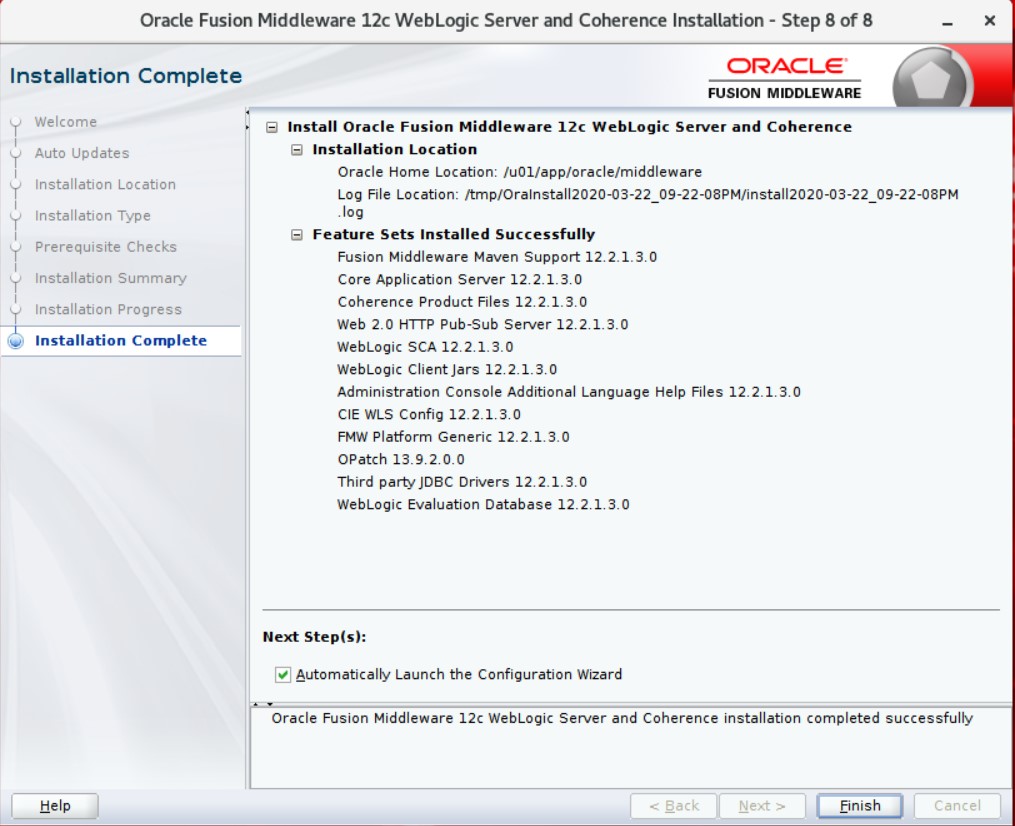
We finish the first step with Finish. Now we have config steps.
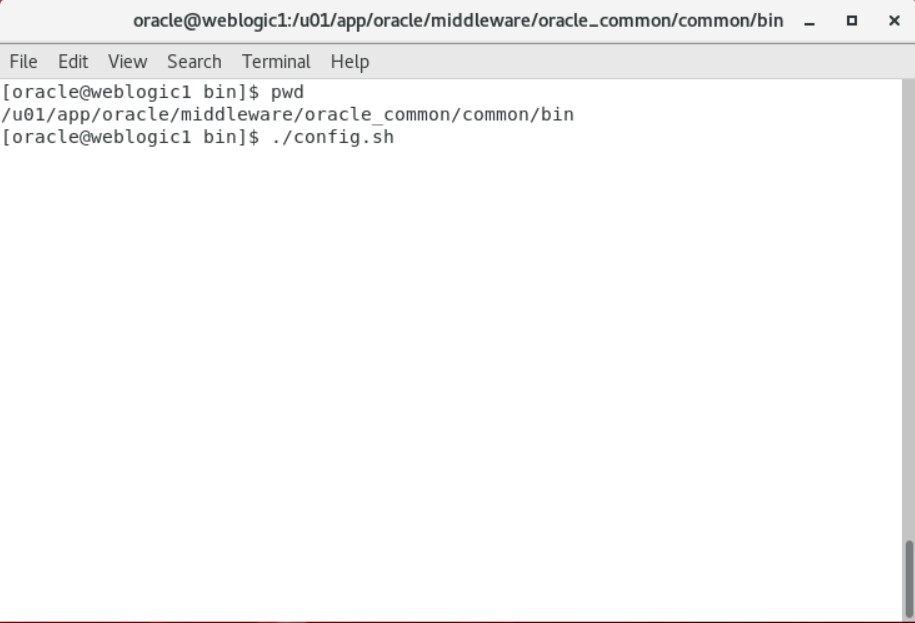
We open a new terminal window and run config.sh by going to the relevant folder as in the example above.
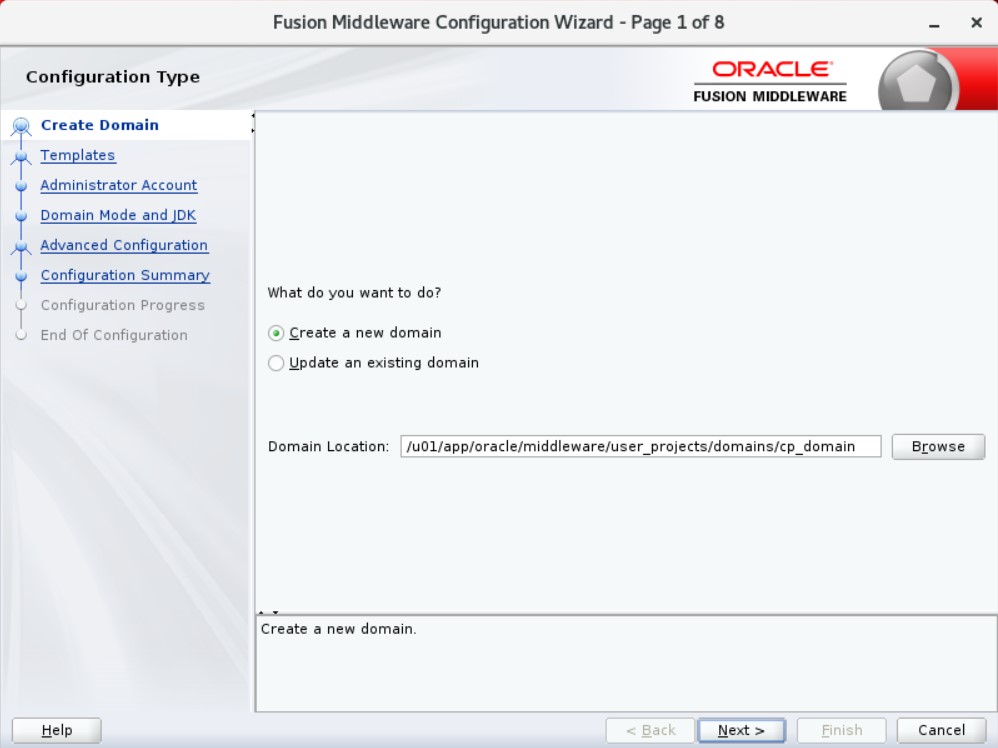
We will set up a new domain. For this reason, we leave it as above and continue with Next.

It asks what templates it will be. We leave it as it was and move on.
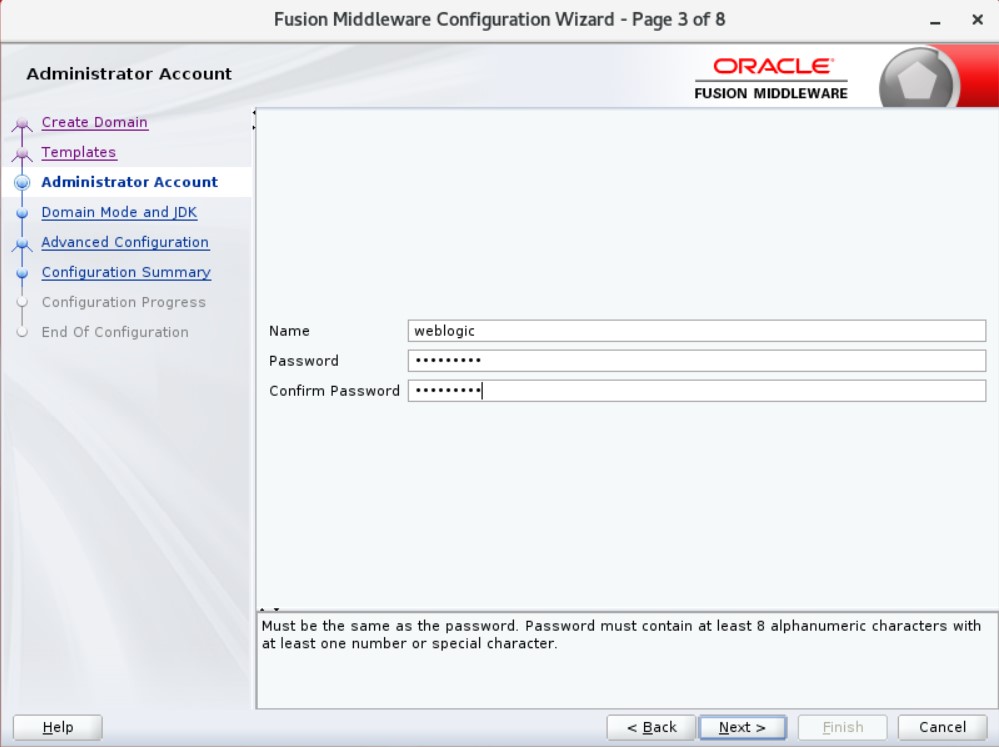
The app asks for a password. Will need it later. We set an unforgettable password.
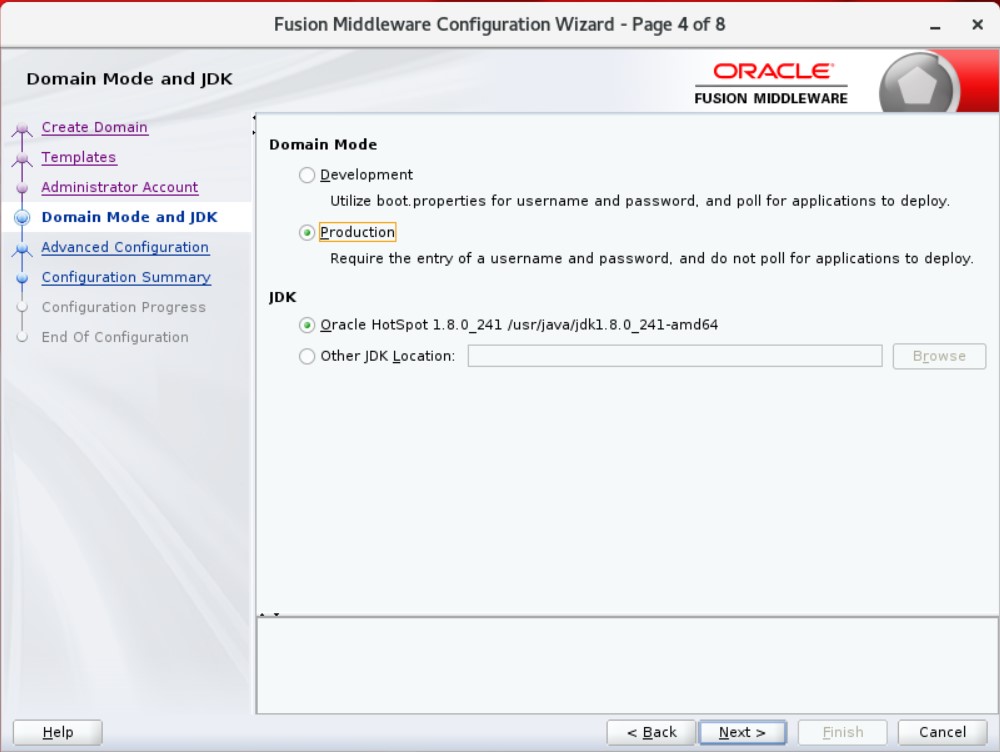
It can be used in Weblogic development and production environment. Since we will do tests, we continue with the Production option.
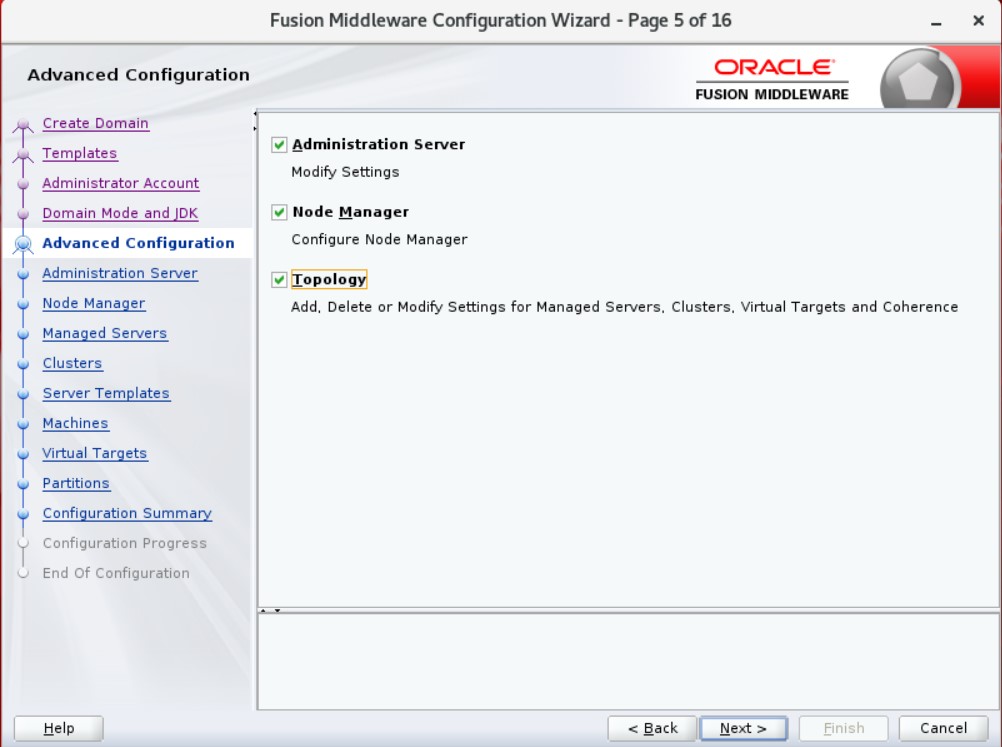
We will have automatic transactions on Weblogic. We continue by choosing three options.
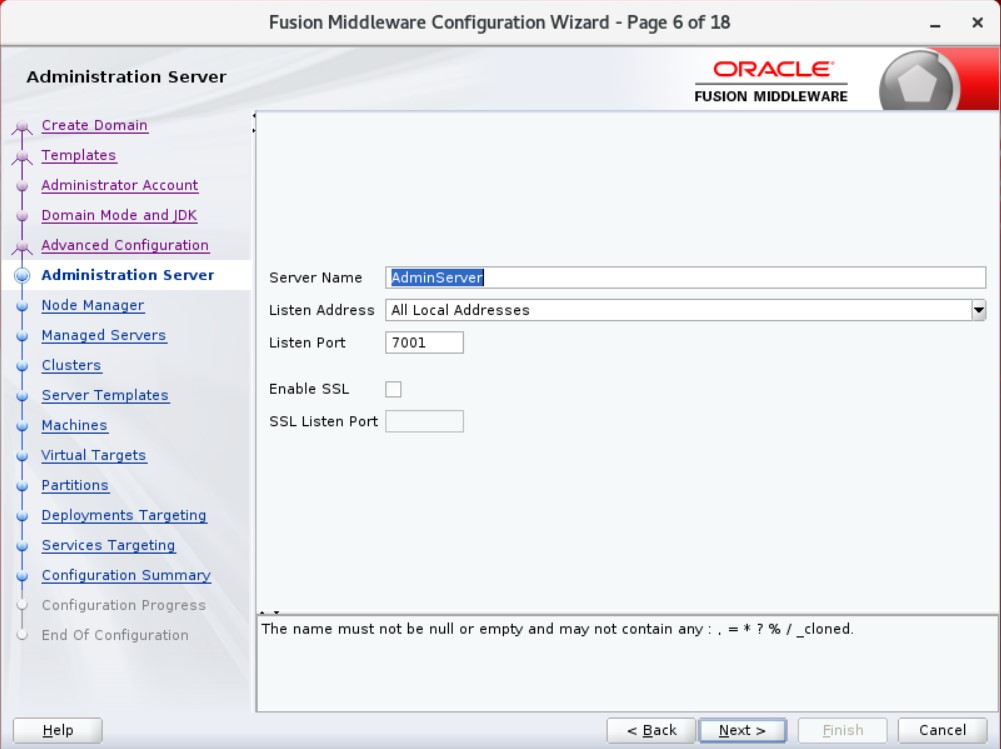
We will make our settings for AdminServer. We leave it as it is.
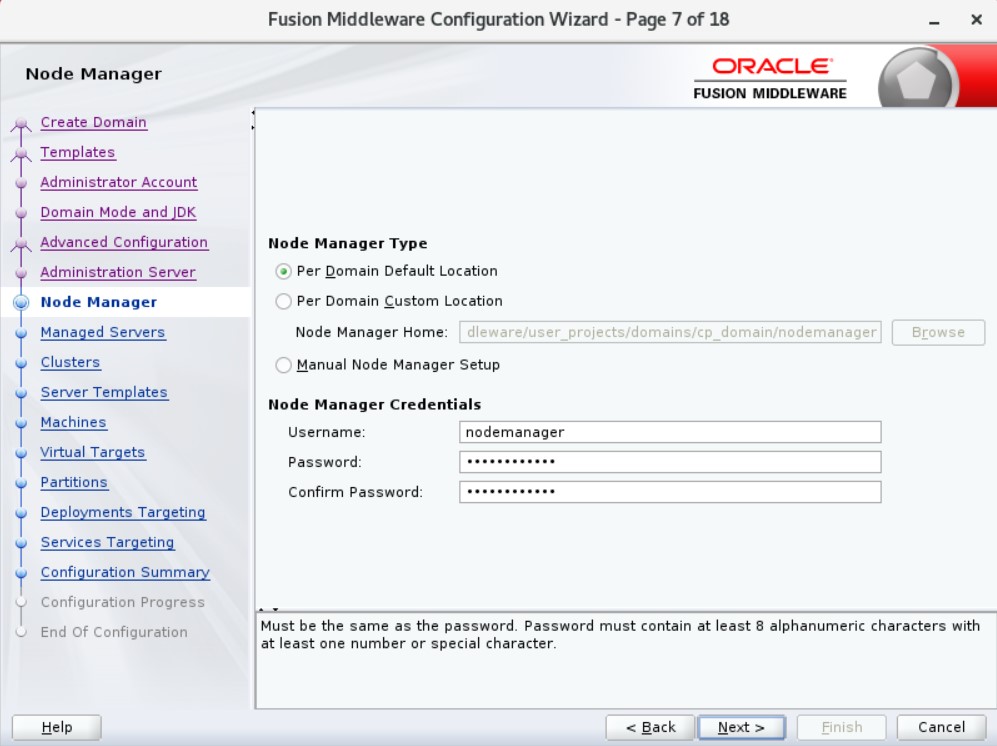
Nodemanager is a tool for controlling servers on Weblogic. For this, we continue by specifying a username and password.
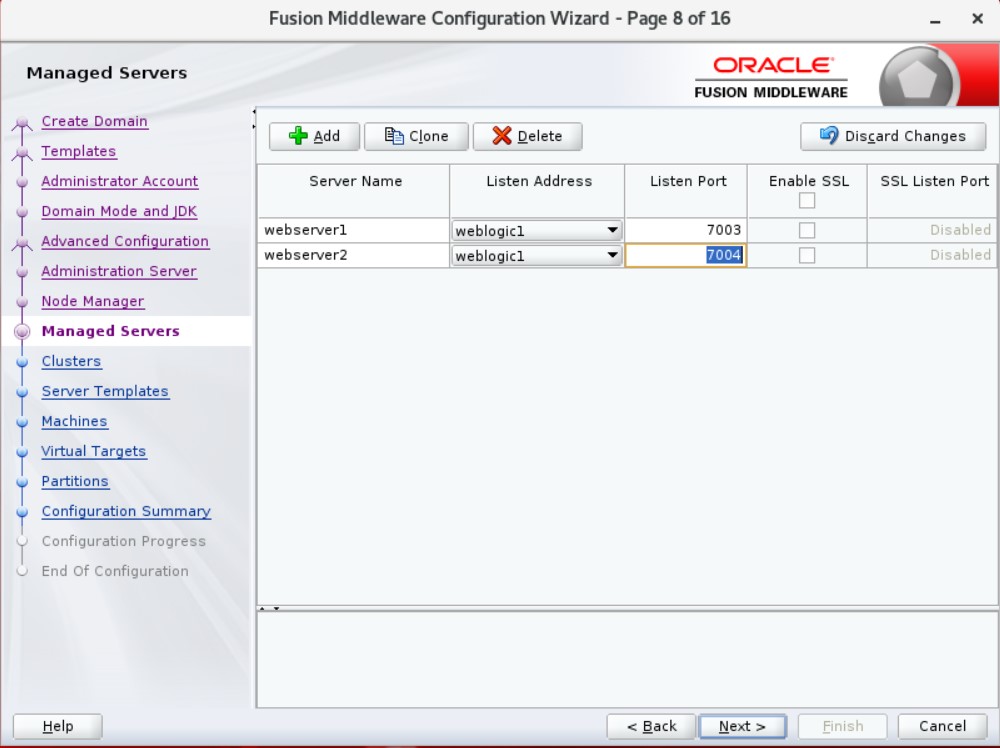
We will organize the cluster structure in the future. I am opening 2 ManagedServers as preliminary. Then we can open them via console.
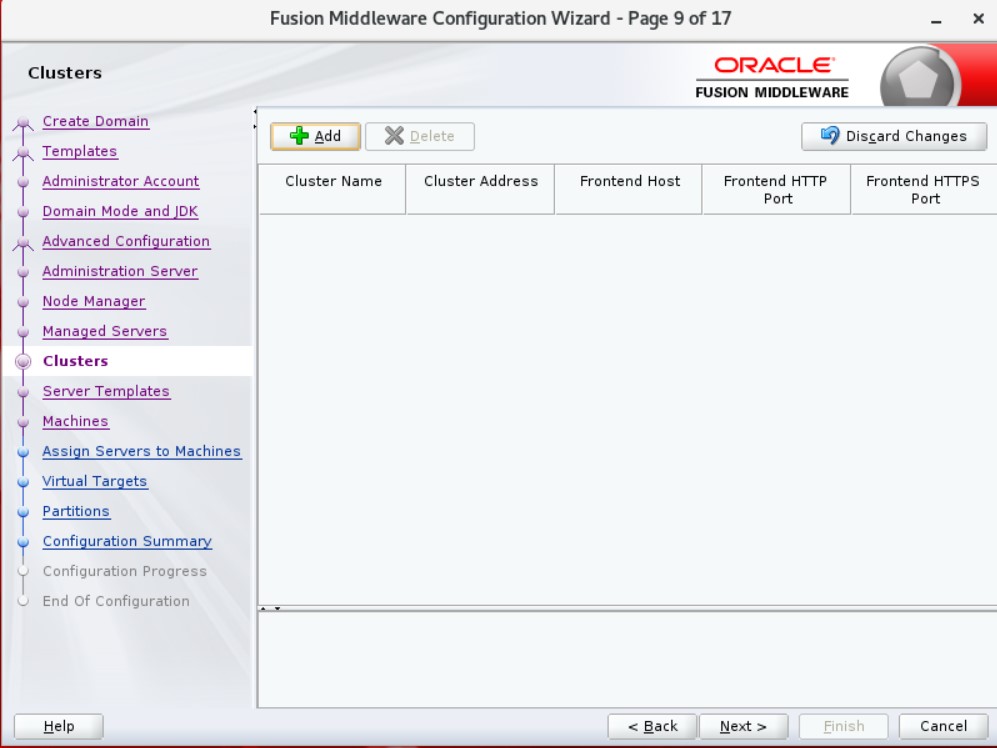
We leave our cluster option as it is and continue.
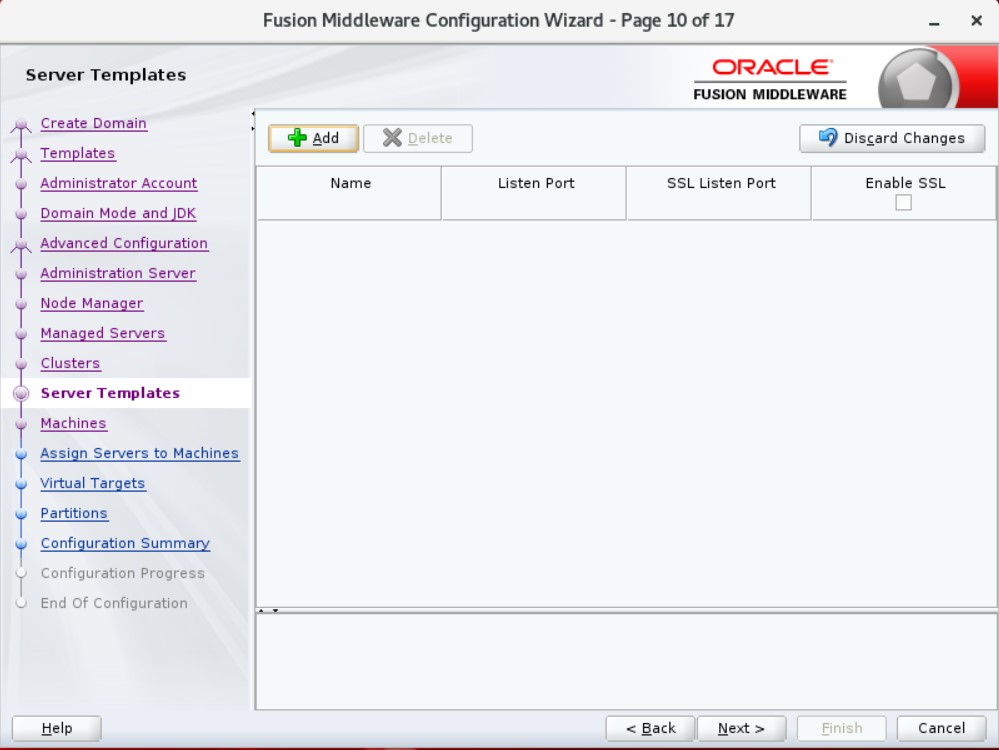
Next and continue.
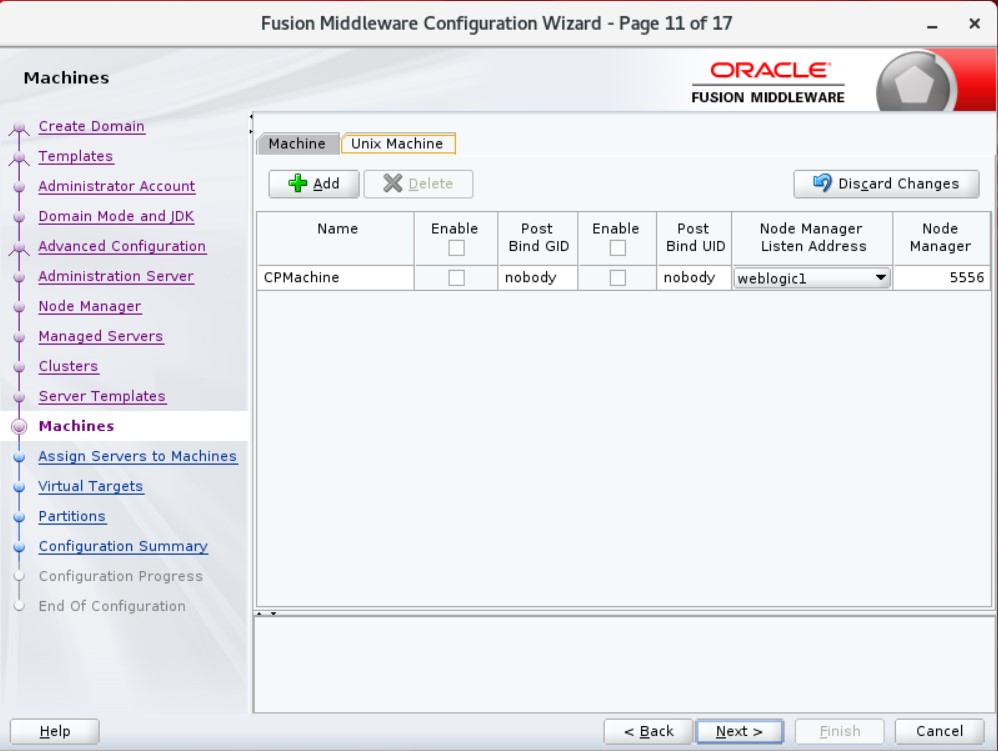
We are making an addition as Unix Machine. Then we will automate it by adding ManagedServer under it.
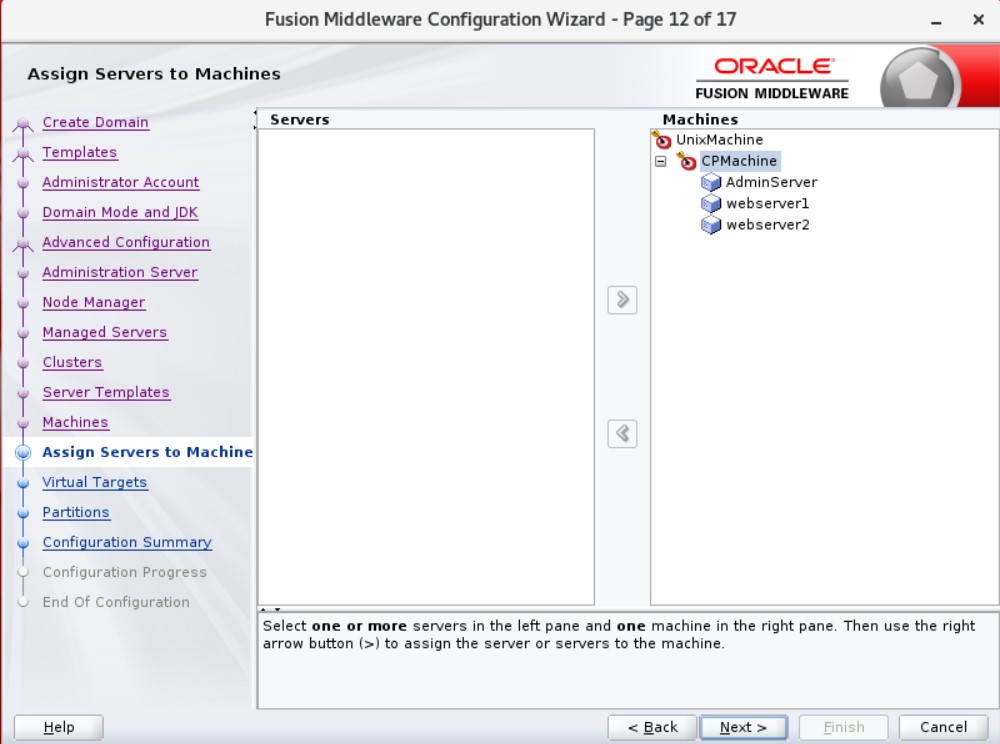
We add our 3 servers under Machine.
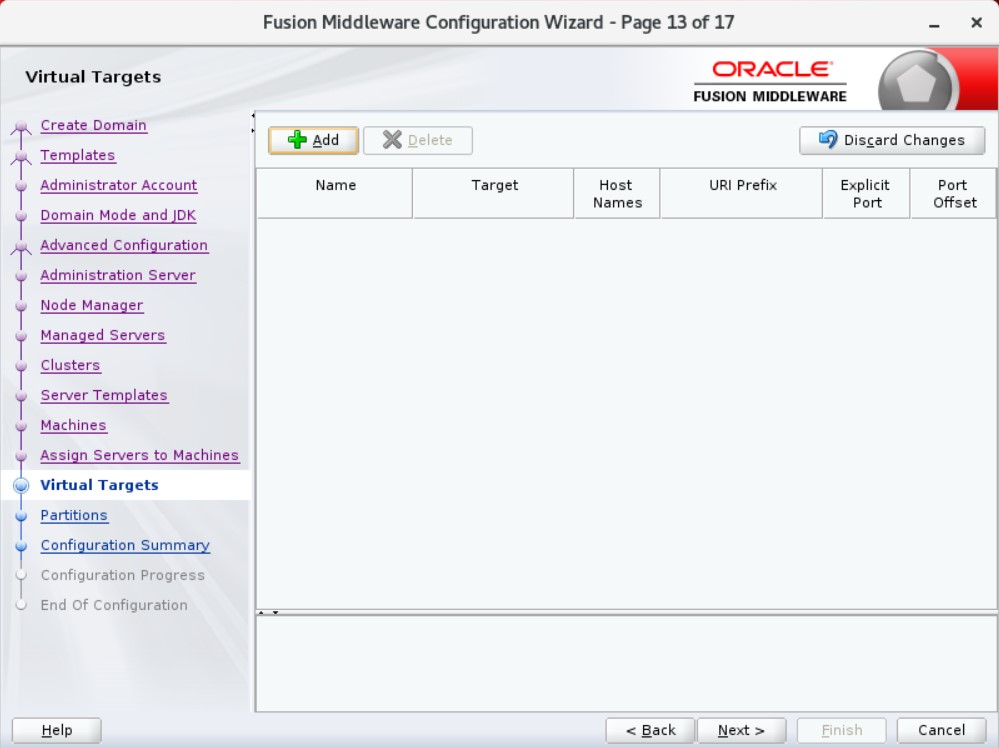
We continue by saying Next.
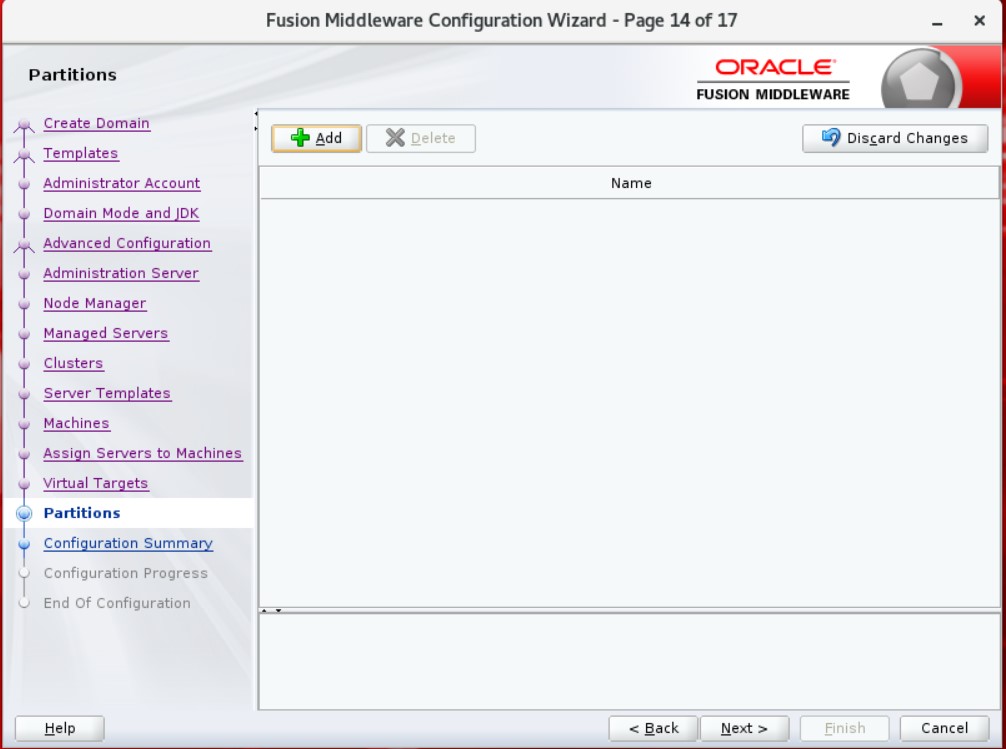
We continue by saying Next.
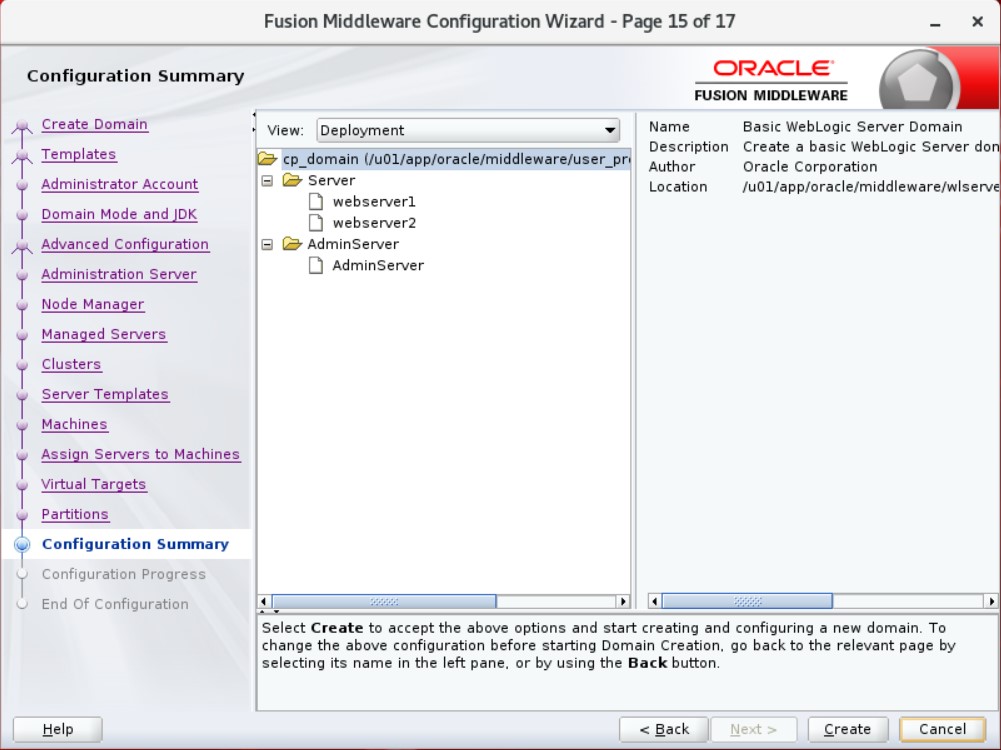
We continue by saying Next.
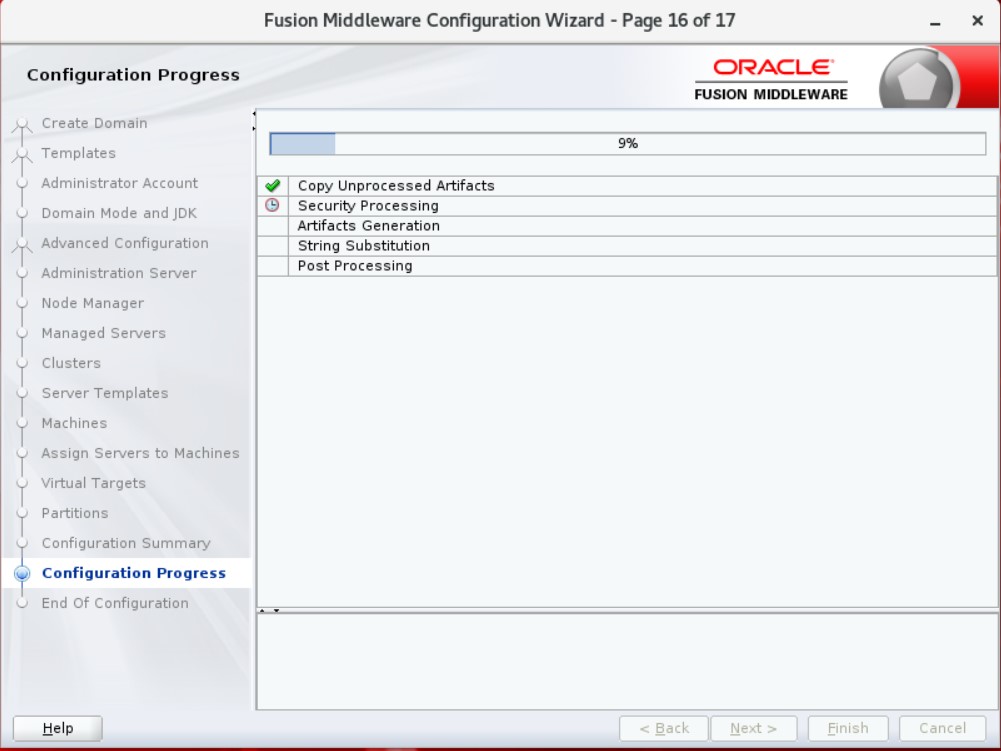
Installation starts.

Installation completed successfully. We continue by saying Next.
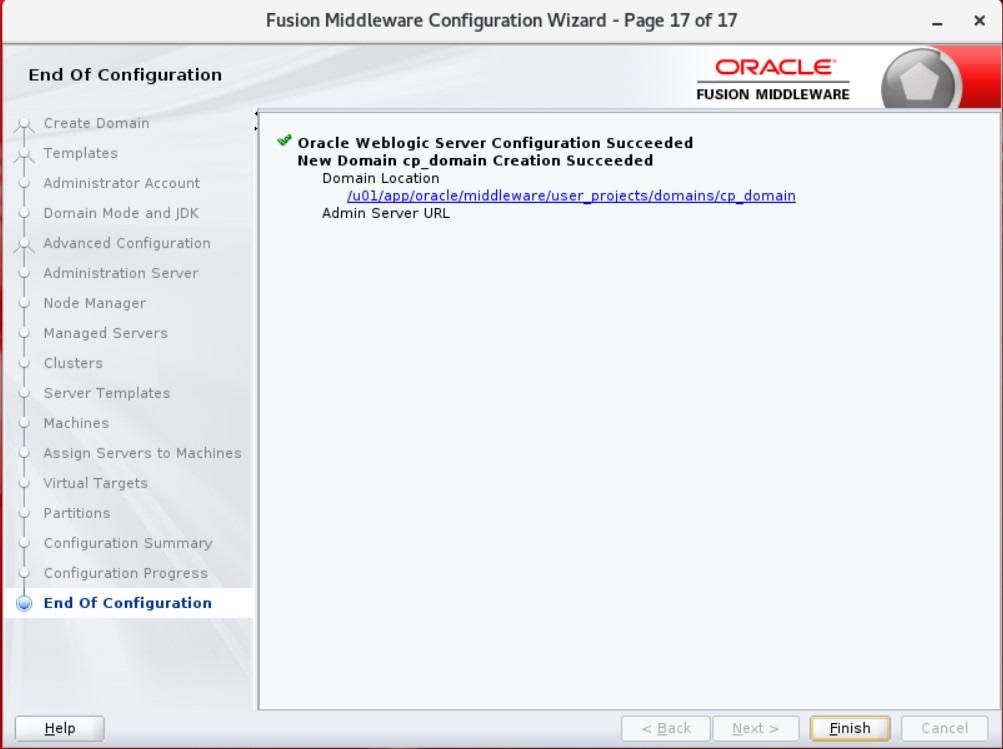
We close the screen by clicking Finish. Now we will run AdminServer.
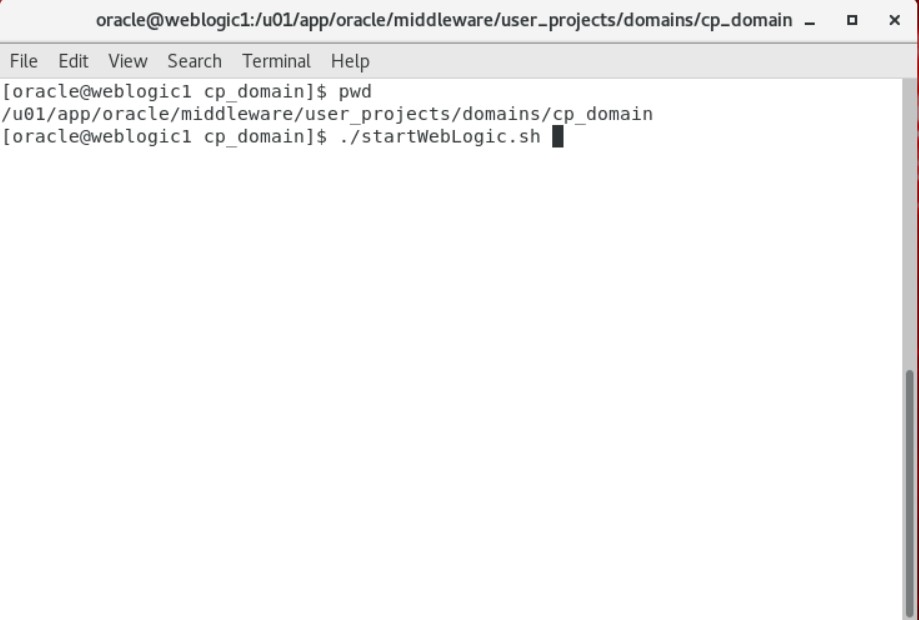
We open a new console and run the StartWeblogic.sh file under cp_domain.
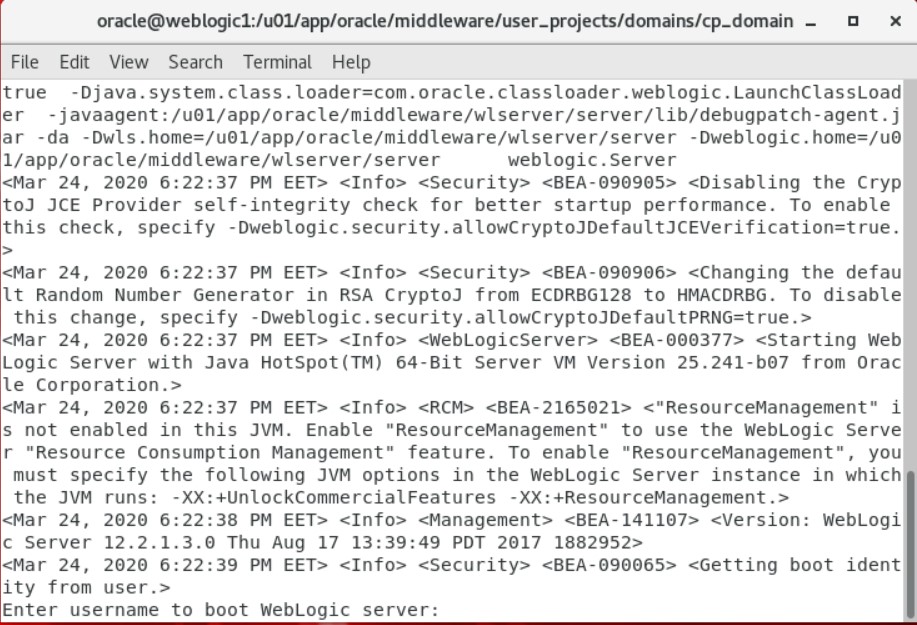
It asks us for username and password. We enter the password that we have assigned as the “weblogic” password as the user name.
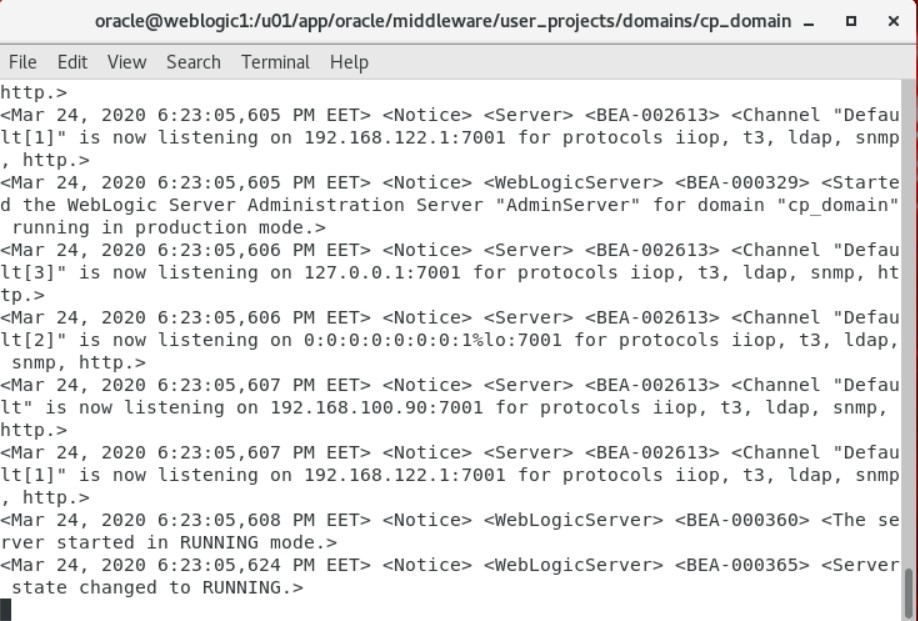
Now that we have seen the Running mode, our operations have been completed without any problems. Now we can enter the interface.
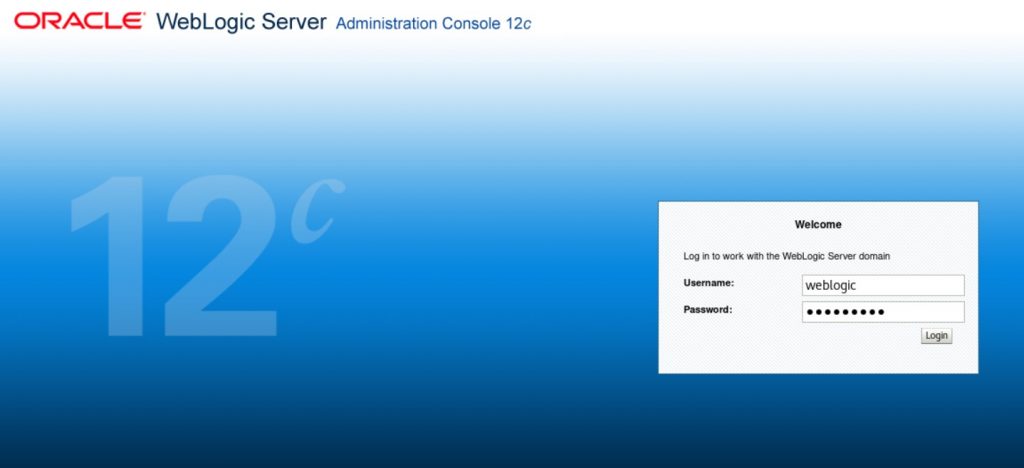
You can connect with http://ip_adresi:7001/console.
We have completed the first step of Oracle Weblogic server installation. In the next steps, we will explain Node Manager configuration and Cluster structures.
![]()