Oracle ZFS Storage Simulator enterprise is an appliance environment published by Oracle to understand the capabilities and usage of Oracle ZFS Storage Appliance.
Although the installation of the Simulator is quite simple, it can be easily installed in “Oracle Virtual Box” and Vmware environments.
Some use cases for the simulator:
You can try software patches on the new ZFS Simulator before applying the Oracle ZFS Storage Appliance upgrade.
You can only test supported HCC feature for Oracle Exadata and ZFS Storage Appliance.
You can test features such as Snapshot, Clone Database, HCC, Deduplication.
Most importantly, you get a real idea before you buy Oracle ZFS Storage Appliance.
Now we can start the installation. I will do the installation on Oracle Virtual Box.
ZFS contains the Simulator.ova file and I start my virtual server after importing it.
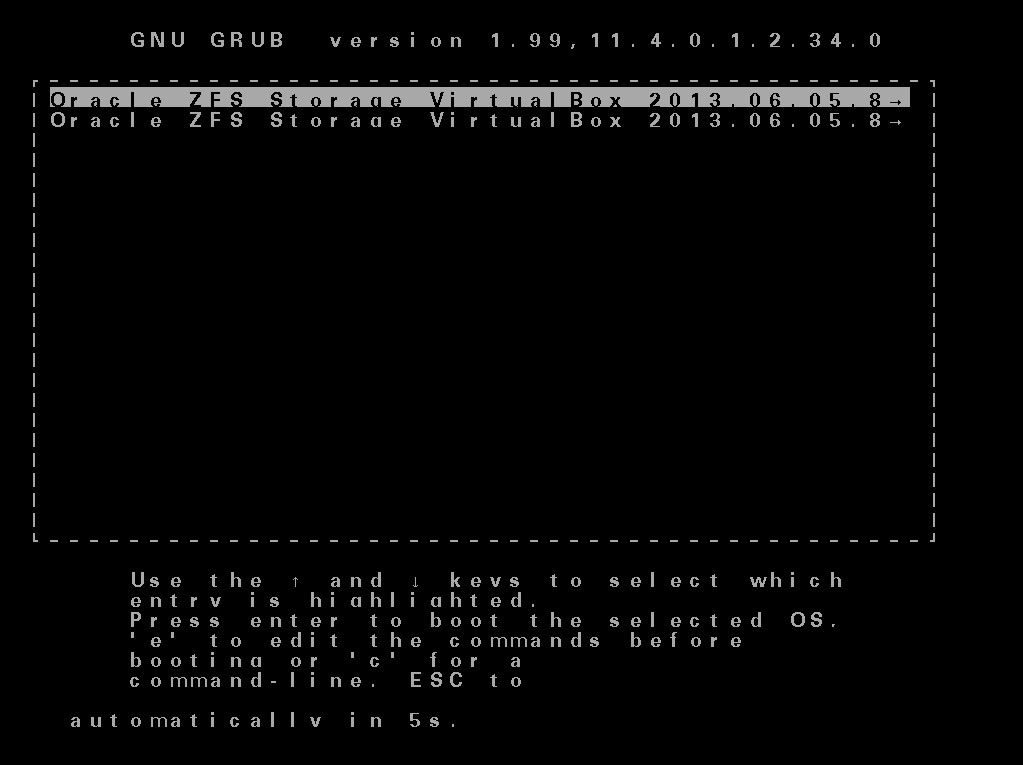
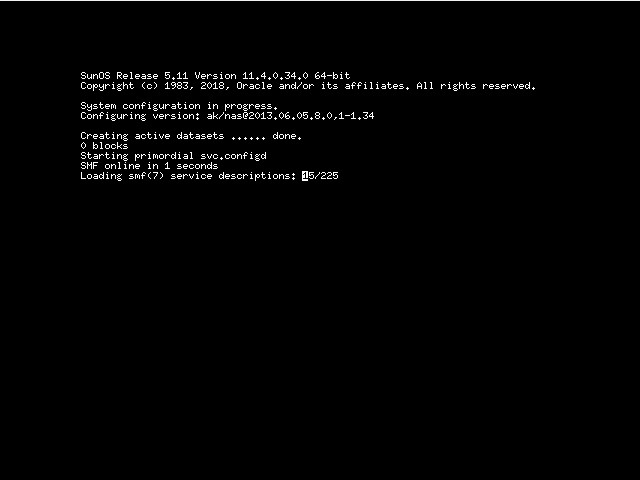
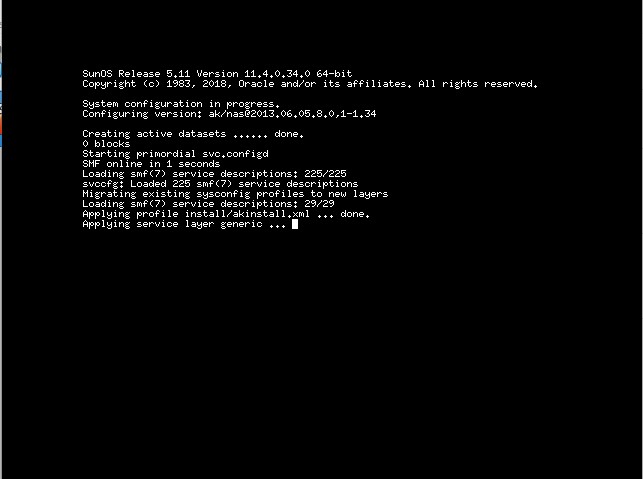
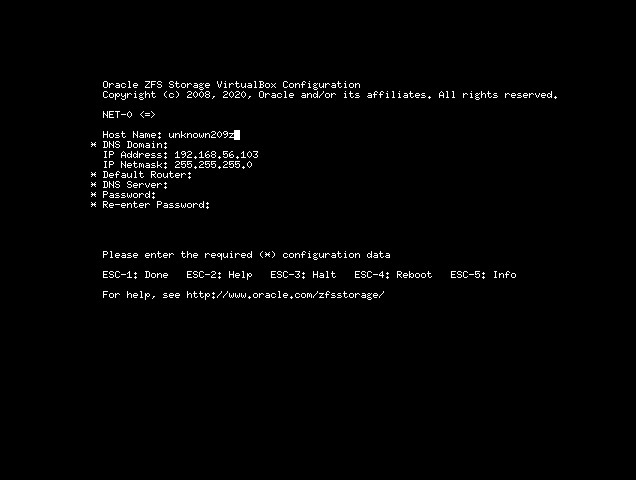
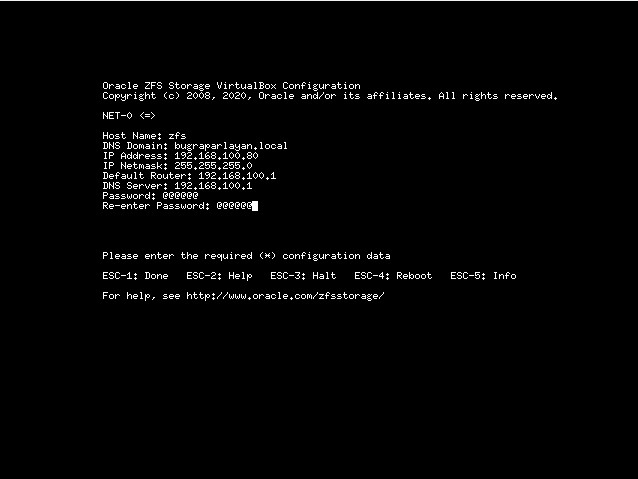
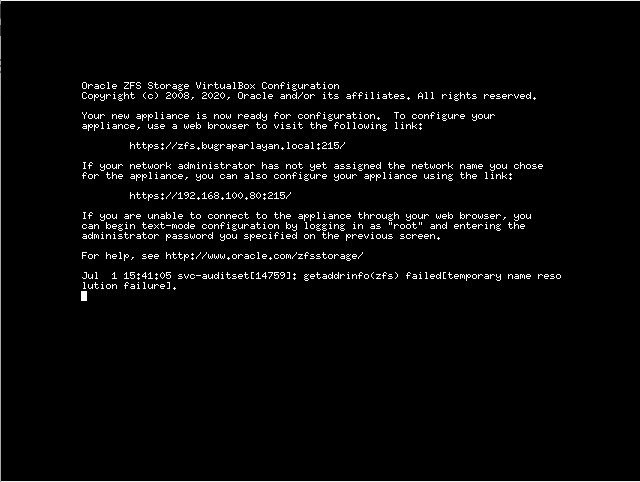
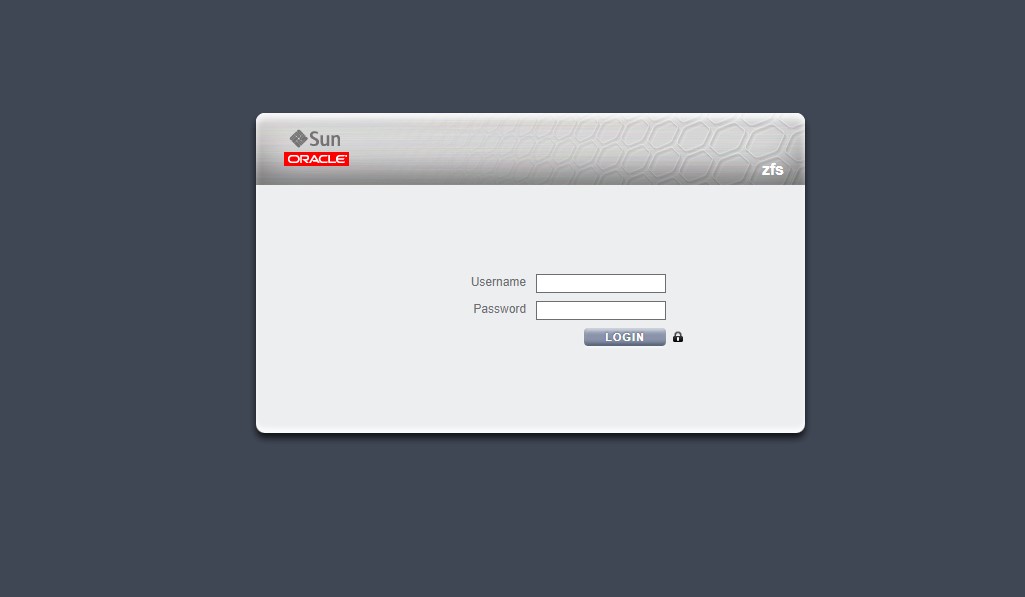
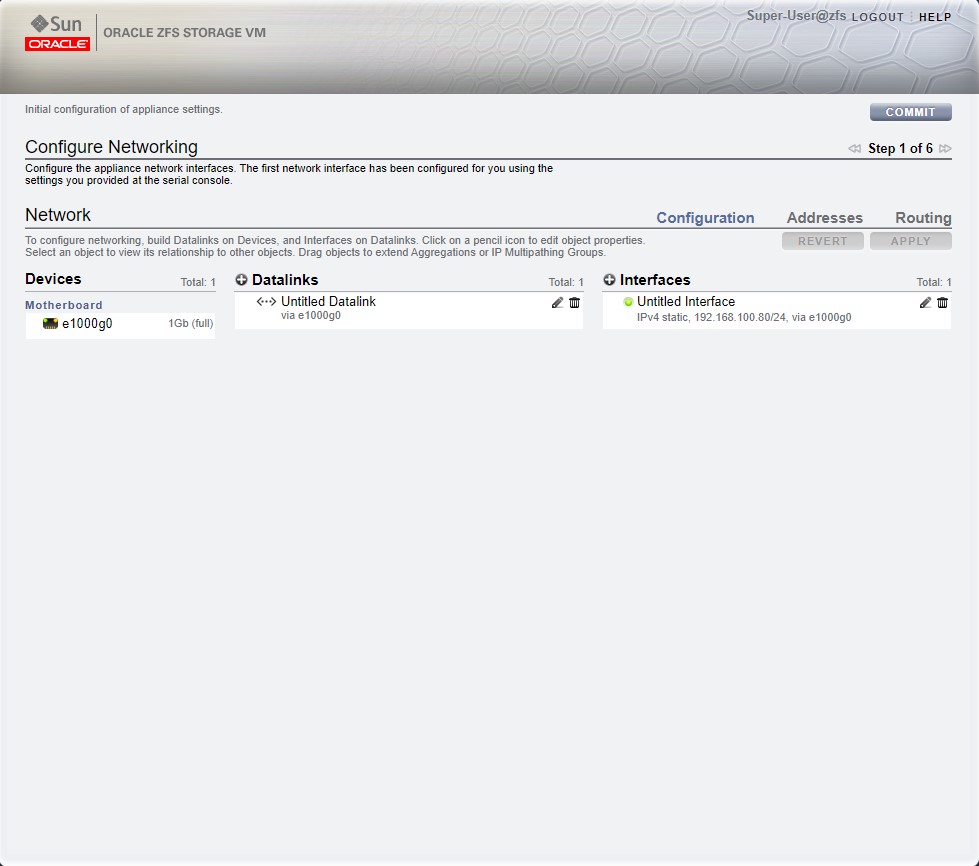
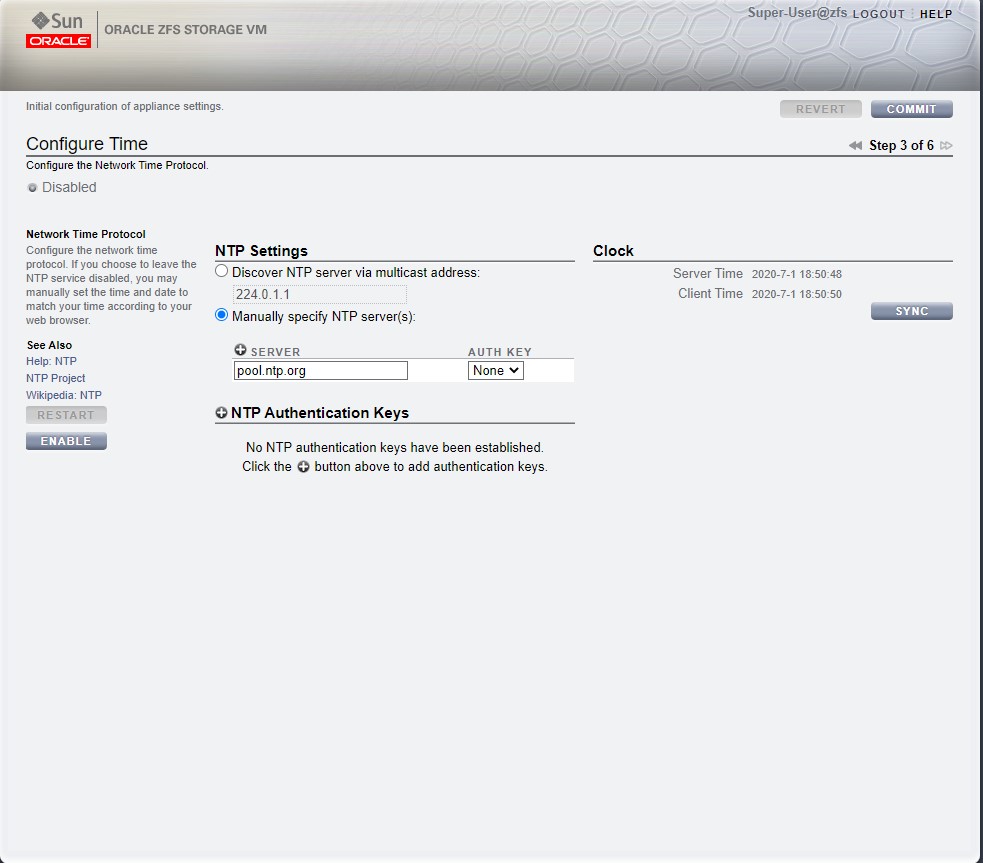
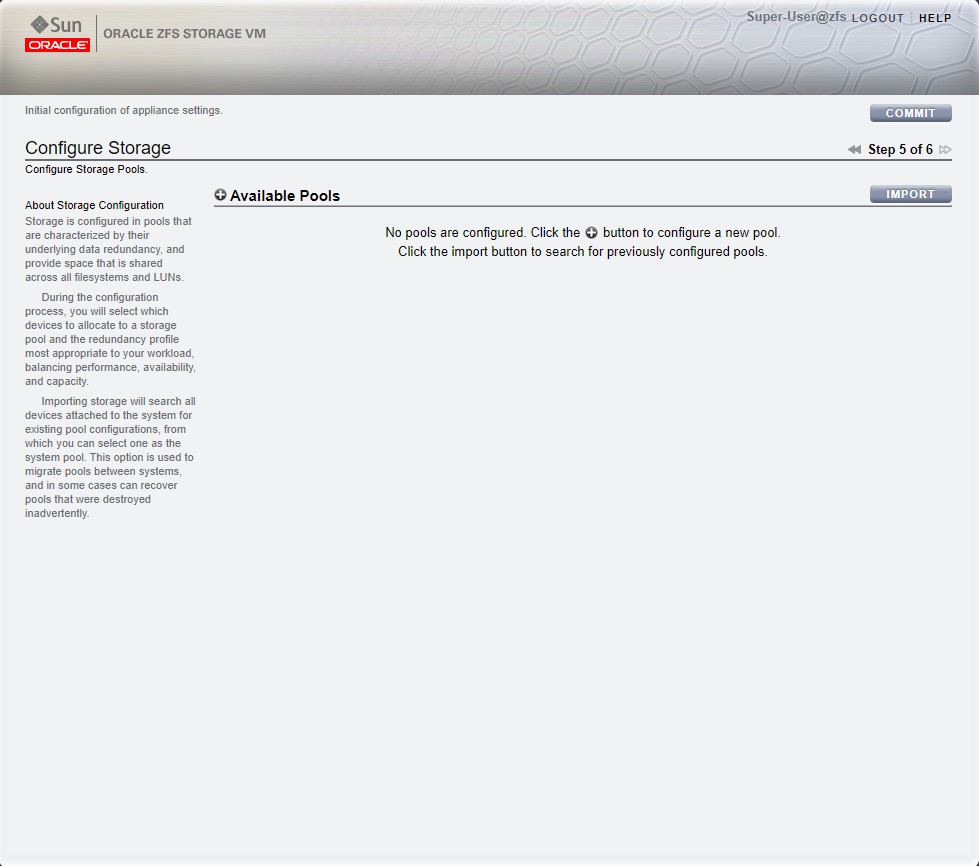
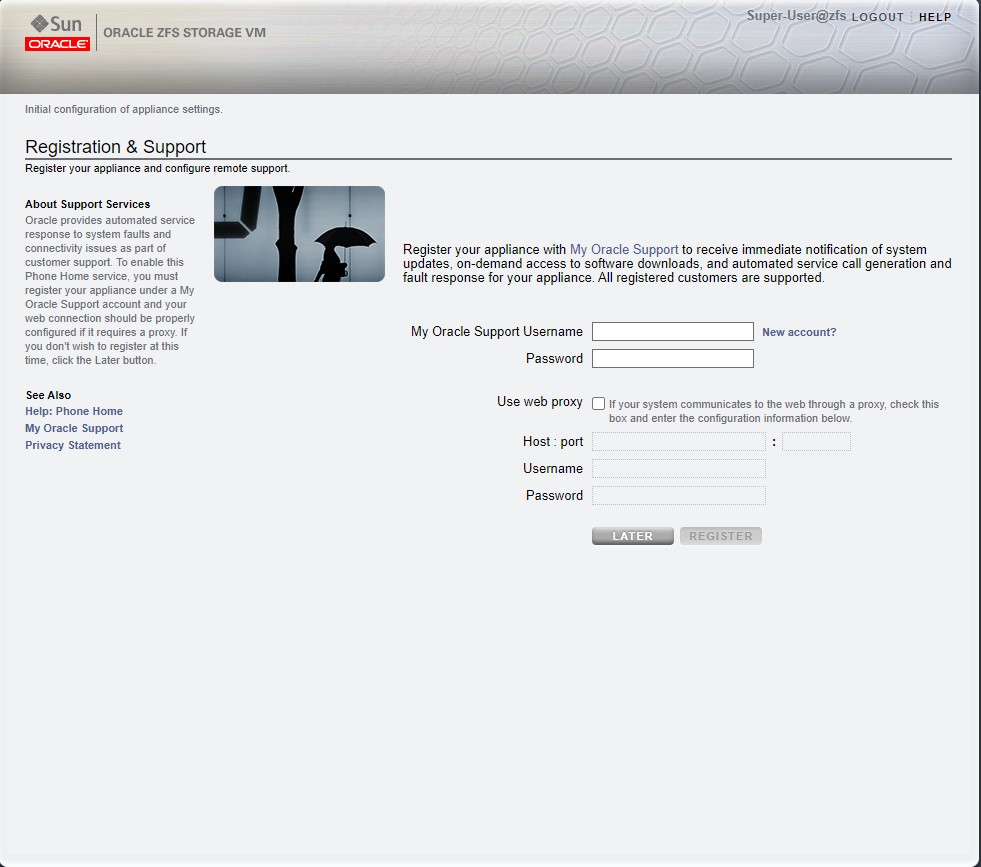
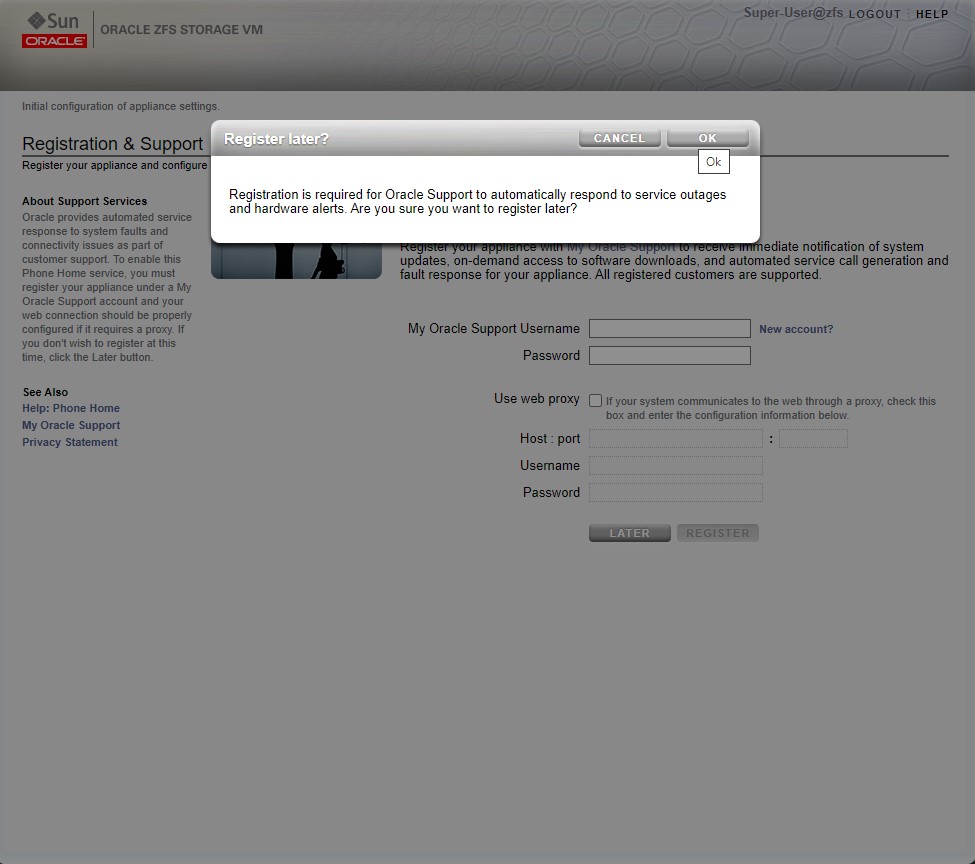
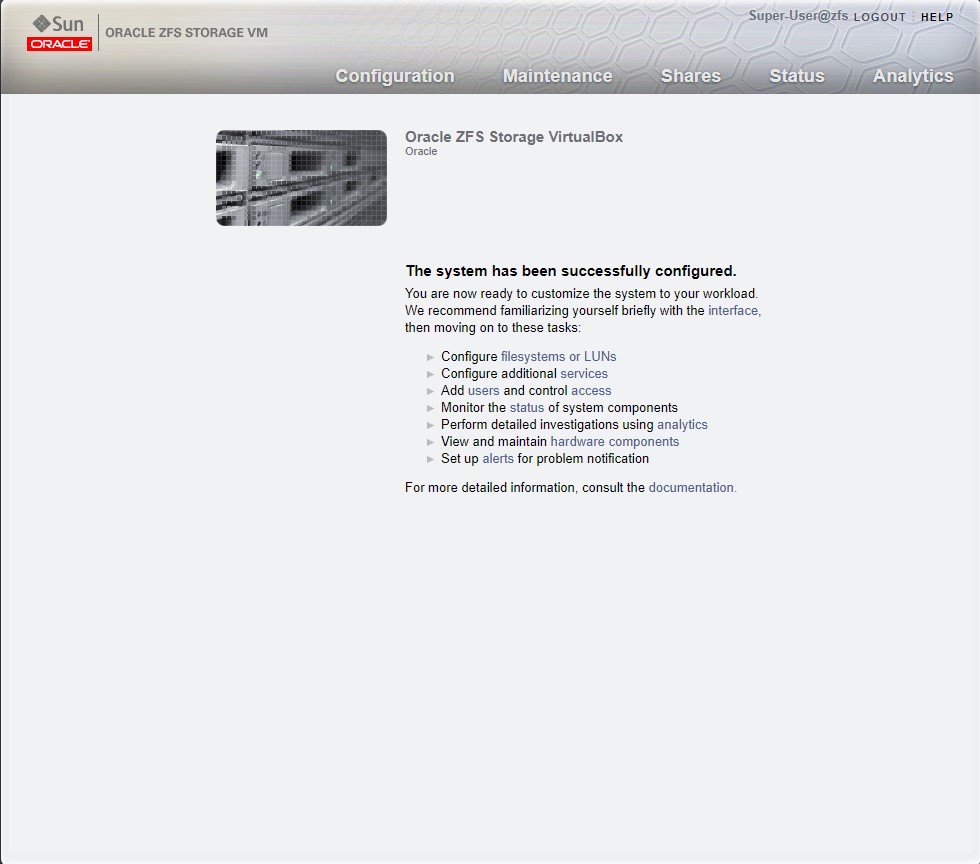
The boot screen welcomes us, following the instructions, we start the installation steps with the “enter” key.The simulator will run tests and install on our virtual server. Depending on the source you provide to the virtual server, this process may take a short or long time.Our services are being adjusted.In this part, it asks us for the hostname and IP information to access the ZFS Simulator. We fill in the necessary information.We filled in our information. It asked us for a password but not a username. This is because the user name is automatically “root” because SunOS is used.After entering our information, the installation was completed quickly. If you want to go with the host name, the host information is written on the screen, and if you want to go with the IP, the ip information is written. Our port number for connection is ” :215 “”We will make a final configuration by entering our password with the username “root” through our browser.We are reviewing our network information for the last time and press the “COMMIT” button in the upper right corner.On this screen, it asks us to set the NTP settings. We can make the necessary settings manually or you can connect to an NTP server. After the settings are made, we continue with the “COMMIT” button.Here we are asked to create a POOL for later use. FTP , NFS etc. to these POOL fields we created. We will have access with protocols. For this reason, I leave it blank for now and go to the next step with ” COMMIT ”.If there is, we enter our oracle support account. We’ll talk about the benefits later. I go to the next step by saying “LATER”.It gives a final warning, but I pass with the “OK” button.Oracle ZFS Storage Simulator installation is complete.
As seen in Oracle ZFS Storage Simulator, the simulator setup is very fast and simple.
In other sections, we will discuss the product’s menus, technical configuration and capabilities by connecting to an Oracle database running in the test environment.
Burgra Parlayan is an experienced Database and Weblogic Administrator. After completing his technical / relevant training he has got involved with a serious amount of projects. He successfully managed database upgrade, database migration, database performance tuning projects for various public institutions.Currently he has been employed by one of the leading financial institutions called Turkiye Hayat & Emeklilik as responsible administrator for Oracle Database and Oracle Middleware. He has been sharing his experience and knowledge by face to face training, personal blog and various social networking accounts to support the Oracle ecosystem continuously since 2010.
 Database Tutorials MSSQL, Oracle, PostgreSQL, MySQL, MariaDB, DB2, Sybase, Teradata, Big Data, NOSQL, MongoDB, Couchbase, Cassandra, Windows, Linux