We will complete our installation-related sections in order as follows.
Part 1: Oracle Linux 7 Operating system installation Part 2: Gird Infrastructure preparation and setup Part 3: Oracle Database 19c preparation and installation
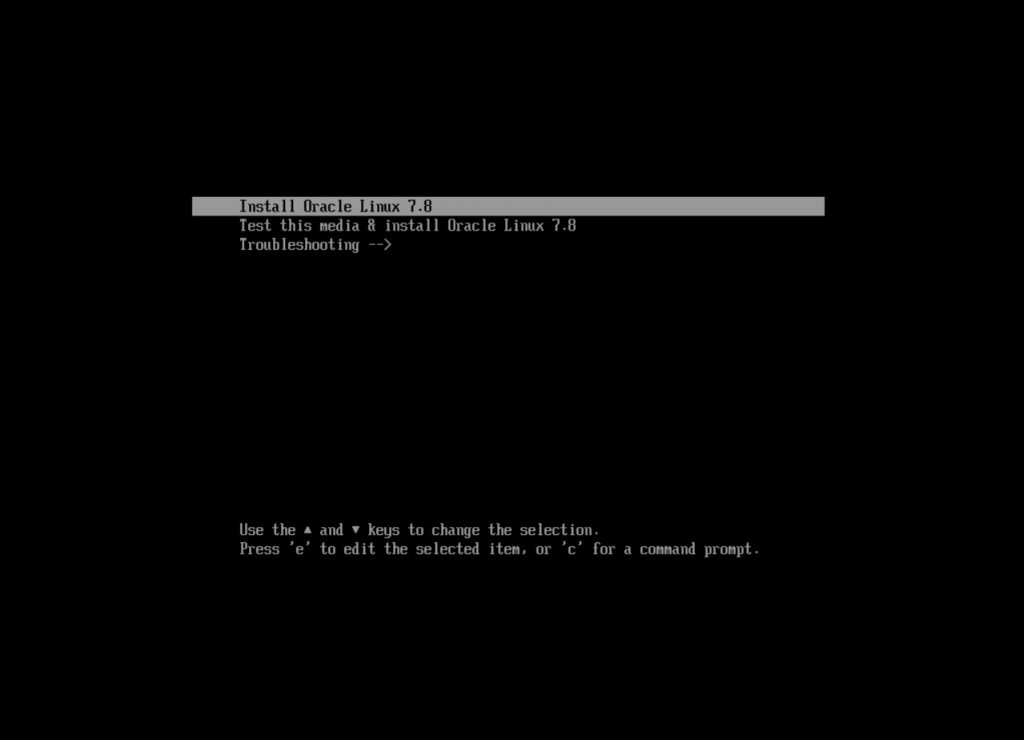
We start the installation by mounting the operating system .iso file that we downloaded from Oracle.
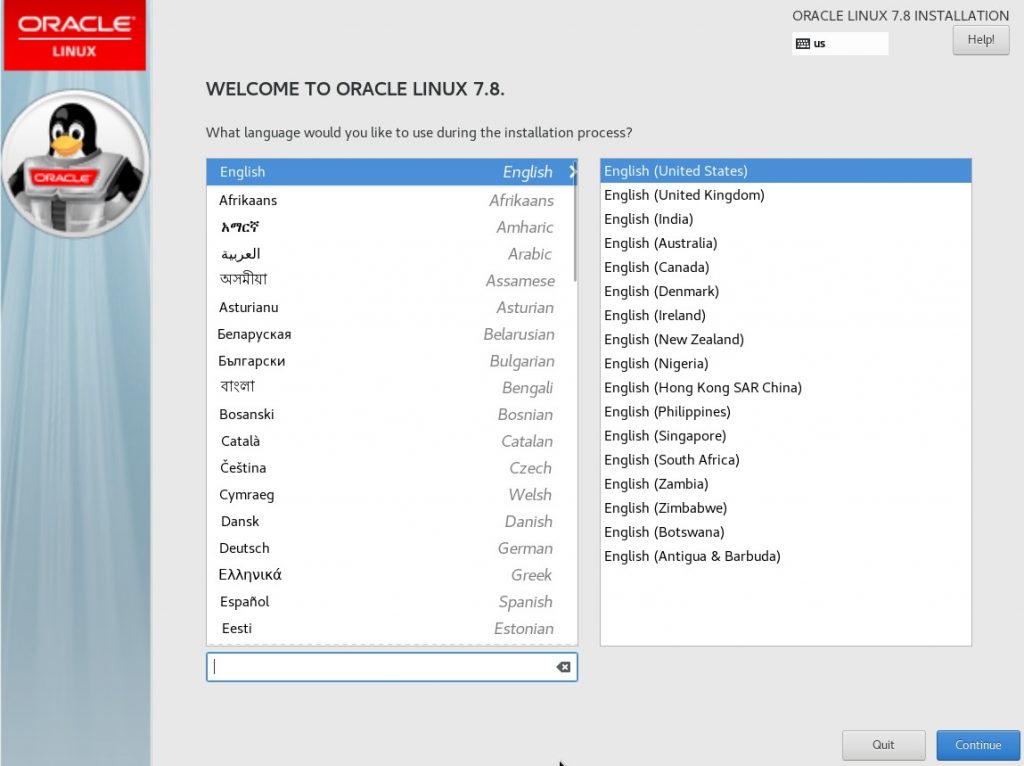
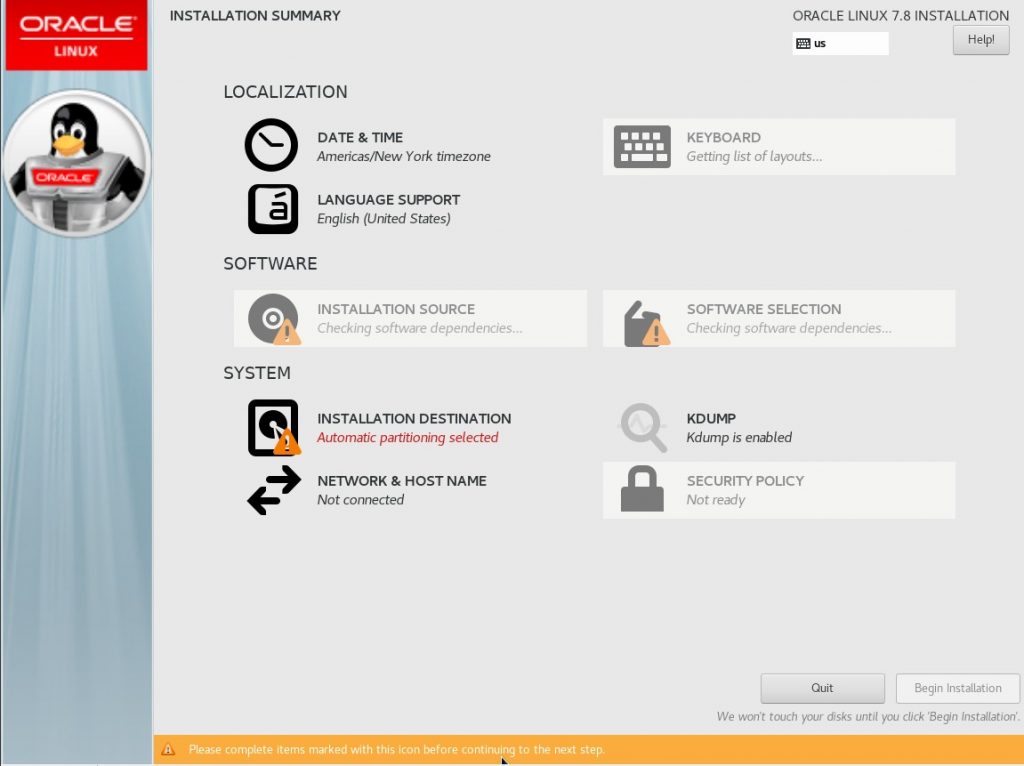
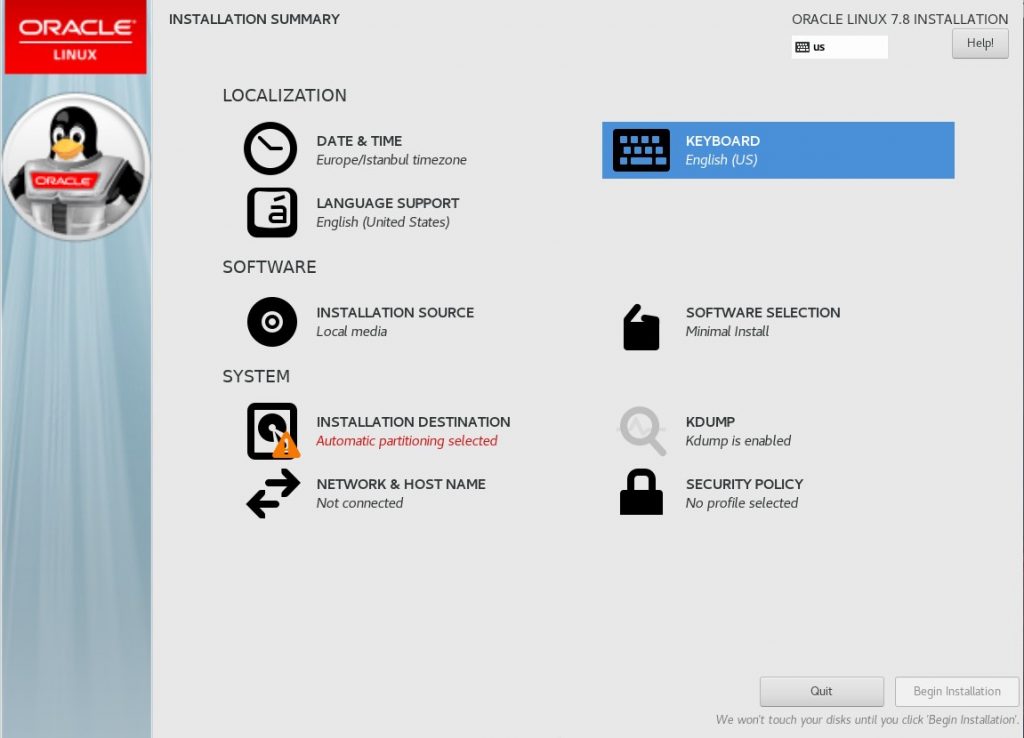
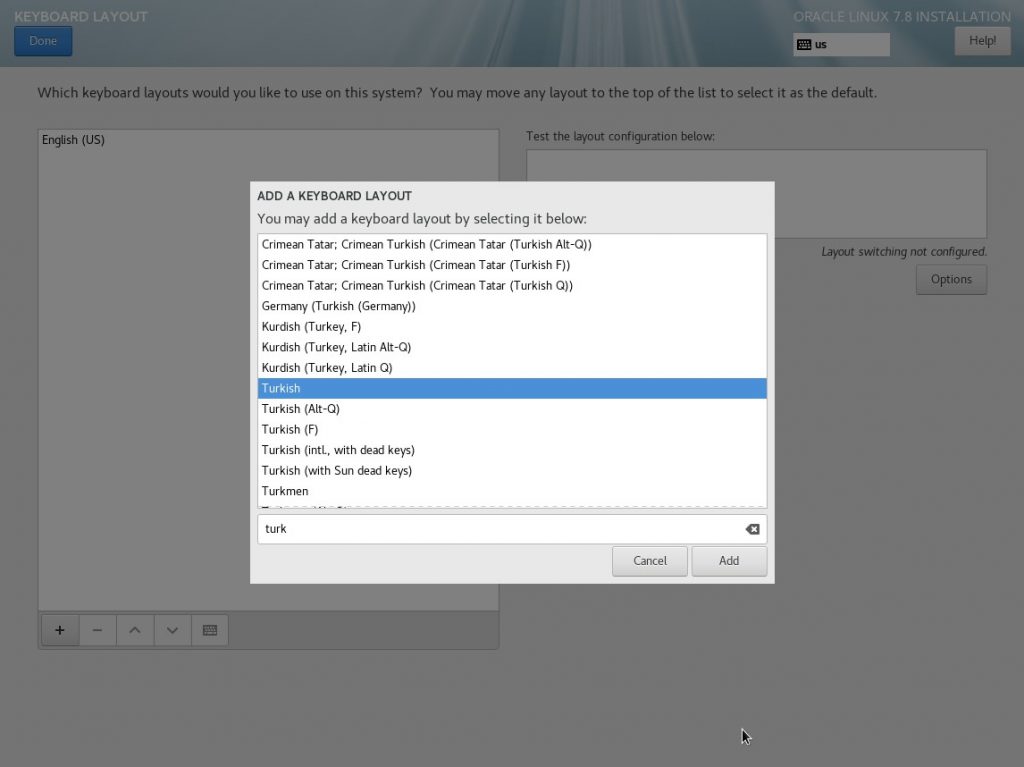
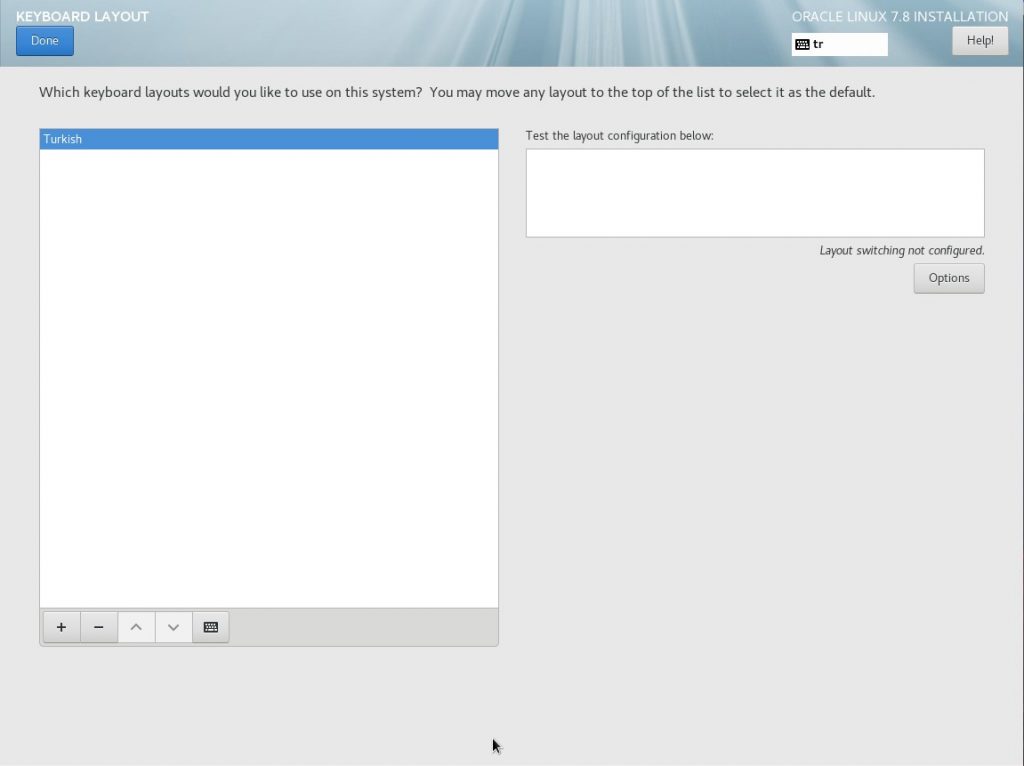
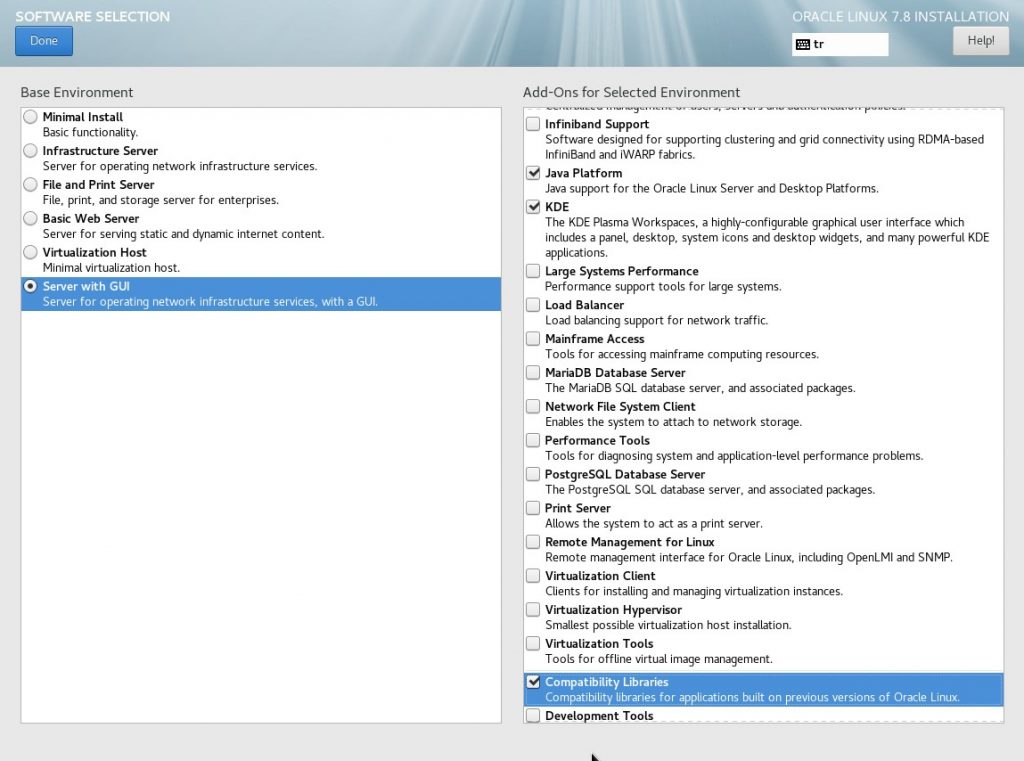
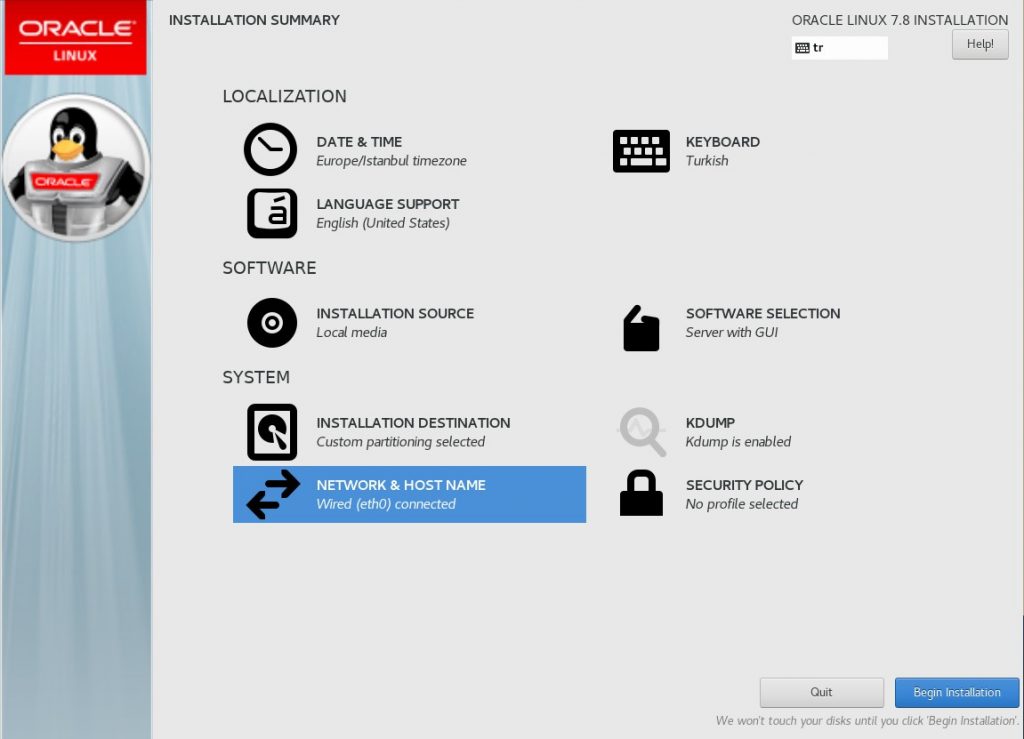
It is recommended that the operating system language be English in order to avoid a problem in Oracle Database products.On the installation screen, we will first make our Date / Time settings. We enter the “DATE & TIME” menu.We do the City part in Istanbul and we debut by saying “Done”.In this section, we will make the keyboard settings. Turkish Q can be selected as the keyboard. We enter the “KEYBOARD” menu.We choose ”TURKISH” from the new menu that opens with the “+” sign at the bottom left and add it by saying “add”.Since I will not use an English keyboard, I removed the other keyboard settings with the ” – ” sign. We return to the setup screen by saying “Done”.In this section, we will select additional packages for the operating system. We enter the “SOFTWARE SELECTION” menu.Click on the “SERVER WITH GUI” tab on the left side of the drop-down menu and select the “JAVA Platform, KDE and Compability Library packages” from the right, click the “Done” button and return.
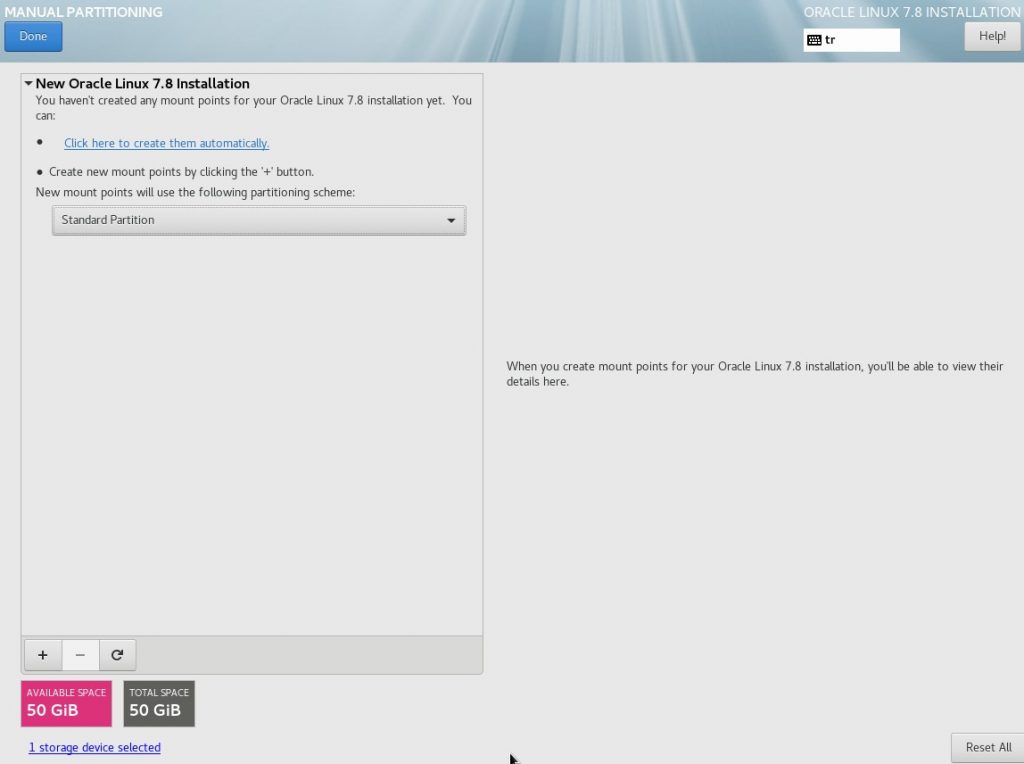
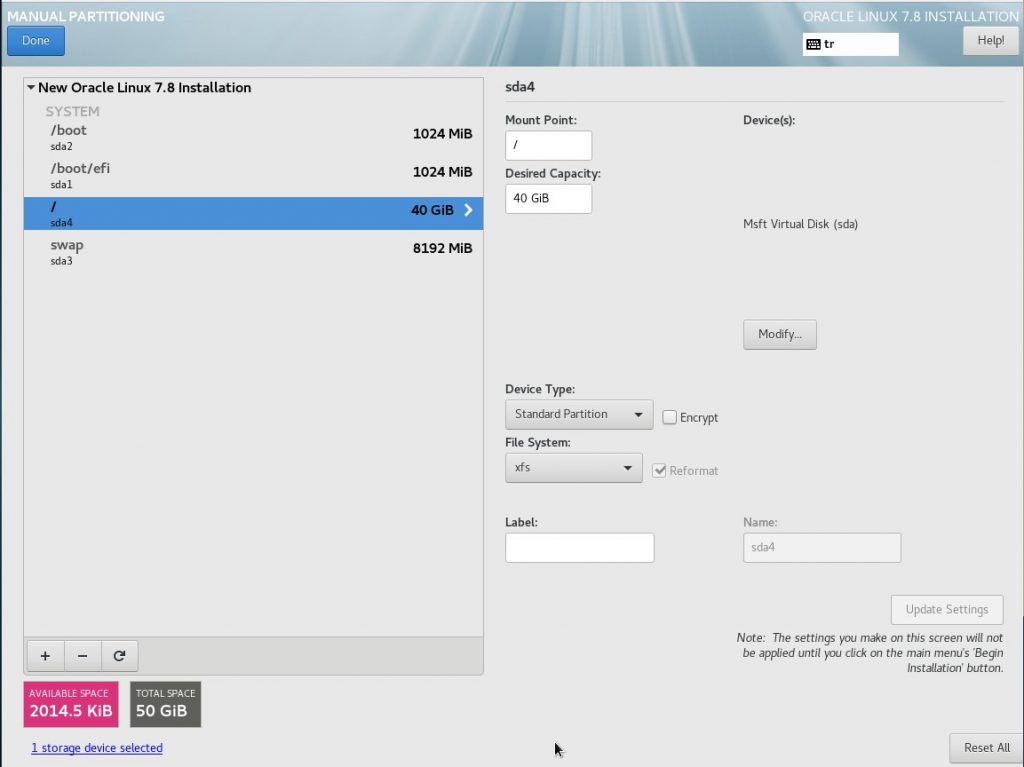
Now we will do our disk settings. This is an important part. Click on the “SYSTEM” menu.
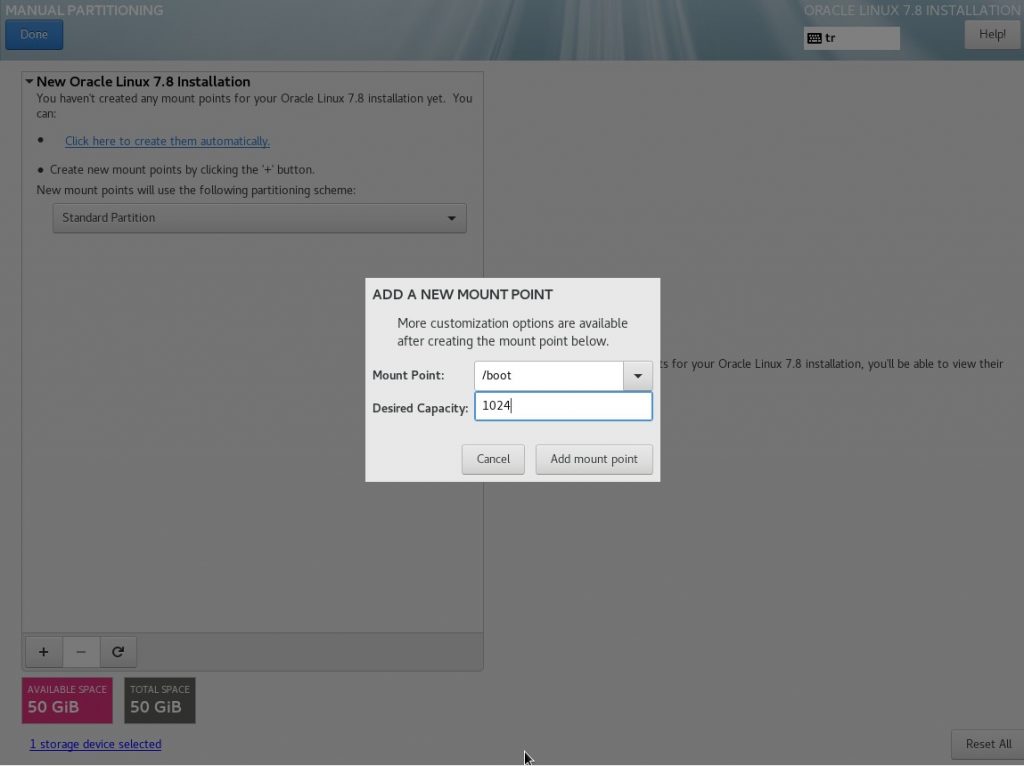
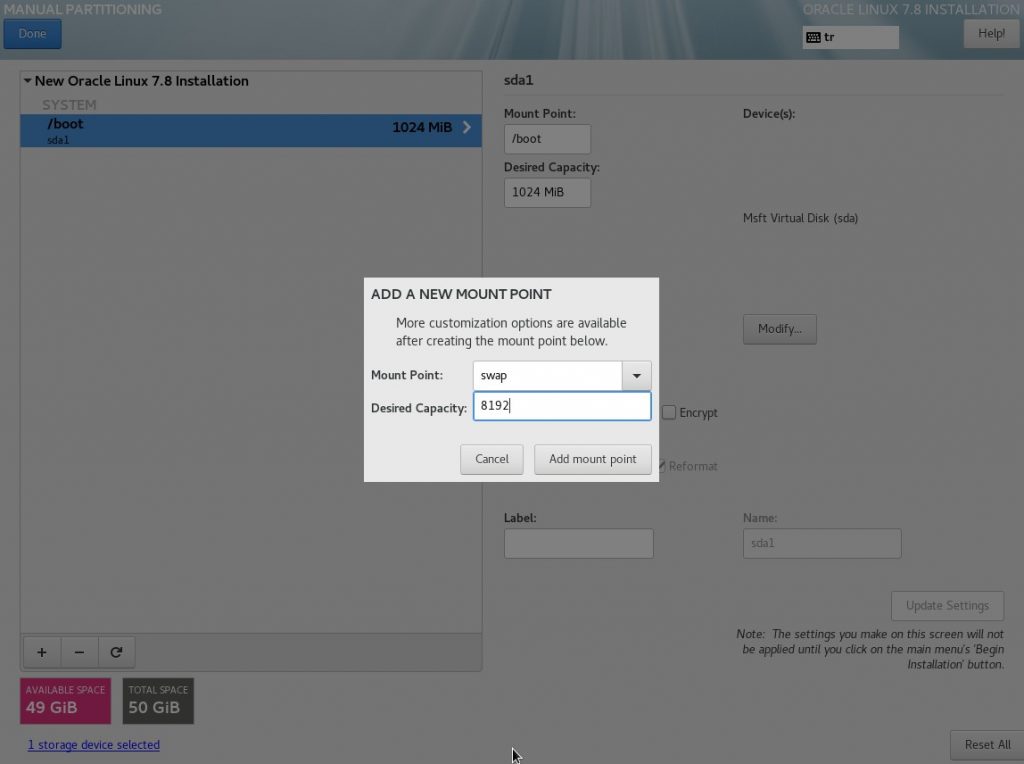
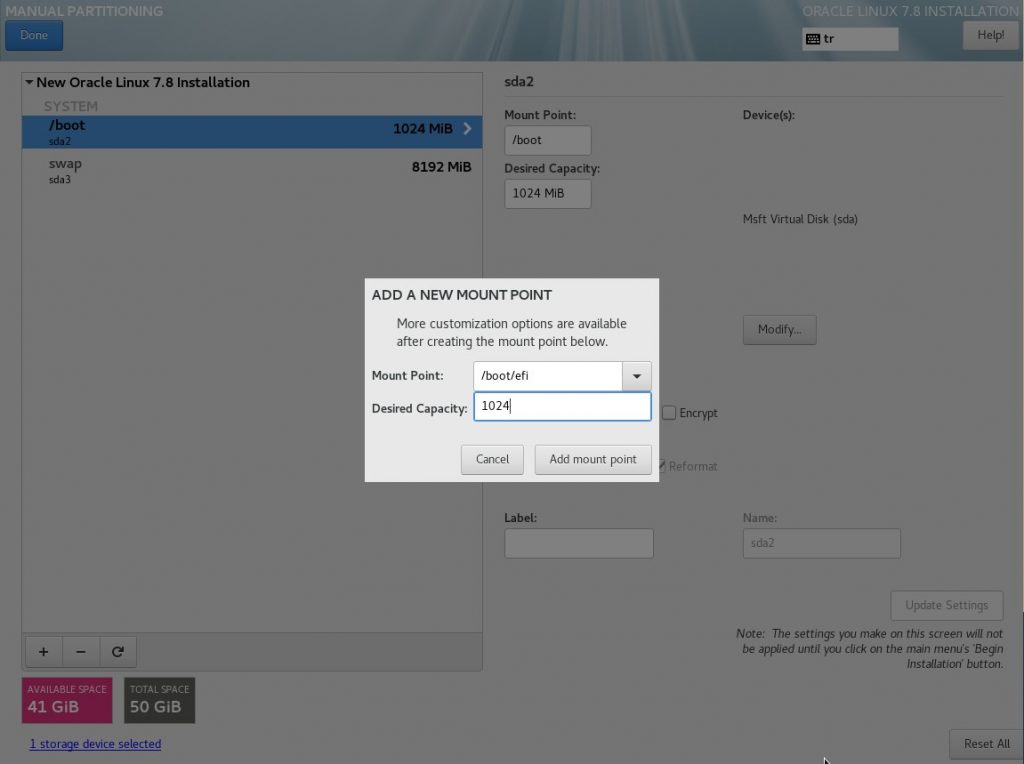
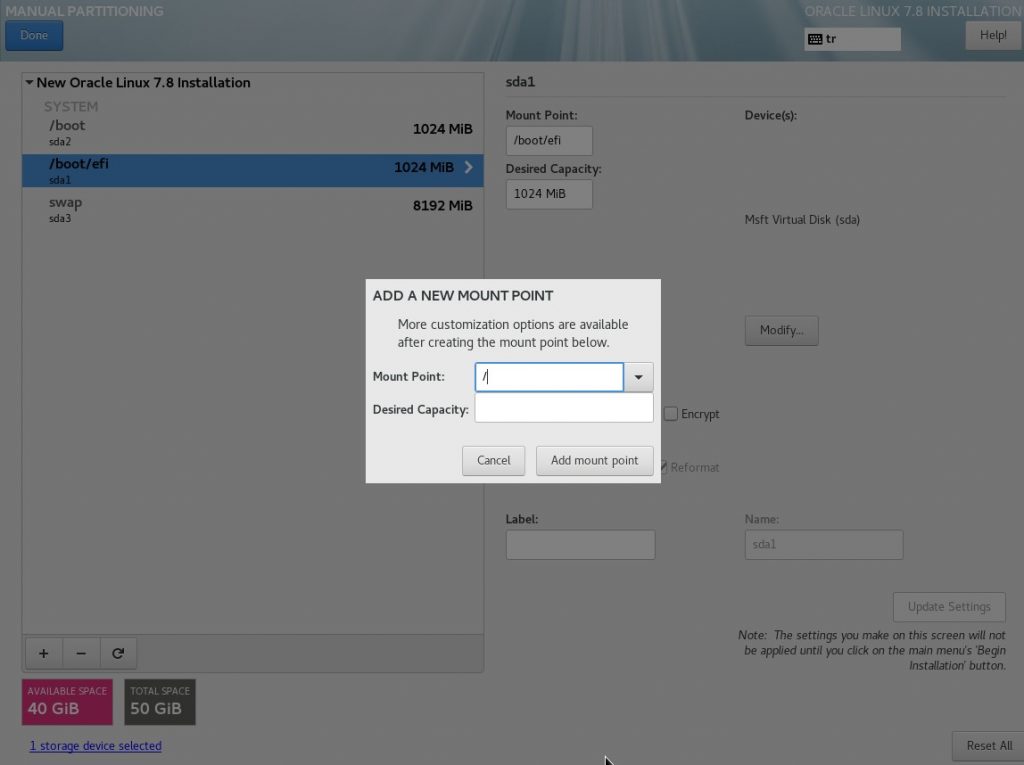
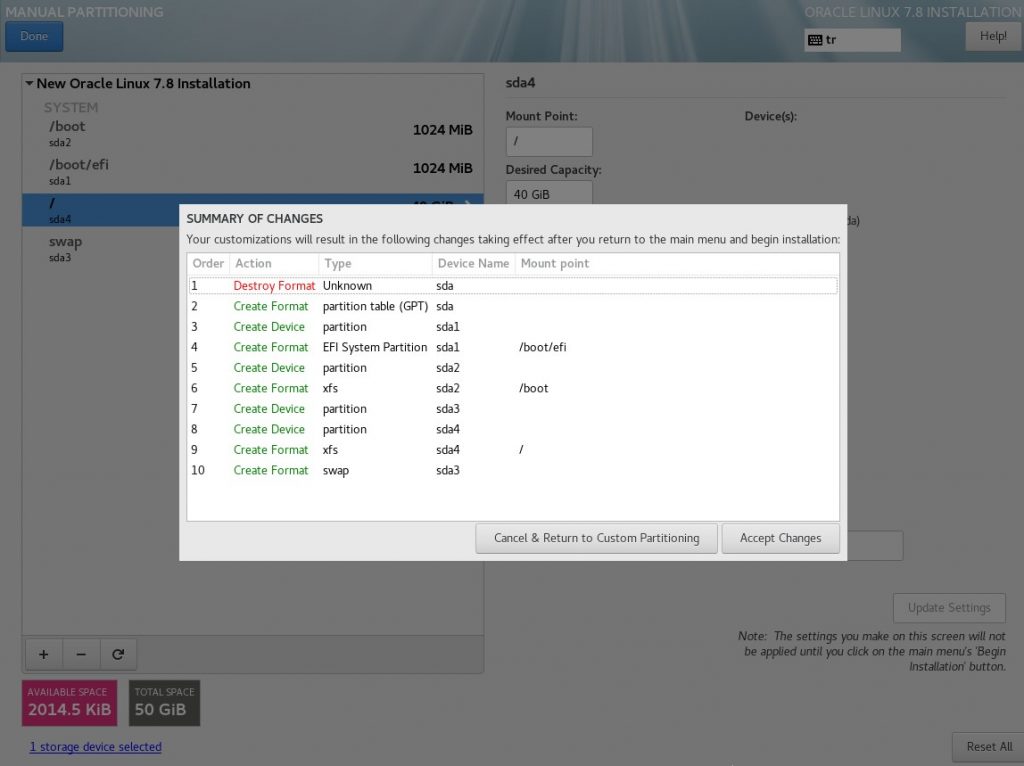
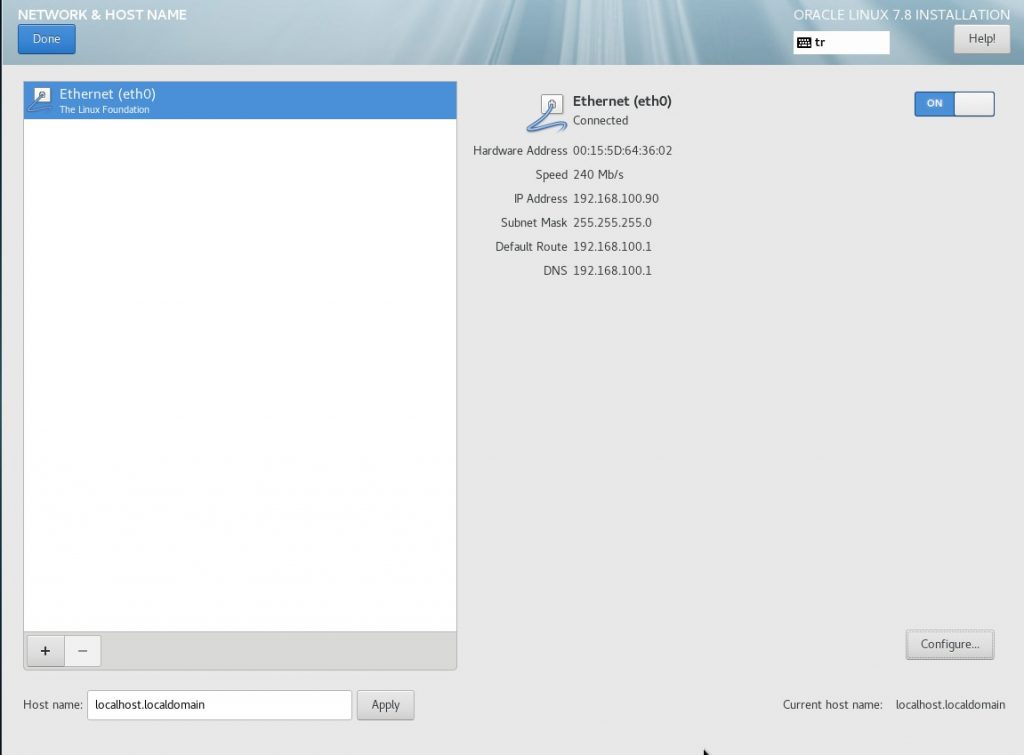
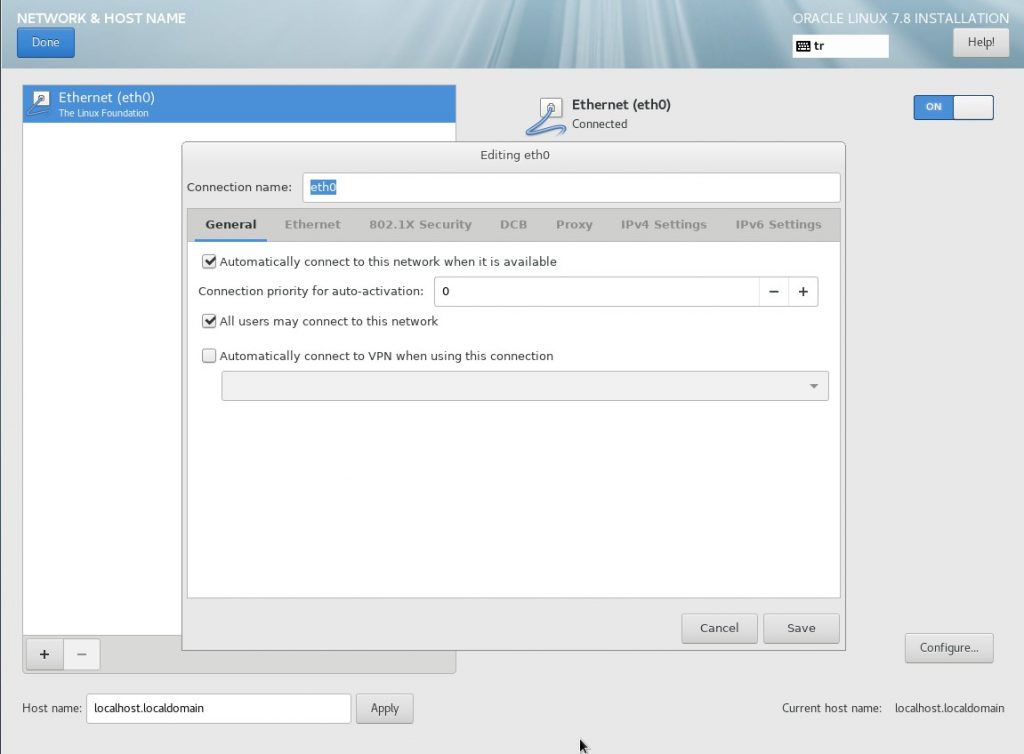
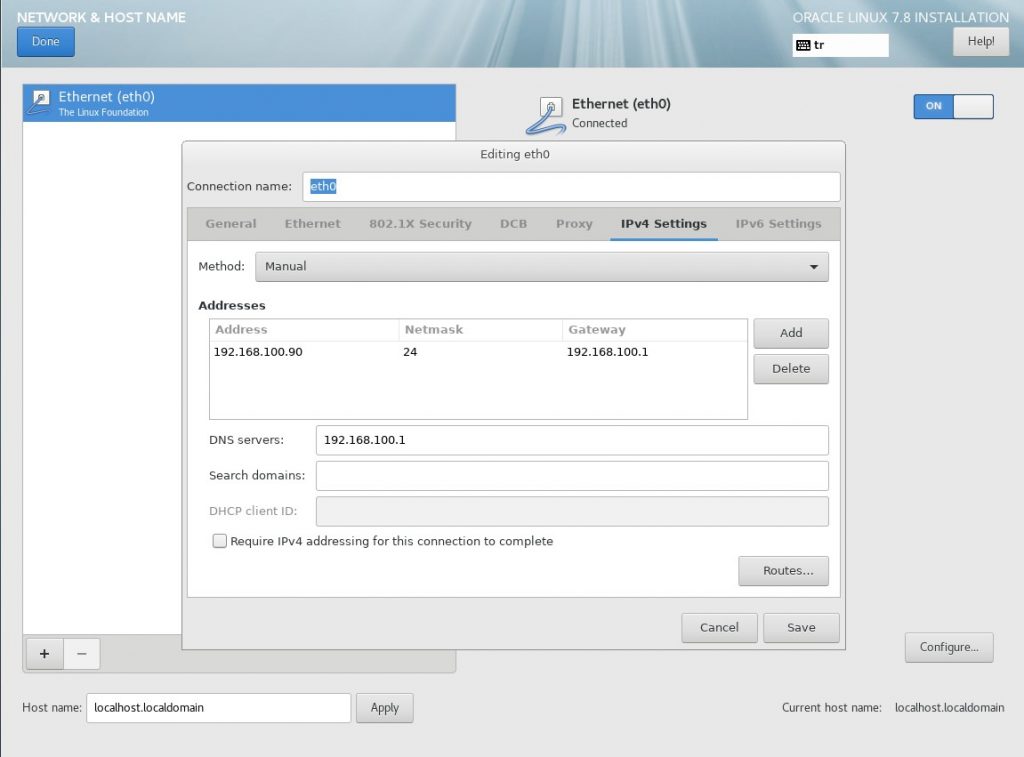
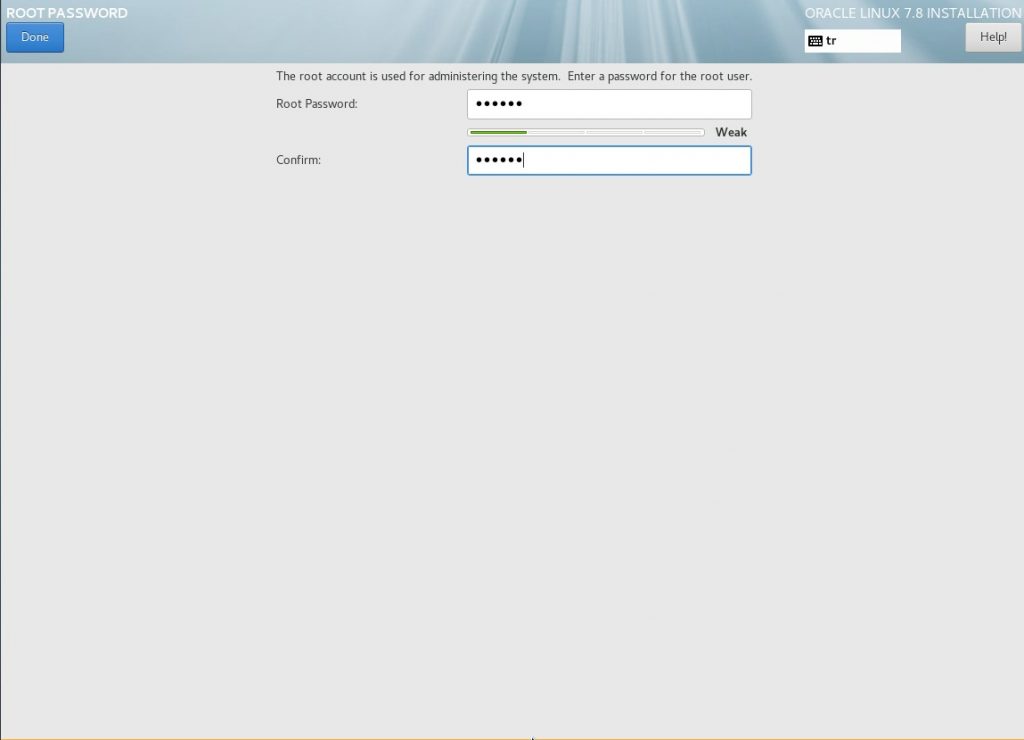
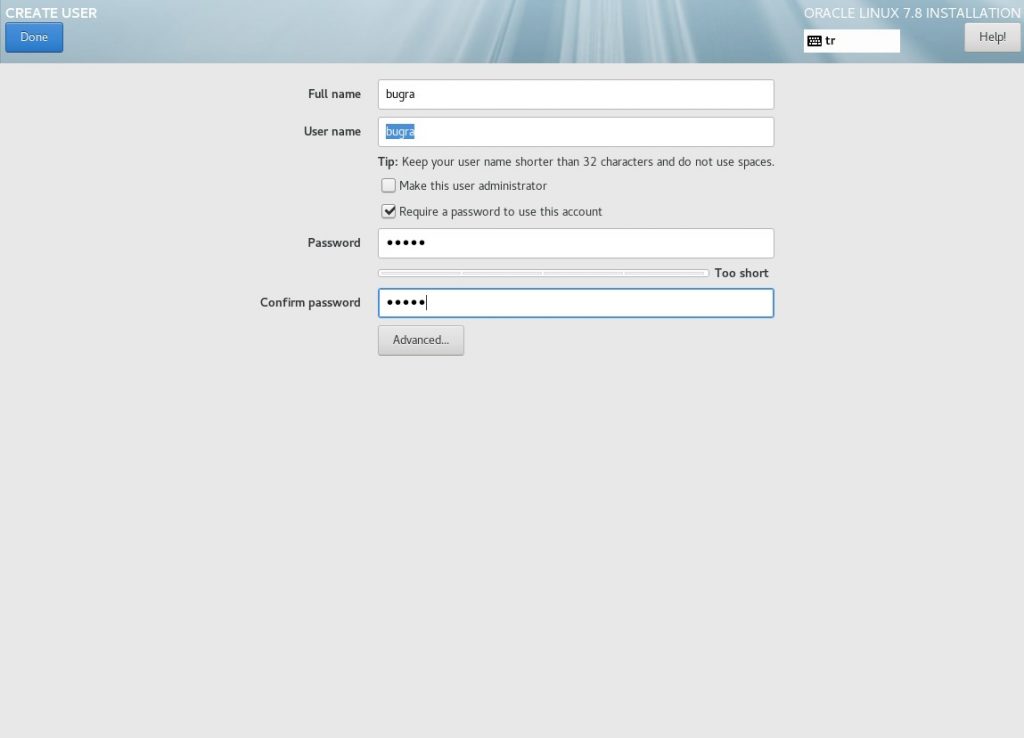
I will shape the disk structure manually. I start the formatting process by clicking the “I will configure partitioning” button and clicking “done”.Disc production will be standard. For this reason, while selecting “Standard Partition” from the pop-up window, I click on the “+” button on the left.I will add the boot partition first by clicking the “+” button. I edit it as on the screen and press the “add mount point” button.By pressing the “+” button. In the second step, I will need Swap space. I edit it as on the screen and press the “add mount point” button.By pressing the “+” button, I add space for EFI boot in the third step. I edit it as on the screen and click the “add mount point” button.Finally, I will add the remaining capacity on the disk to Root by pressing the ” + ” button. We edit it as on the screen and click the “add mount point” button.Disk configuration is ready, I save the changes by saying “done”.I save the changes with “Accept Changes”.Now I will do the Network settings. During the first installation on Linuz, the Network is turned off unless you specify otherwise. I bring the button in the upper right to the “ON” position and activate my Network card and come to the “Configure” menu from the bottom right.In the menu that opens, I select the “Automatically connect to this network when it is avaiable” option from the “General” tab. In this way, the network will be automatically active on every reboot. Now it’s time to give IPI’m assignment an empty ip address from the IPv4 Settings section. I log out by saying “Save”. Finally, I return to the setup screen by saying “Done”.Since our config structure was done properly, the “Begin Installation” button became active. I start the installation by pressing the button.On the screen that comes up, it asks me to open a “Root” password and user. I continue by doing the appropriate actions.
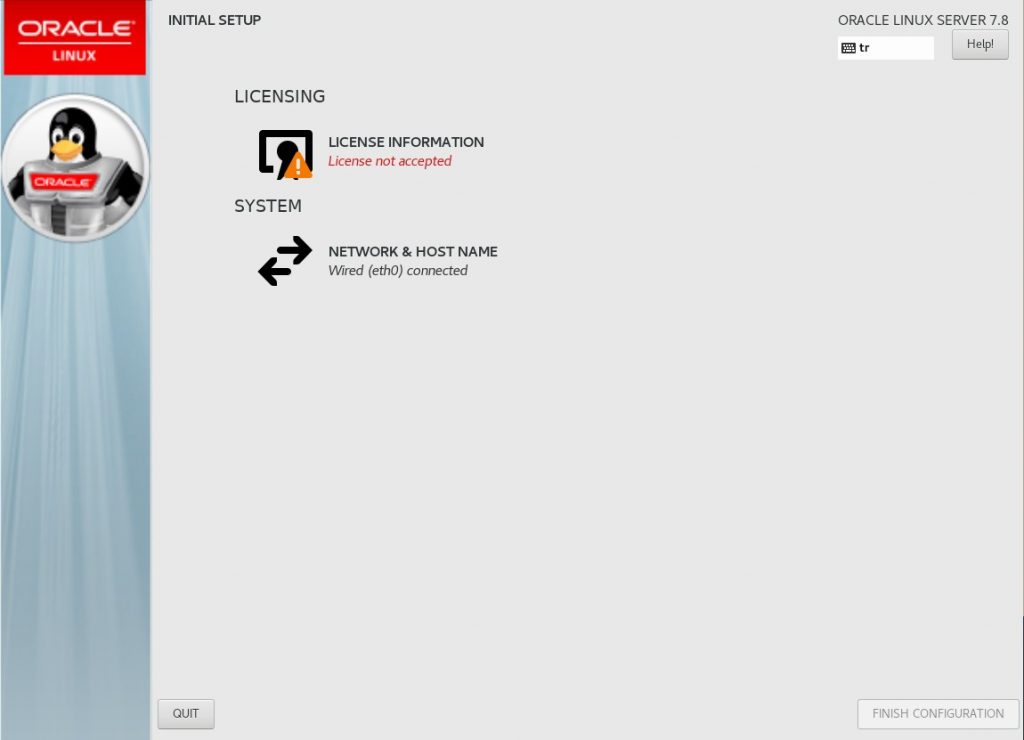
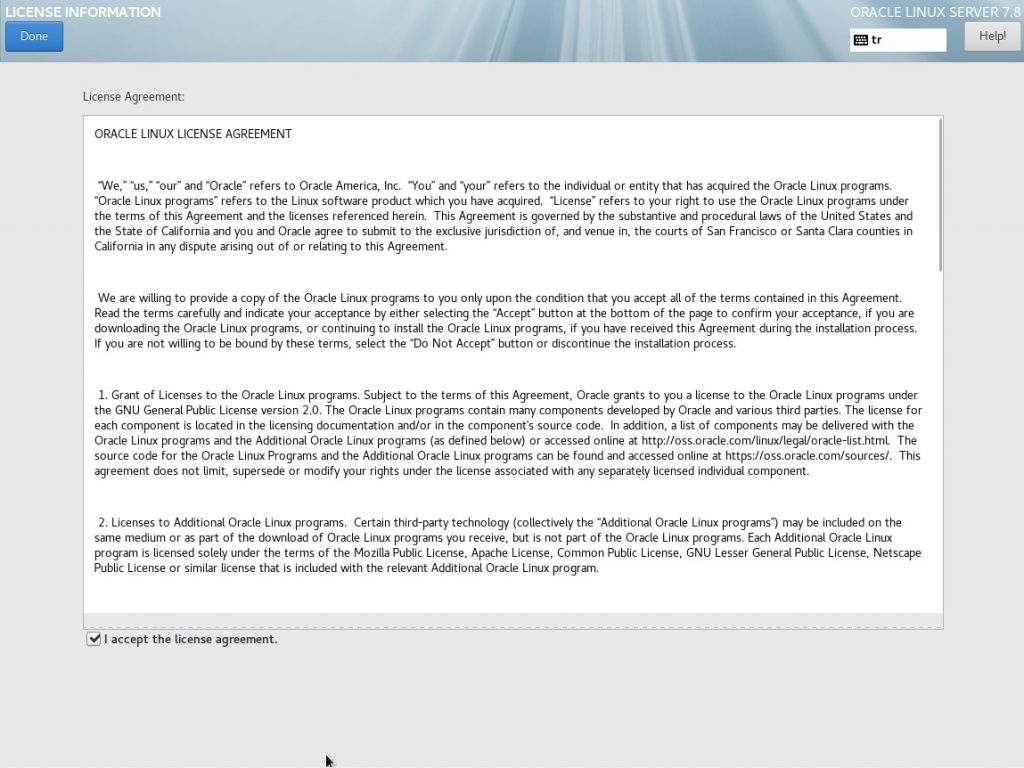
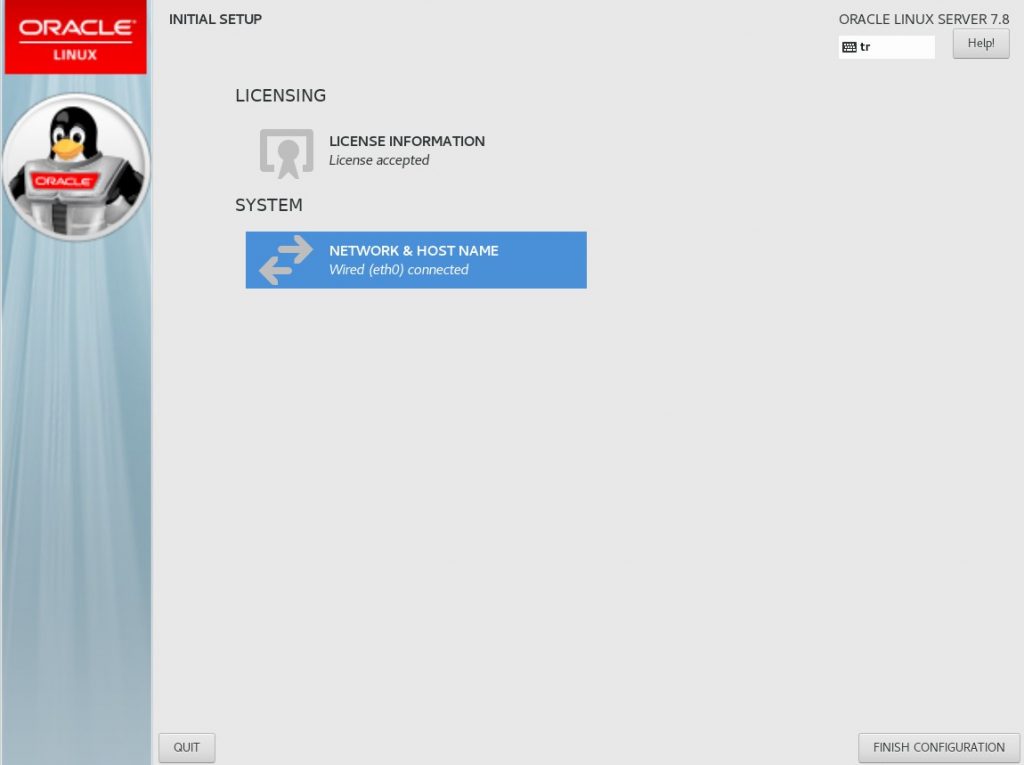
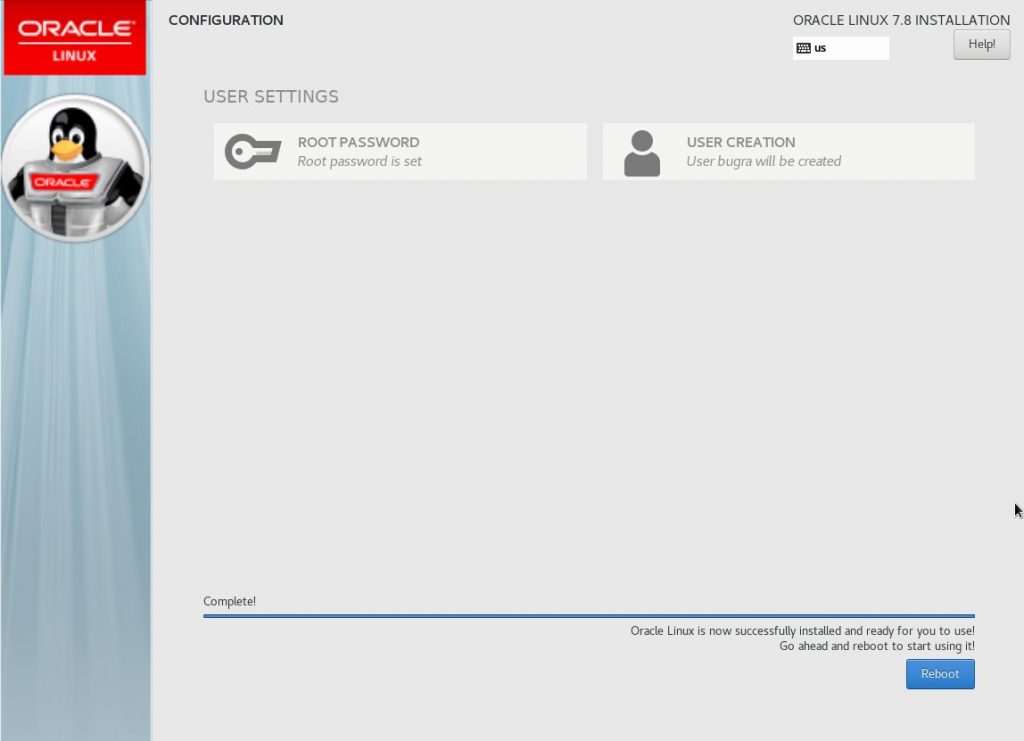
On the screen that opens after the reboot, we are asked to accept the license agreement. I come to the “License Information” section.I accept the relevant agreement and go back with the “Done” button.Finally, I open the operating system by saying “Finish Configuration”.
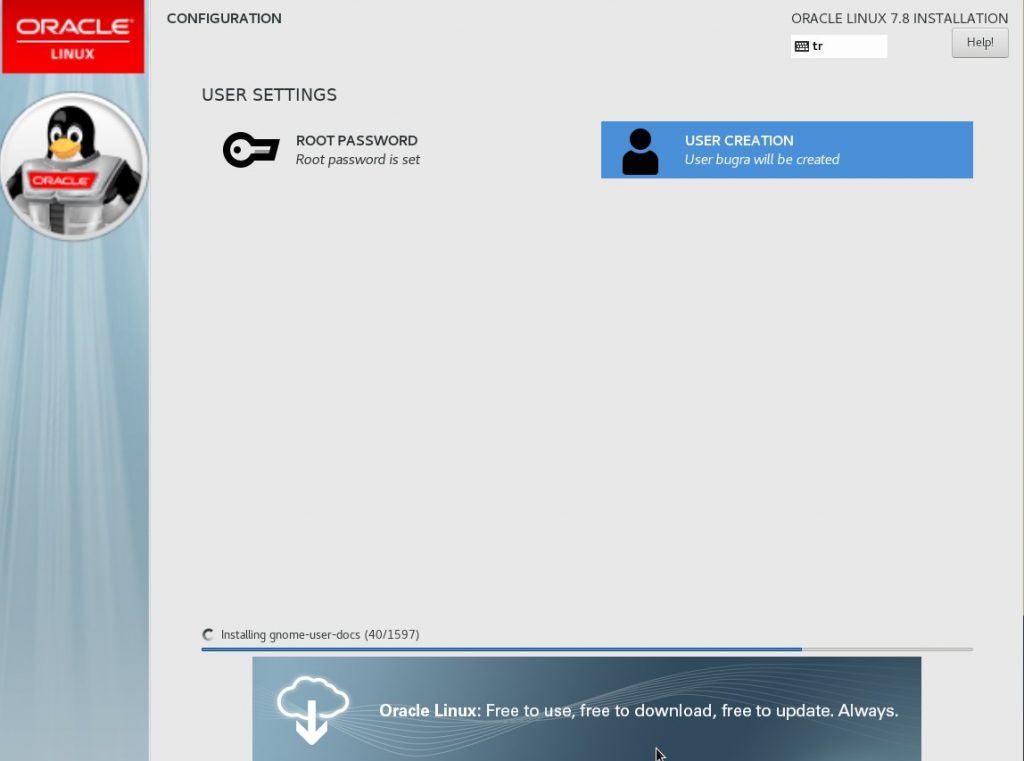
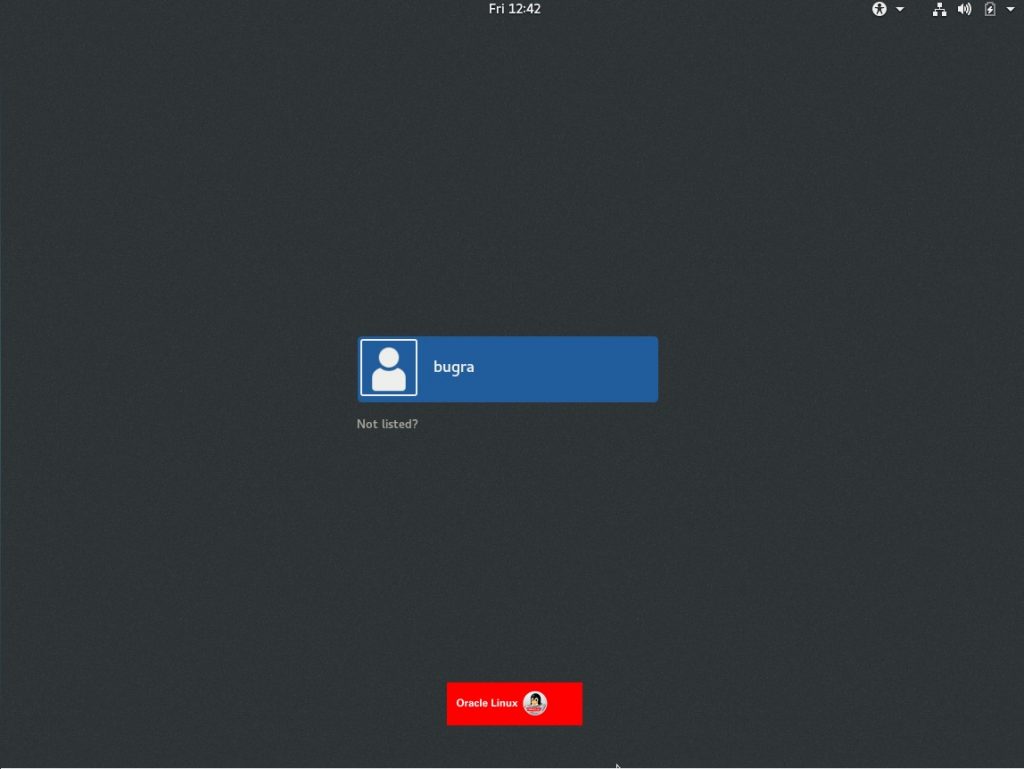
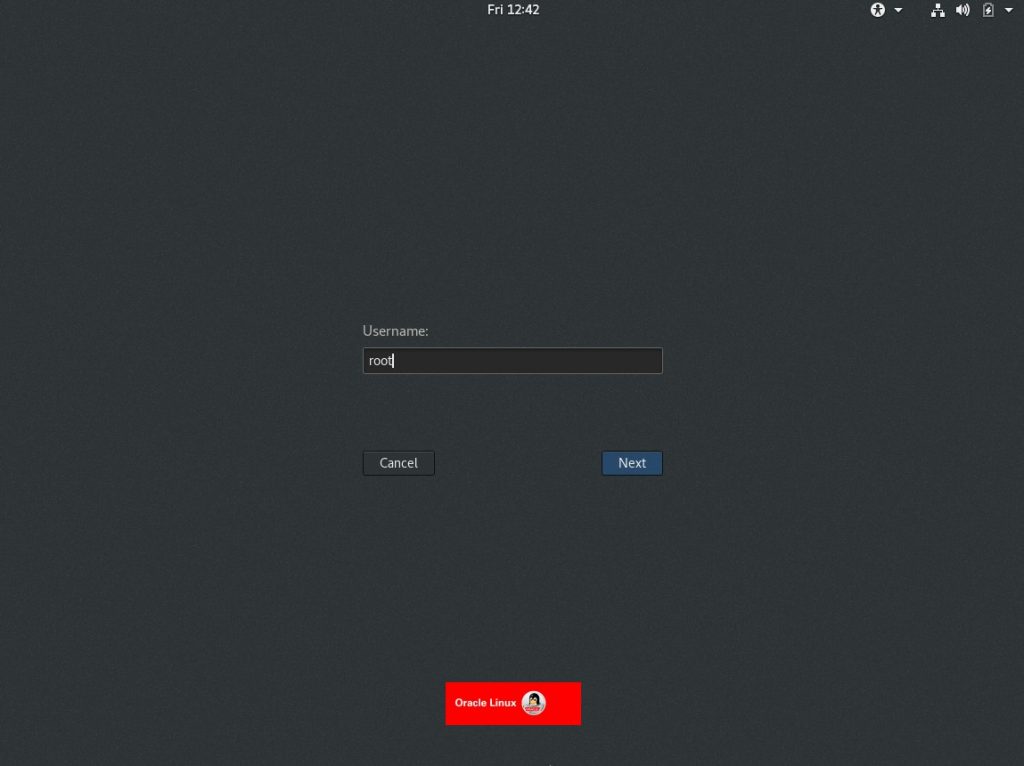
The installation process is complete. I reboot the operating system by saying “Reboot”.While I was giving the root password, I also opened a user named “Bugra”, but I will do my operations with the root user. That’s why I come to the “Not Listed” part.I log in by typing “root”.Our operating system is now ready.
In this article, we have prepared our Oracle Linux 7 operating system for other installations.
Our operating system has only been installed and we have not made any updates.
We will explain the steps such as updating and config setting for the Grid in Part – 2.
Burgra Parlayan is an experienced Database and Weblogic Administrator. After completing his technical / relevant training he has got involved with a serious amount of projects. He successfully managed database upgrade, database migration, database performance tuning projects for various public institutions.Currently he has been employed by one of the leading financial institutions called Turkiye Hayat & Emeklilik as responsible administrator for Oracle Database and Oracle Middleware. He has been sharing his experience and knowledge by face to face training, personal blog and various social networking accounts to support the Oracle ecosystem continuously since 2010.
 Database Tutorials MSSQL, Oracle, PostgreSQL, MySQL, MariaDB, DB2, Sybase, Teradata, Big Data, NOSQL, MongoDB, Couchbase, Cassandra, Windows, Linux