 Database Tutorials MSSQL, Oracle, PostgreSQL, MySQL, MariaDB, DB2, Sybase, Teradata, Big Data, NOSQL, MongoDB, Couchbase, Cassandra, Windows, Linux
In today’s article, we will be learning how to Backup a Database on Oracle Cloud with RMAN.
Backup services are the most important insurance for us IT professionals.
How comprehensive a backup is and with what policies it is taken ensures that data losses are minimized in the event of future disruptions.
In our backup policies, it is our preference that the backups taken are always in a third place.
A natural disaster may occur or we may experience unplanned physical problems in the areas where we host our servers and backups.
We will explain Oracle Cloud backup in order to minimize all these disruptions.
The database we will back up will be Oracle Database 11G Single Instance.
The main reason we chose this is that the latest version, Oracle Database 12C, is used less than the previous version.
In our future articles, we can give an example of Oracle Database 12C and RAC environments.
To back up with Rman in the Oracle database, our structure must also be in the “ARCHIVELOG” state.
First of all, we check our database that we will backup.
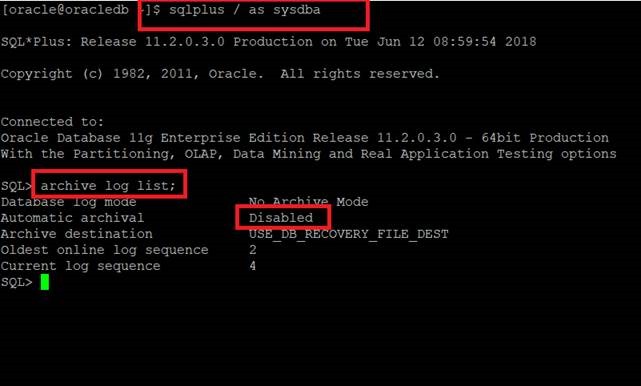
We connect to our database as “sqlplus / as sysdba” and run our “archive log list;” command.
This command will send us the log details of our database.
As you can see, “Automatic archival = Disable”
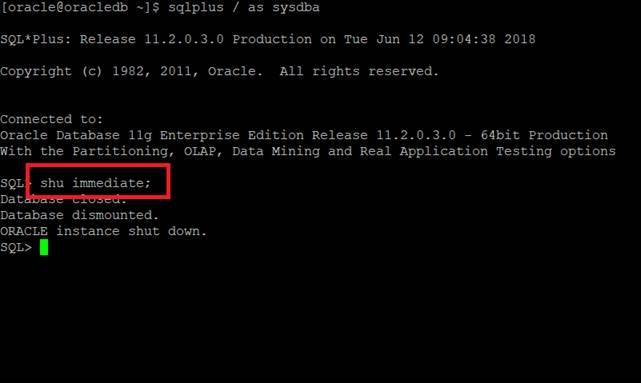
Now I close the database with the “shu immediate;” command.
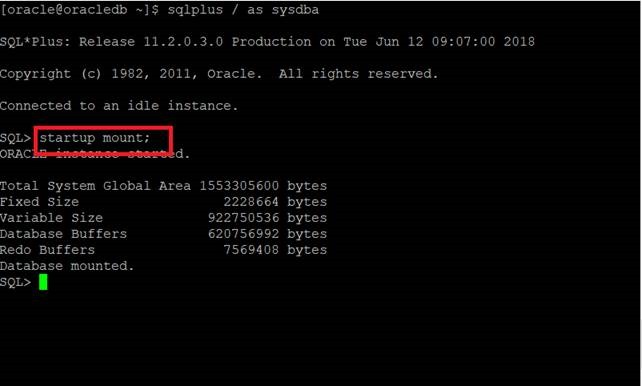
After our database is closed, we open it in mount mode with the “startup mount;” command.
We put our database in Archivelog mode with the “alter database archivelog;” command.
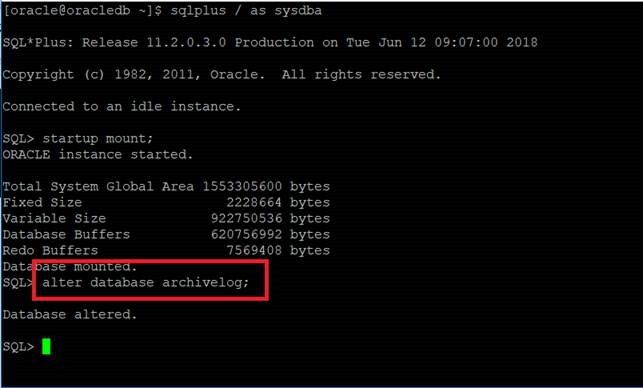
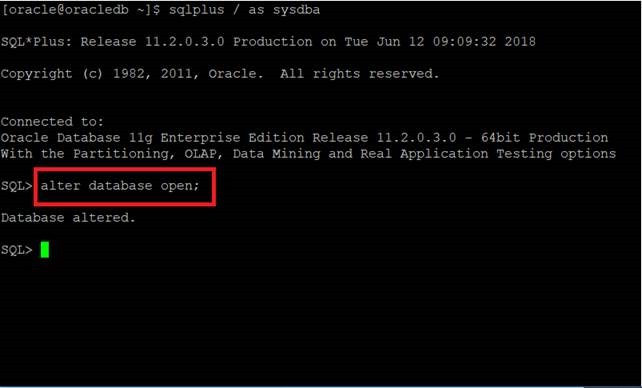
Our database switched to Archivelog mode. We open our database by doing “alter database open;”.
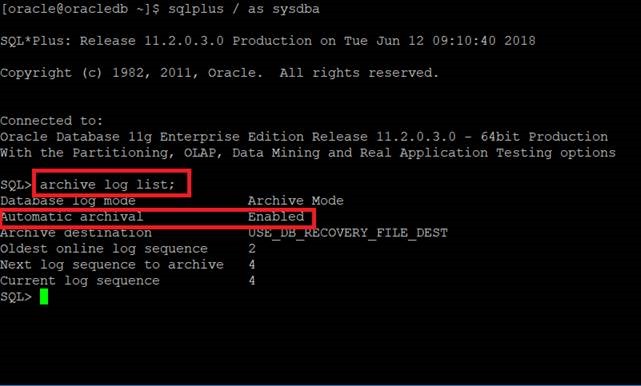
We check the “archive log list;” command again. As you can see, it is in the “Automatic Archival = Enable” state.
By the way, there are some situations we need to pay attention to.
A database put in Archivelog mode uses an area we call FRA (Flash Recovery Area), and this area serves as a repository for backup or log elements.
A low repository will cause it to fill quickly, so it must be adjusted appropriately.
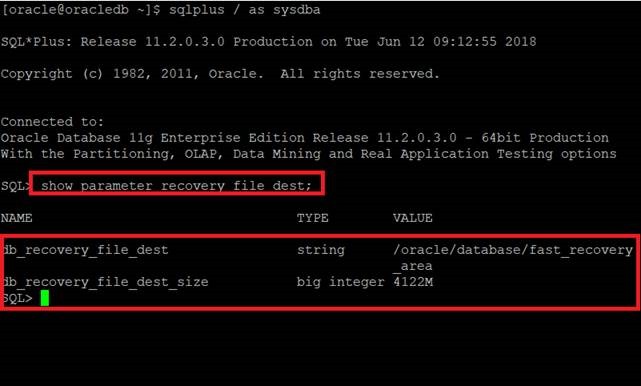
You can check the FRA field with the “show parameter recovery_file_dest;” command.
In my case, the FRA area is defined as “4122M” and the location is defined as “/oracle/database/fast_recovery_area”.
If you are going to make a change in the FRA field.
We need to modify “db_recovery_file_Dest_size”.
For example, I increase it to 10G level with the command “ALTER SYSTEM SET DB_RECOVERY_FILE_DEST_SIZE = 10G SCOPE=BOTH SID=’*’;”. (You can do this while the database is open.)

I check “show parameter recovery_file_dest;” again. The area has been updated to 10G.

Now that our database is in Archivelog mode, we are ready to integrate into the cloud environment.
Our first steps will be on our database again.
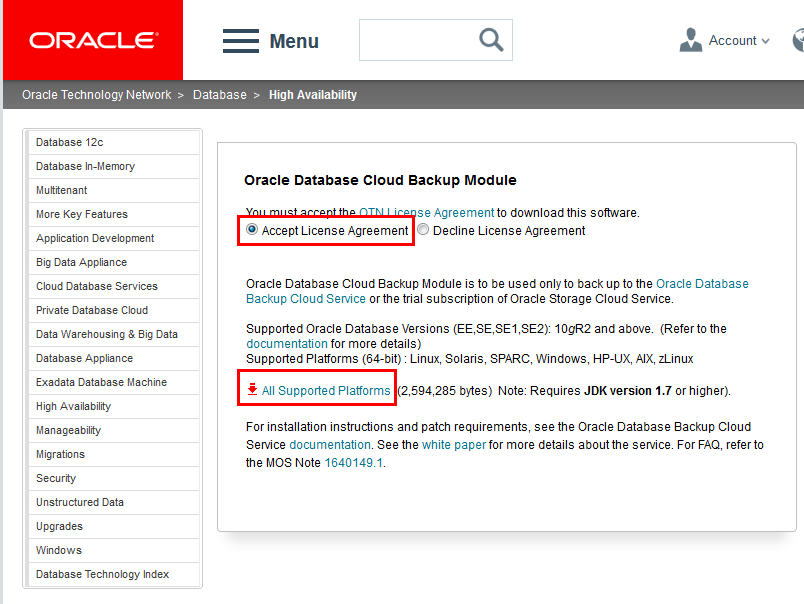
We download the “Oracle Database Cloud Backup Module” assistant from the address below with our OTN account.
1 | http://www.oracle.com/technetwork/database/availability/oracle-cloud-backup-2162729.html |
We send the downloaded file from our database to our server.
I use the “WinSCP” program in submissions. It is an easy and beautiful program.
The “opc_installer.zip” file I downloaded will be under “ /oracle/kurulumlar/ “ on my server.
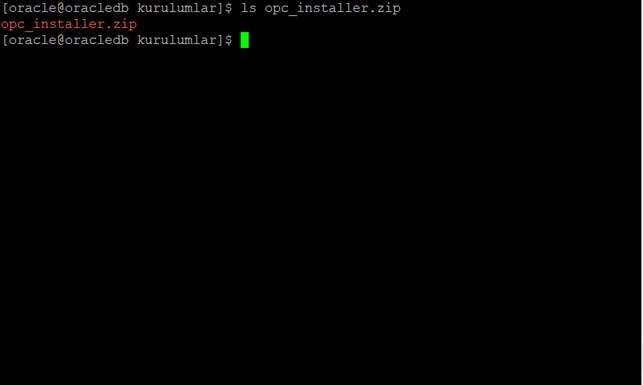
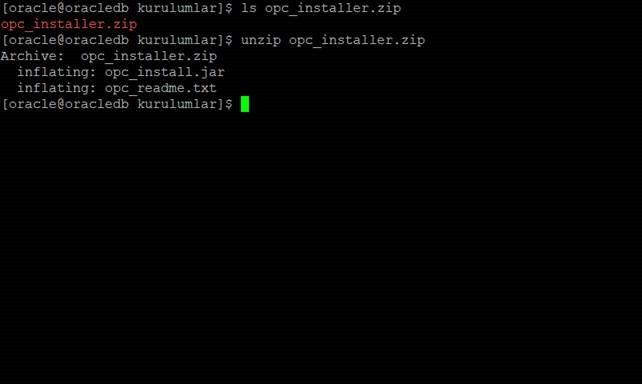
While I am in “/oracle/kurumlar”, where my file is, I extract the archive by saying “unzip opc_installer.zip”.
There will be 2 files as shown below.
We go to our “dbs” folder with the “cd $ORACLE_HOME/dbs” command.
We will create a folder named wallet with the “mkdir wallet” command. (Make sure to perform these operations with the “oracle” user.)

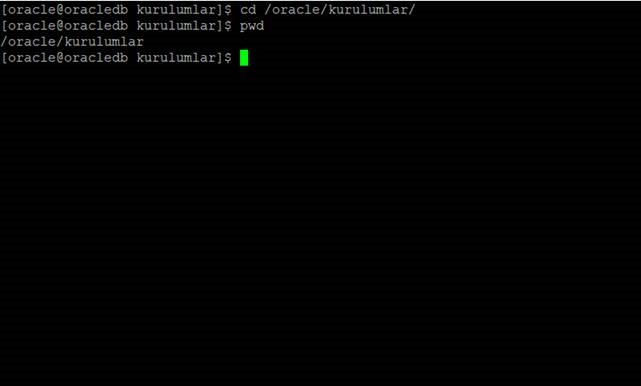
I return to the folder where my “opc_installer.jar” file is with the “cd /oracle/kurulumlar” command.
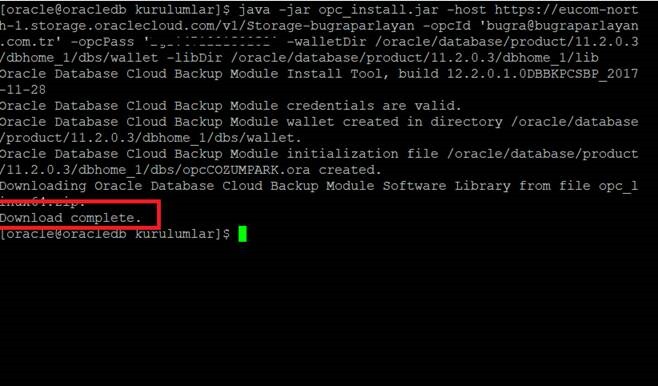
We run the following command by arranging it according to our needs.
1 2 3 4 | java -jar opc_install.jar -host https://eucom-north-1.storage.oraclecloud.com/v1/Storage- bugraparlayan -opcId ‘bugra@bugraparlayan.com.tr’ -opcPass ‘colud_sifreniz’ -walletDir /oracle/database/product/11.2.0.3/dbhome_1/dbs/wallet -libDir /oracle/database/product/11.2.0.3/dbhome_1/lib |
When I run my command, I will see a screen like the one below.
After this step was completed, it was time for my settings on the RMAN side.
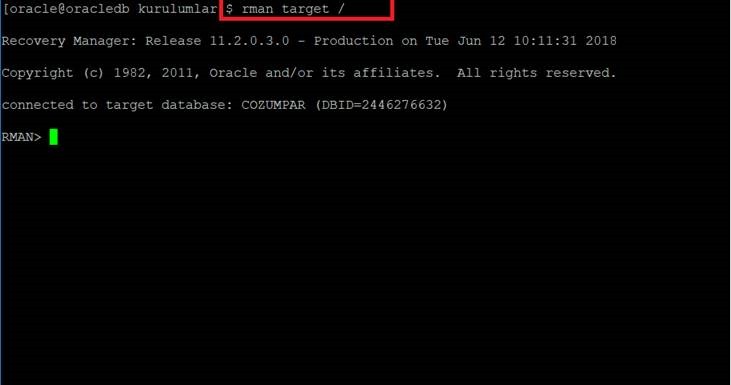
I log in with the “rman target /” command.
I organize the configuration according to myself.
1 2 3 | CONFIGURE CHANNEL DEVICE TYPE sbt PARMS=’SBT_LIBRARY=/oracle/database/product/11.2.0.3/dbhome_1/lib/libopc.so, SBT_PARMS=(OPC_PFILE=/oracle/database/product/11.2.0.3/dbhome_1/dbs/opcCOZUMPARK.ora)’; |
The name opcCOZUMPARK is mine, because my database name is COZUMPARK. It will be created according to your name.
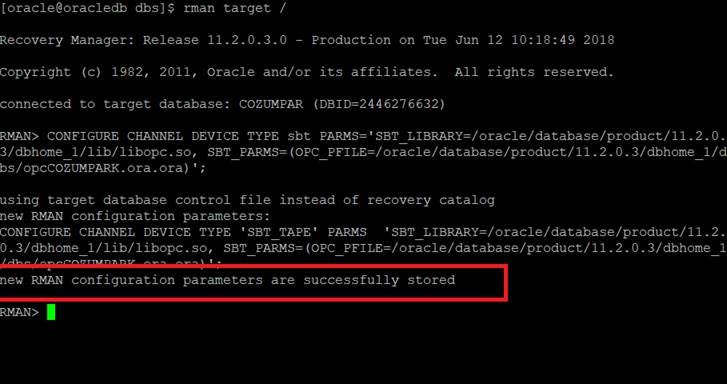
Configuration completed successfully.
Before moving on to data transfer, it would be useful to explain some issues.
You can optionally use compression when backing up Oracle databases to Oracle Database Backup Cloud Service.
Compression saves bandwidth by reducing the size of your backups before they are sent to the clouds.
If you have the Oracle Advanced Compression option, Recovery Manager (RMAN) supports binary compression using one of the following compression levels: HIGH, MEDIUM, BASIC, and LOW.
The recommended level for cloud backups is MEDIUM. If you have the Oracle Enhanced Compression option, it recommends configuring MEDIUM level compression.
Sample compression command for MEDIUM: “CONFIGURE COMPRESSION ALGORITHM ‘MEDIUM’; “
I continue to follow this advice. You can change it depending on your connection speed.

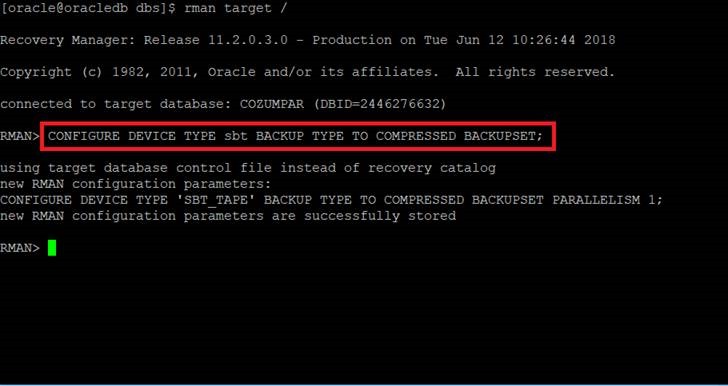
We are at the last part. “ CONFIGURE DEVICE TYPE sbt BACKUP TYPE TO COMPRESSED BACKUPSET; “ I run the command.
We will soon take a backup of our database and send it to the cloud environment.
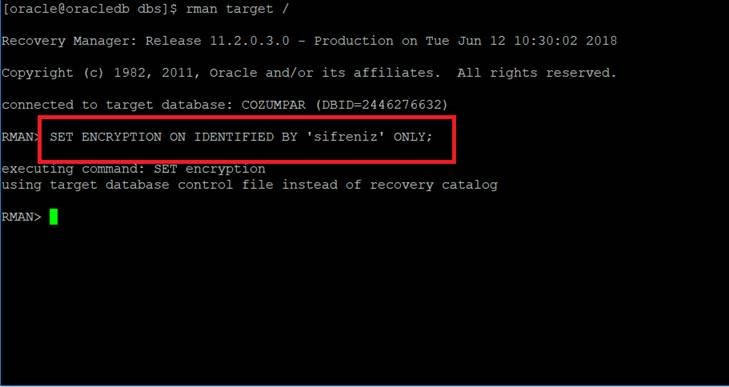
If we want to encrypt our current backup for extra security, “SET ENCRYPTION ON IDENTIFIED BY ‘your cloud_password’ ONLY; “We run the command.
Now that we have completed all our steps, we can transfer your database backup to the cloud environment.
“BACKUP DEVICE TYPE SBT DATABASE; With the “ command, our backups will be taken and transferred to the cloud environment.
The transfer process will vary depending on your internet speed.
Your backup files are sent piece by piece to avoid interruptions.
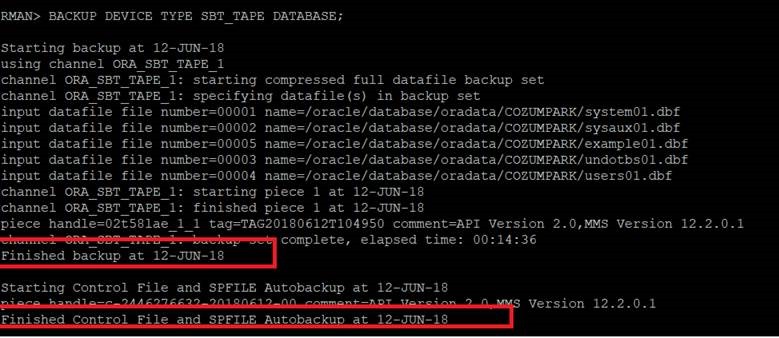
My backup is complete. Now let’s check this on the Oracle Cloud side.
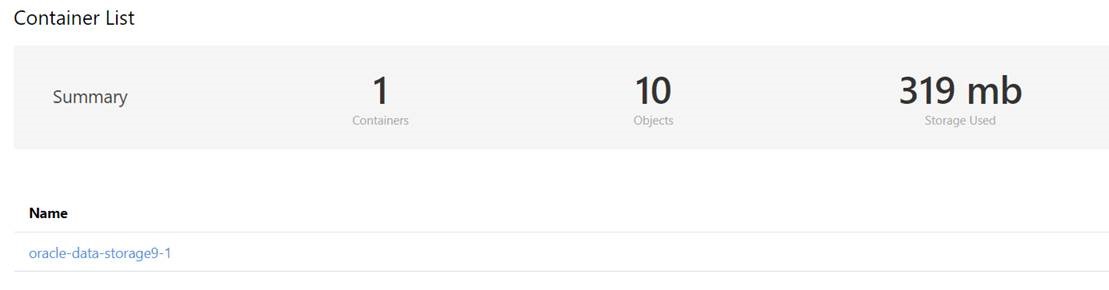
As you can see, an RMAN backup has been sent to the storage on the cloud side.
As we mentioned at the beginning of our article, our physical backups and related procedures will always be important to us.
If you want your backups to always be safe, you can alternatively test this product.
resources
1 | http://www.koraykey.com/?p=3333 |
1 2 | https://docs.oracle.com/en/cloud/paas/db-backup-cloud/csdbb/installing-oracle-database-cloud-backup- module.html#GUID-F6E36F00-6464-4FC4-8511-11FD839B760F |
![]()