We can manage Elasticsearch Indices seperatly in one cluster using Search Guard instead of Xpack. Because Search Guard is free. In this article, we will install Search Guard for Elasticsearch and Kibana in Centos.
If you did not install Elasticsearch and Kibana, you may want to read below articles.
“How To Install Elasticsearch On Centos“,
“How To Create an Elasticsearch Indice using Kibana”
Install Search Guard For Elasticsearch
You need to do this installation process on each master and data nodes.
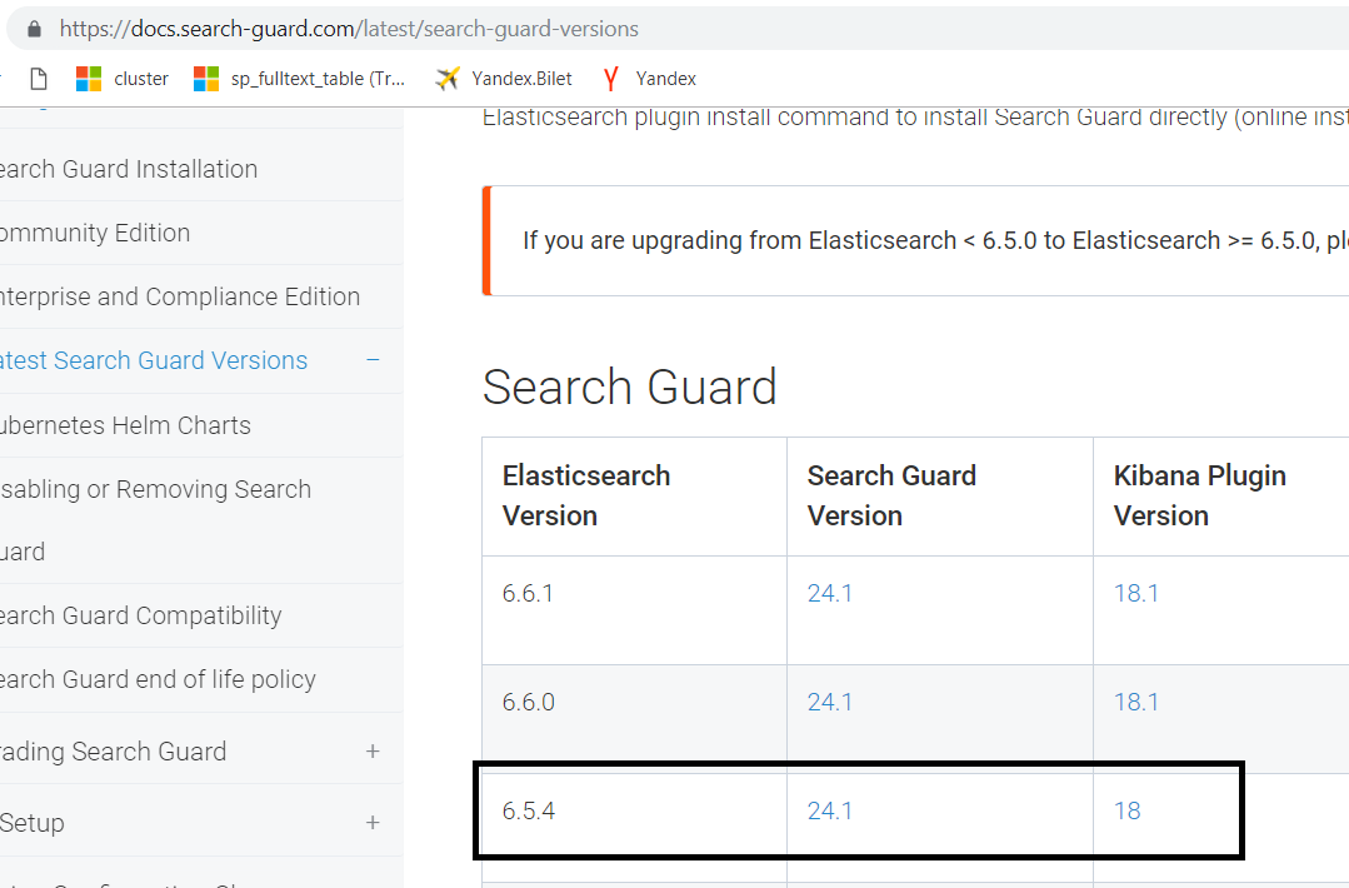
First, we go to the below link for downloading Search Guard.
https://docs.search-guard.com/latest/search-guard-versions
Because the elasticsearch version we use is 5.6.4, we are downloading the file by clicking 24.1 in the section marked black.
We copy the downloaded file to a directory on the server. I copied it to the /home/elasticsearch directory.
Then we run the following command to install the search guard plugin.
1 | /usr/share/elasticsearch/bin/elasticsearch-plugin install -b file:///home/elastic/search-guard-6-6.5.4-24.1.zip |
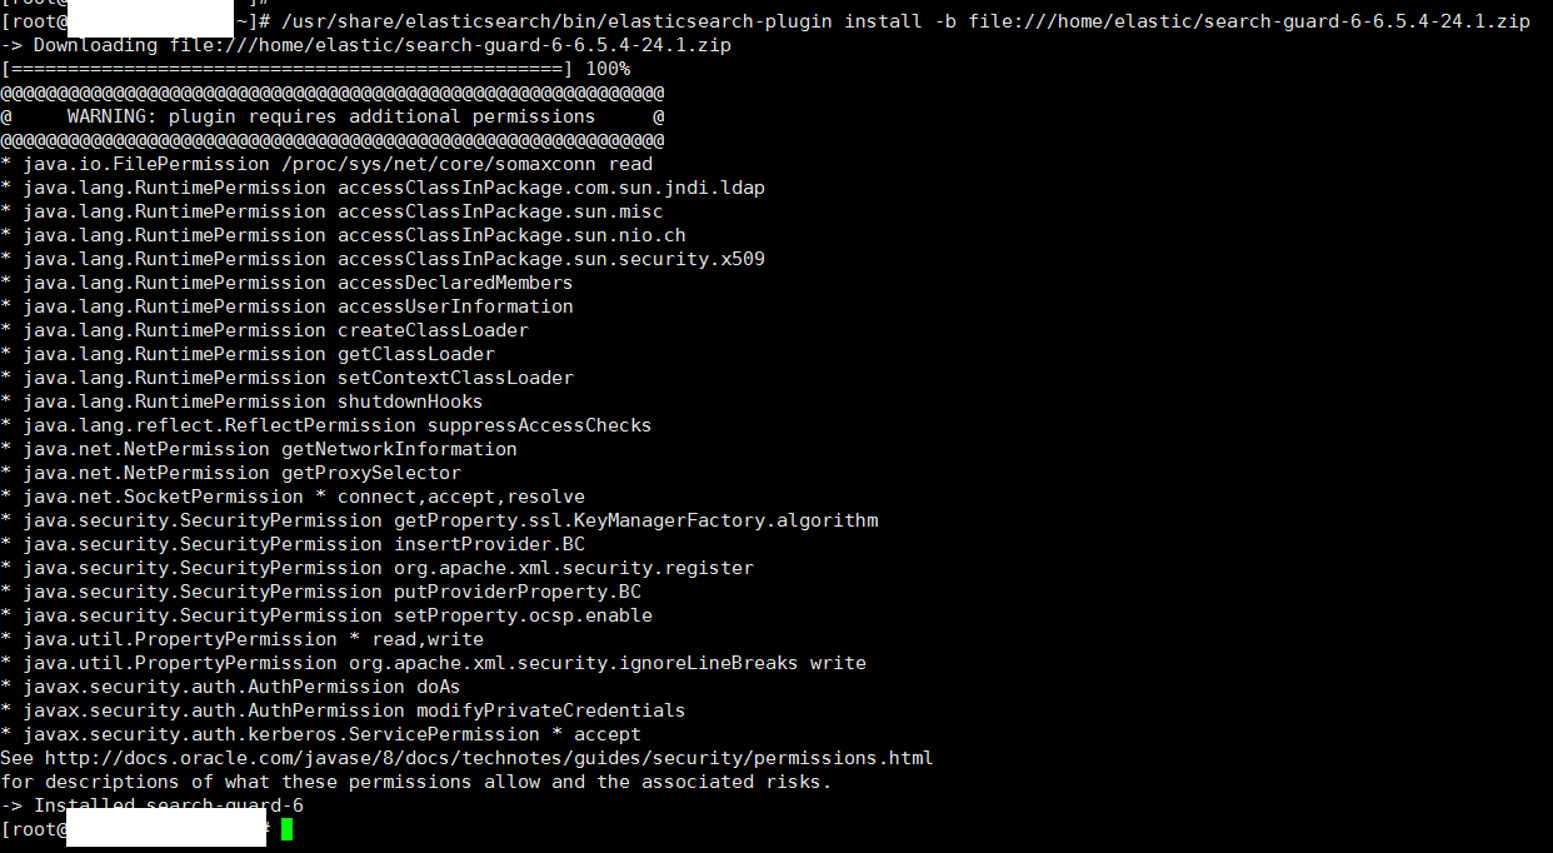
After installing the search guard plugin on all master and data nodes, we need to get the tls certificates from search guard’s site in order for search guard to manage all nodes.
We need to transfer these files to the /etc/elasticsearch directory and write the names and passwords of these tls to the elasticsearch.yml files on each node. I will tell you all the details.
First, we’re going to Search Guard’s site.
https://search-guard.com/tls-certificate-generator/
We write the names of elasticsearh nodes as follows. So it will generate a keystore in jks format for each node, and will send us the files containing keystore information via mail. If there are too many nodes, you can generate one and use the same keystore for all nodes. Because, you can create keystores for up to 10 nodes as you can see in the screenshot below.
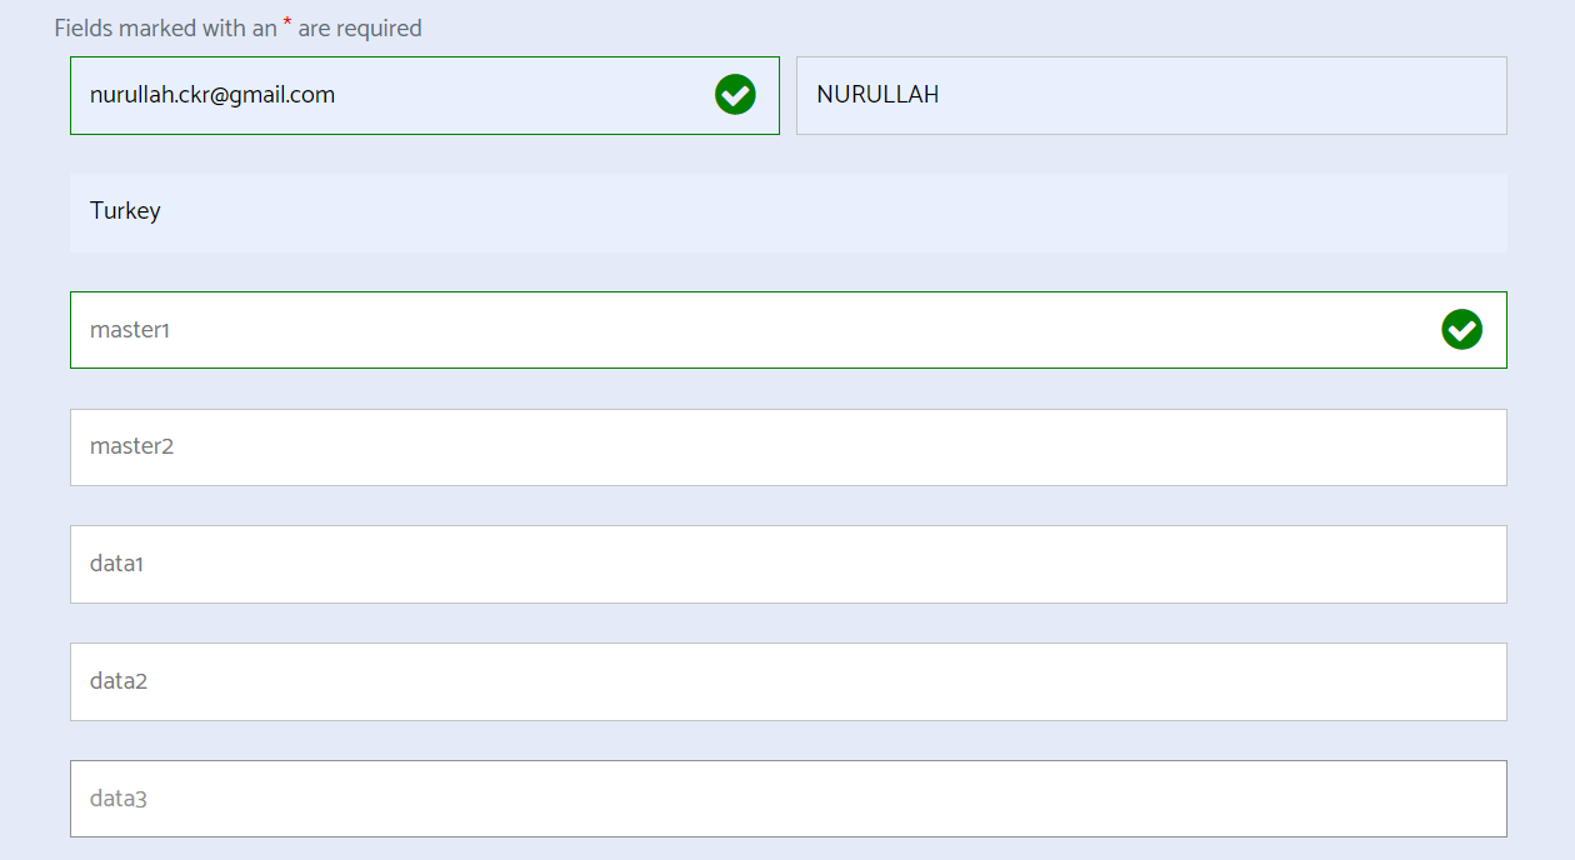
After typing node information, go to the bottom of the page and click Submit. In a few hours, it sends tls certificate information to your e-mail address.
Mail contents are as follows. Click Download Certificates.
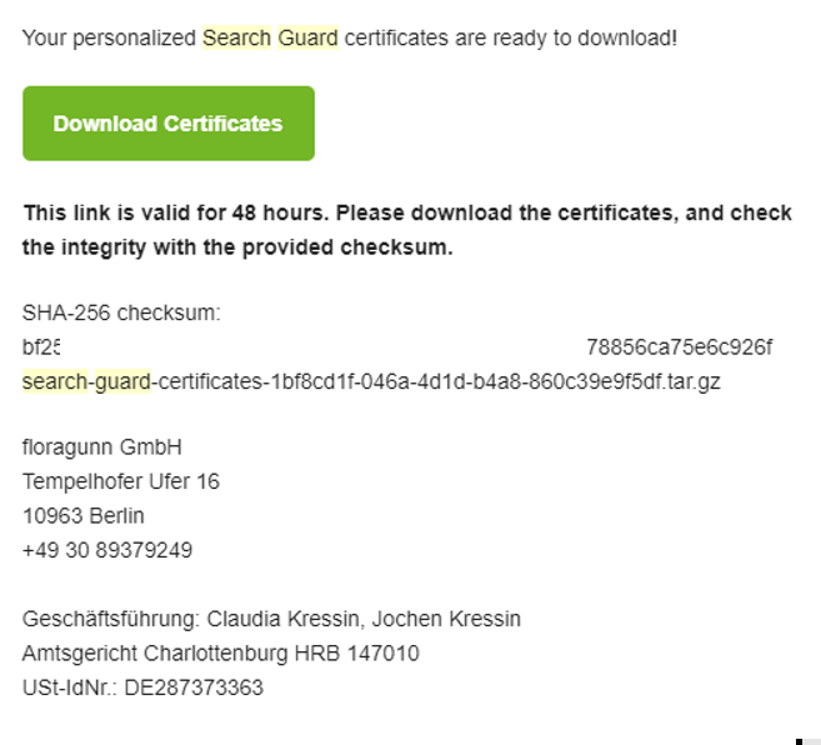
The content of the downloaded file is as follows. You must copy all the files in the node-certificates folder under /etc/elasticsearch on all nodes.
I suggest you read README.txt.
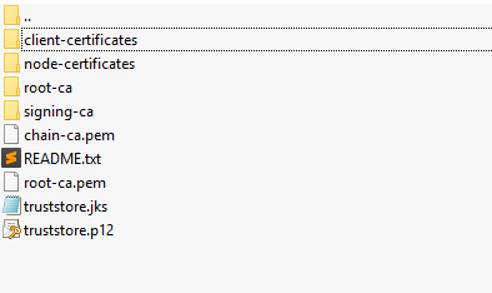
You must copy the keystore passwords for each node from the README.txt file into the elasticsearch.yml file on each node.
The password information in the README.txt file appears at the bottom as follows. In the screenshot below, copy the values in the sections labeled “copy this password” and “copy this name”.

Then, locate the following lines in the README.txt file and copy it to the elasticsearch.yml file.
Type the name you just copied instead of “[hostname]-keystore.jks“.
Type the password that you just copied instead of “[keystore password for this node]“.
1 2 | searchguard.ssl.transport.keystore_filepath: CN=[hostname]-keystore.jks searchguard.ssl.transport.keystore_password: [keystore password for this node] |
We are editing the elasticsearch.yml file with the vi command, and we follow the steps described above.
as root:
1 | vi /etc/elasticsearch/elasticsearch.yml |
![]()
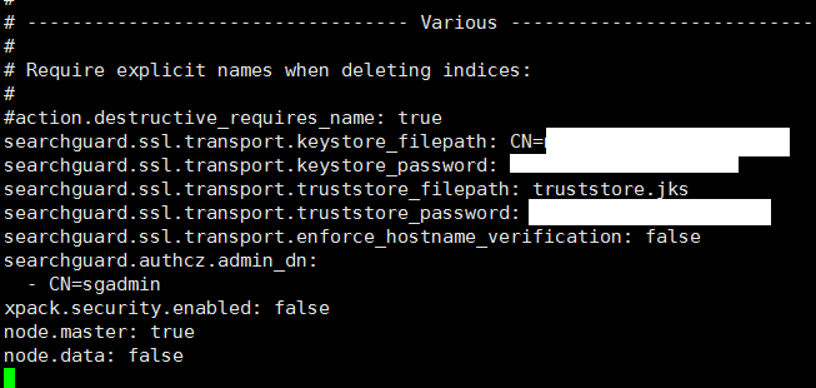
Apart from these two lines, there are two other lines that we need to copy into the elasticsearch.yml file about truststore.
You need to copy the following two lines from the README.txt to the elasticsearch.yml file on each node.
1 2 | searchguard.ssl.transport.truststore_filepath: truststore.jks searchguard.ssl.transport.truststore_password: 25tdfsSDFG546sf2342r |
We also find the following lines in README.txt and copy them into the elasticsearch.yml file.
1 2 3 4 | searchguard.ssl.transport.enforce_hostname_verification: false searchguard.authcz.admin_dn: - CN=sgadmin xpack.security.enabled: false |
As a result, the records in the elasticsearch.yml file should look as follows.
The following article describes how to set the parameters “node.master” and “node.data”.
“How To Install Elasticsearch On Centos”
Finally, you must copy the following line from the README.txt file and run it on any node.
1 2 | chmod 755 ./sgadmin.sh ./sgadmin.sh -ts truststore.jks -tspass asdfas43534ADFGASD34 -ks CN=sgadmin-keystore.jks -kspass asdfasdfasefasdf23423ASDF -nhnv -icl -cd ../sgconfig/ |
Create a Password For Elasticsearch
After all installations are completed, let’s create a user and password for elasticsearch.
We are going to the following directory and list the files.
1 2 | cd /usr/share/elasticsearch/plugins/search-guard-6/tools ll |

With the help of the command below, we generate a password with md5.
1 | ./hash.sh |

We then go to the following directory and list the files.
1 2 | cd /usr/share/elasticsearch/plugins/search-guard-6/sgconfig/ ll |

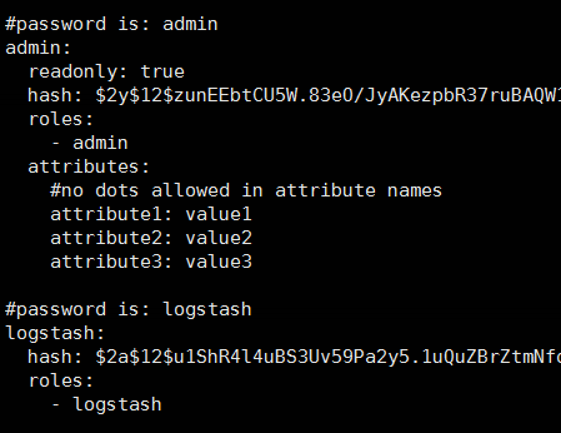
With the help of the following command, we edit sg_internal_users.yml and set this password for the user we want.
1 | vi sg_internal_users.yml |
Install Search Guard For Kibana
This process is only necessary for login to Kibana.
If you cannot connect to the internet from the server, you should download the search guard’s plugin from the link below and copy it to a path on the server. Suppose you copy it to the directory “/home/elastic”. The file name I copied to “/home/elasticsearch” is “search-guard-kibana-plugin-6.6.1-18.1.zip”.

You can then install Search Guard Plugin for Kibana.
as root:
1 | cd /usr/share/kibana |
1 | NODE_OPTIONS="--max-old-space-size=8192" bin/kibana-plugin install file:///home/elastic/search-guard-kibana-plugin-6.5.4-18.zip |

If you have internet in the server, right-click on the zip in the screenshot below and copy the link address.
Then, paste the link that you just copied instead of the link that starts with https in the following script. And run this command on the server on which you want to install it.
1 | NODE_OPTIONS="--max-old-space-size=8192" bin/kibana-plugin install https://url/to/search-guard-kibana-plugin-<version>.zip |
![]()
 Database Tutorials MSSQL, Oracle, PostgreSQL, MySQL, MariaDB, DB2, Sybase, Teradata, Big Data, NOSQL, MongoDB, Couchbase, Cassandra, Windows, Linux