 Database Tutorials MSSQL, Oracle, PostgreSQL, MySQL, MariaDB, DB2, Sybase, Teradata, Big Data, NOSQL, MongoDB, Couchbase, Cassandra, Windows, Linux
What is Stretch Database?
If you want to archive your old data to Azure, all you need is StretchDatabase. You can then query as you wish your old data from Azure.
With Stretch Database, you can reduce your disk based costs, backup costs and maintenance costs by reducing your data to grow much on your expensive systems and shorten your backup restore times.
Most importantly, you can query the whole table in the same way without making any changes within the application.
If data is on the Azure, it will be transmitted to the application via Azure, and if data is on your own systems it will be transmitted from your own systems to the application. The control of these operations will be handled by SQL Server.
There are many restrictions on this feature as of now. But I think many of these restrictions will be reduced after a few releases.
Stretch Database Limitations
- We cannot update or delete data transferred to Azure.
- We cannot insert into Stretched table via linked server.
- We cannot create an indexed view for a stretched table.
- The filters we created on the indexes in our own system cannot be transferred to the table on azure. You can find information about filtered index in the article “What is Filtered Index in SQL Server“.
- Tables with more than 1023 columns and more than 998 indexes cannot be stretched.
- File tables or tables that contain filestream data cannot be stretched. You may want to read the article “What is File Stream On SQL Server“
- Replicated tables, tables that use Change Tracking or Change Data Capture cannot be stretched. You may want to read articles “SQL Server Replication Types” and “Change Data Capture (CDC) in SQL Server“.
- Memory Optimized Tables cannot be stretched. You may want to read the article “In Memory OLTP in SQL Server 2014, SQL Server 2016 and SQL Server 2017″
- Tables that contain data types “text, ntext, image, timestamp, sql_variant, XML, geometry, geography, hierarchyid, and CLR” cannot be stretched. You may want to read the article “SQL Server Data Types“
- Tables with COLUMN_SET cannot be stretched.
- Tables containing Computed Column cannot be stretched. You may want to read the article “Computed Column in SQL Server“.
- Tables with Default Constraint or Check Constraint cannot be stretched. You may want to read the articles “How To Create CHECK CONSTRAINT“, “What is Constraint and SQL Server Constraint Types(TSQL)” and “DBCC CHECKCONSTRAINTS Command On SQL Server“.
- Parent table of Foreign Key table cannot be stretched. You may want to read the article “What is Primary Key and Foreign Key“.
- Tables containing Fulltext Index, XML Index, Spatial Index cannot be stretched. You may want to read the article “Fulltext Search On SQL Server“.
Example
Create a table with the following script
1 2 3 4 5 6 7 8 9 10 11 | CREATE TABLE [dbo].[StretchTable]( [ID] [int] IDENTITY(1,1) NOT NULL, [Name] [varchar](50) NULL, [Surname] [varchar](50) NULL, [DateInfo] [datetime] NULL, CONSTRAINT [PK_StretchTable] PRIMARY KEY CLUSTERED ( [ID] ASC )WITH (PAD_INDEX = OFF, STATISTICS_NORECOMPUTE = OFF, IGNORE_DUP_KEY = OFF, ALLOW_ROW_LOCKS = ON, ALLOW_PAGE_LOCKS = ON) ON [PRIMARY] ) ON [PRIMARY] |
1 2 3 4 5 6 7 8 9 10 11 12 13 14 15 16 17 18 19 20 | USE [Test] GO DECLARE @firstdate DATETIME = '20000101' DECLARE @lastdate DATETIME = '20170101' DECLARE @difference INT = DATEDIFF(DD,@firstdate,@lastdate) while(1=1) BEGIN DECLARE @randomdate datetime; select @randomdate= DATEADD(DD,@difference*RAND(),@firstdate) INSERT INTO [dbo].[StretchTable] ([Name] ,[Surname] ,[DateInfo]) VALUES ('Nurullah' ,'ÇAKIR' ,@randomdate ) END |
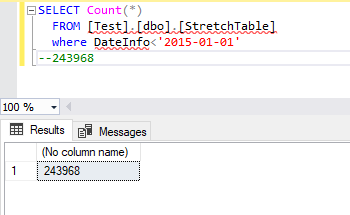
1 2 3 4 | SELECT Count(*) FROM [Test].[dbo].[StretchTable] where DateInfo<'2015-01-01' --243968 |
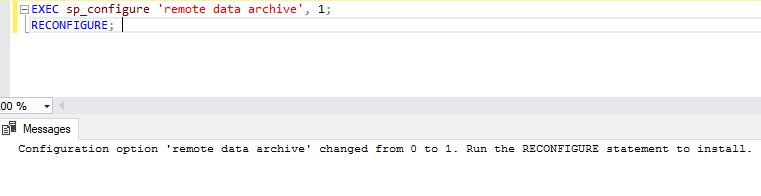
First, we enable Stretch Database at Instance level with the following script.
1 2 | EXEC sp_configure 'remote data archive', 1; RECONFIGURE; |
Then right click on the database and click on Tasks->Stretch->Enable.

On the screen that appears, we select our table to archive.
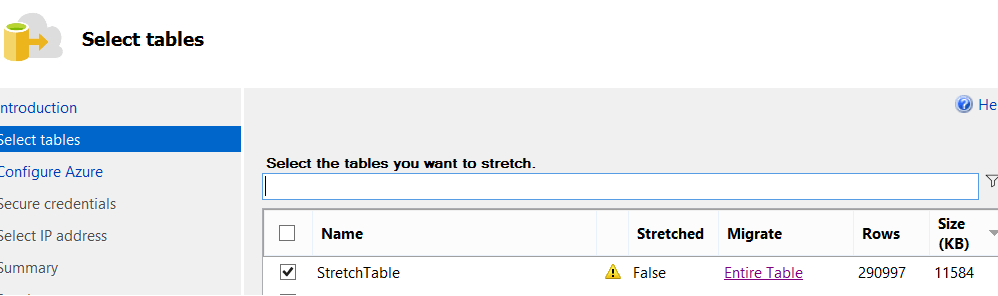
We see EntireTable in the Migrate section. We don’t want to archive the whole table. We just want to archive the data before the 2015-01-01 in our table. That’s why we click EntireTable.
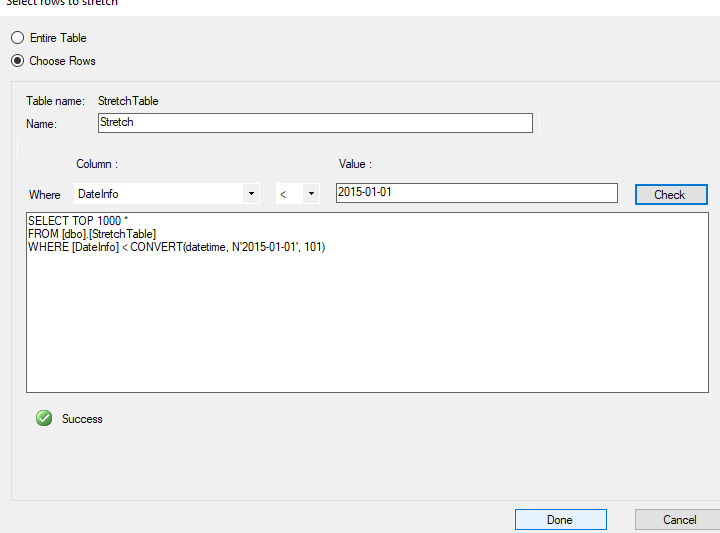
In the screen that appears, click on Choose Rows as follows.
We give a name from Name section.
We select our column named DateInfo from the Where section.
Select “<” from the middle filter section and enter the date we want to archive in the Value section and click Check. Once you see Success, we’re done by clicking Done and Next.
We need to enter your Azure account on the next screen. Click Sign In….
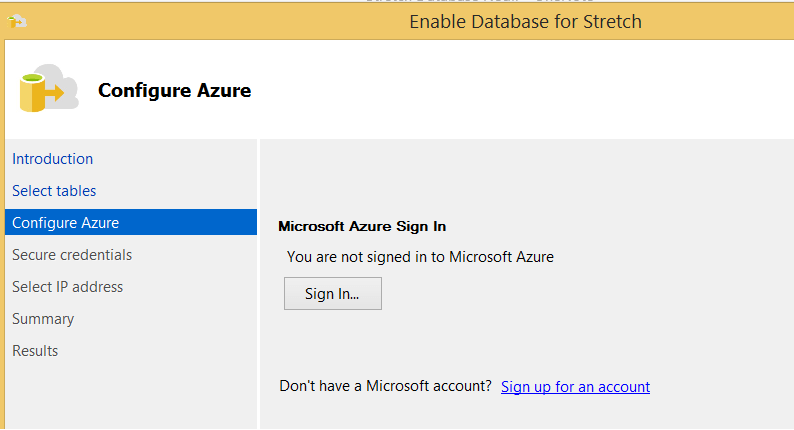
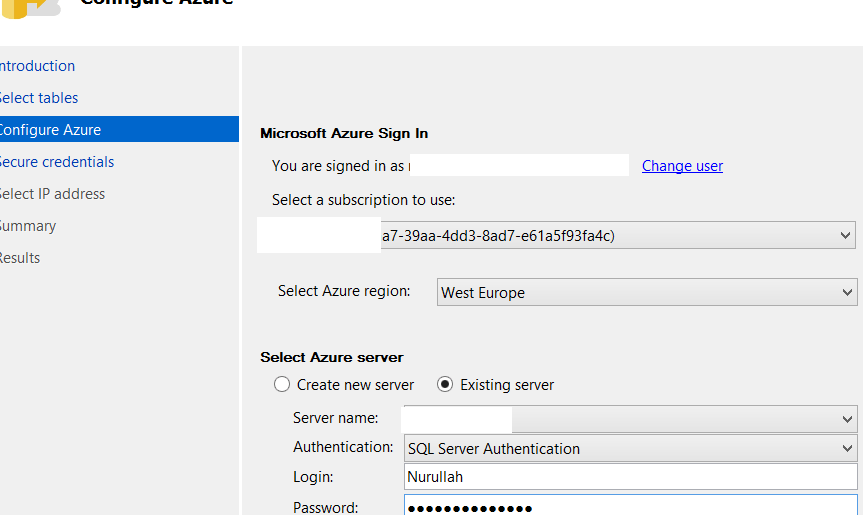
After you sign in with your Azure account, you should see a screen like the one below.
In this screen, I click Existing server to use the server that I created with SQL Database on Azure. See “How To Create SQL Database on Azure”.
You can create a new server on this screen by clicking Create new server.
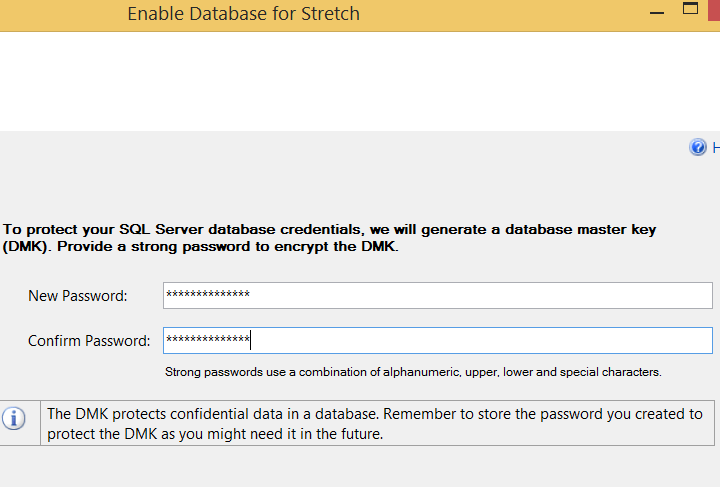
The next screen says that a master key will be created to protect our database credentials. We are writing a password for this master key.
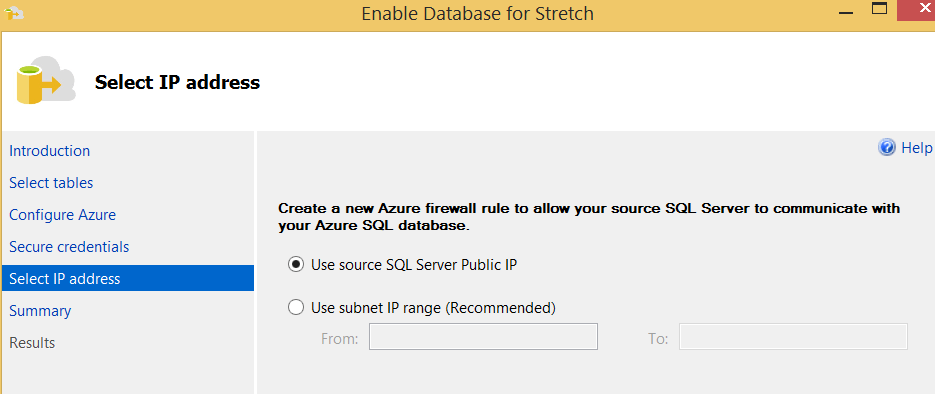
On the next screen, we determine the IP or IP list that Azure will accept when accessing Azure from SQL Server.
If you want to access from a single IP select “Use source SQL Server Public IP”
or
If you want to access from an IP Range select “Use subnet IP range”
Microsoft recommends that we use an IP range. I choose the first option because I’m testing from my own machine.
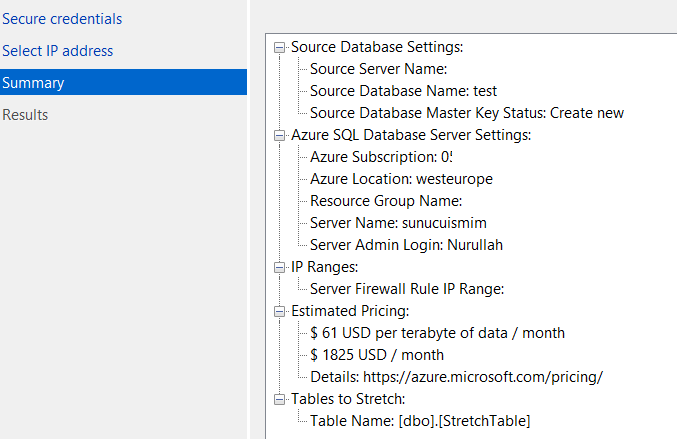
Finally, we see a screen like the following. Click Finish to complete the process.
You can learn the number of rows in local and azure by running the script below.
1 2 | sp_spaceused @objname = 'dbo.StretchTable', @mode = N'LOCAL_ONLY' sp_spaceused @objname = 'dbo.StretchTable', @mode = N'REMOTE_ONLY' |
Disable Stretch Database
If you want to Disable the Stretch Database structure, Disable option will appear in the Enable section.
If you select “Bring Data Back From Azure” in this section, your data in Azure will be returned to your table.
Or, if you select “Leave Data In Azure,” you’ll leave your data in Azure.
You can access other Azure related articles by typing Azure in the Search section of our site.
![]()