 Database Tutorials MSSQL, Oracle, PostgreSQL, MySQL, MariaDB, DB2, Sybase, Teradata, Big Data, NOSQL, MongoDB, Couchbase, Cassandra, Windows, Linux
In today’s article we will learn to PostgreSQL Installation on Linux VM in Microsoft Azure.
1) Access our server with Putty.
2) After gaining access, we update all installed packages with “sudo apt-get update”.
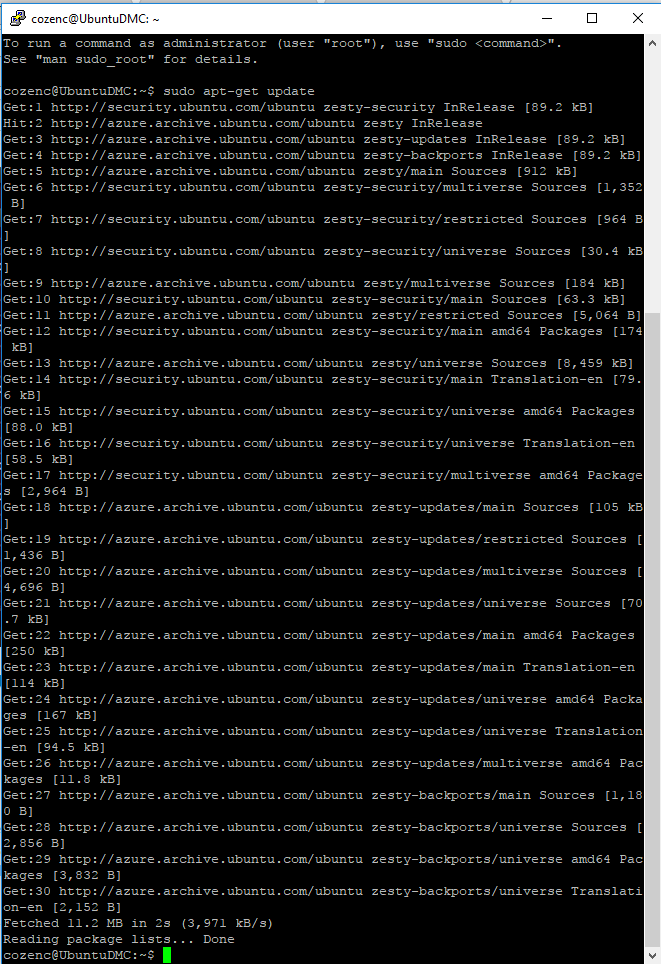
After the process, we clean the screen with the “Clear” code.
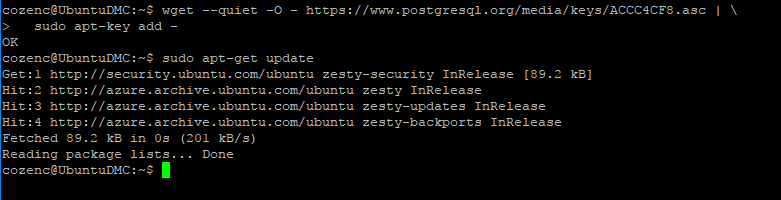
3) PostgreSQL packages are available by default in Ubuntu repositories. So first of all, let’s update the apt repository from postgresql.org.
For this process, we need to select the version information from the link below and we need to run the code blocks it gives us.
Since we are using Ubuntu Server 17.04 version, it will be enough to run the following codes.
1 | https://www.postgresql.org/download/linux/ubuntu/ |
1 2 3 4 5 | [code] wget –quiet -O – https://www.postgresql.org/media/keys/ACCC4CF8.asc | \ sudo apt-key add – sudo apt-get update [/code] |
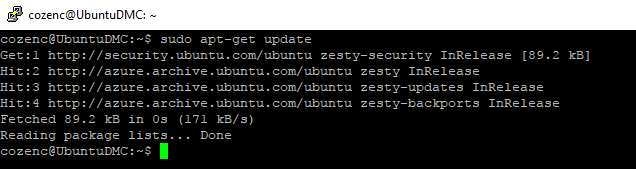
4) Before the installation process, let’s update the existing packages again.
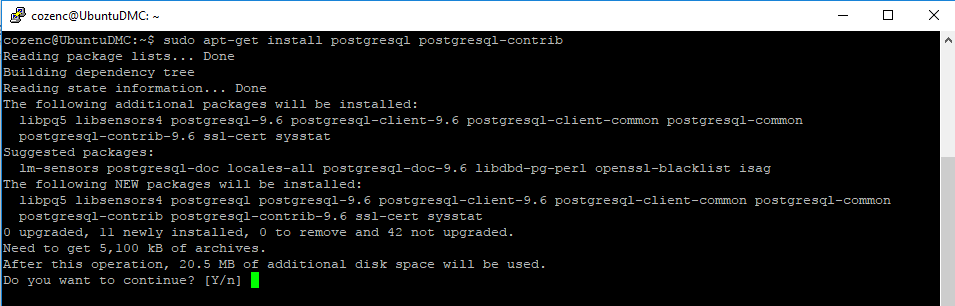
5) Now that we have updated the packages again, we can start the necessary installation process.
1 2 3 | [code] sudo apt-get install postgresql postgresql-contrib [/code] |
When we run the above piece of code, we will see a screen like the one below. On this screen, he will be asking us for approval for the contract and will be giving information about the needs for installation.
After the confirmation process is given, we will see that the installation process in the data continues and is completed on a somewhat long screen.
After we see that the installation is complete, we can write “service postgresql status” and get information about the process status.
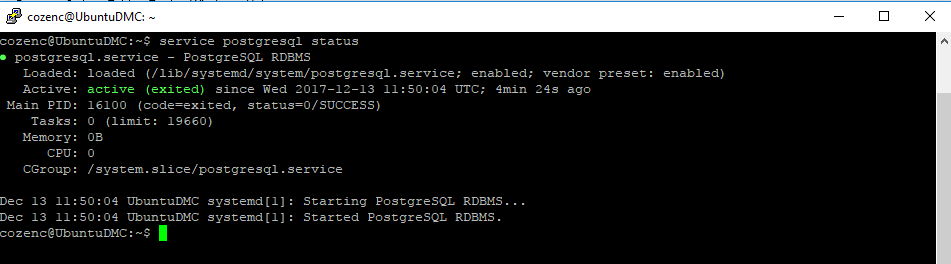
As you can see in the picture above, our PostgreSQL server is active and our service is running.
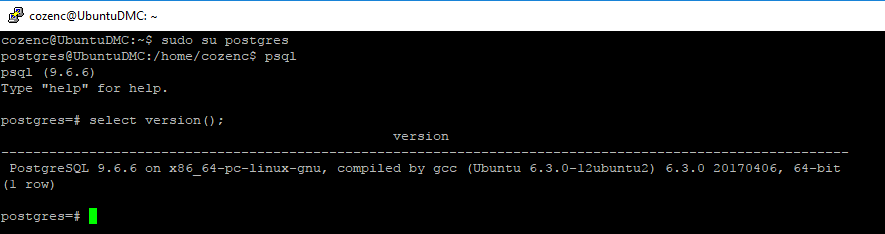
After installation of the PostgreSQL server, it creates a “postgres” user with the “postgres” role by default. It also creates a system account named “postgres”. Let’s take a walk around the PostgreSQL server with this user.
As a first step, let’s learn the version information of the PostgreSQL Server that we have installed.
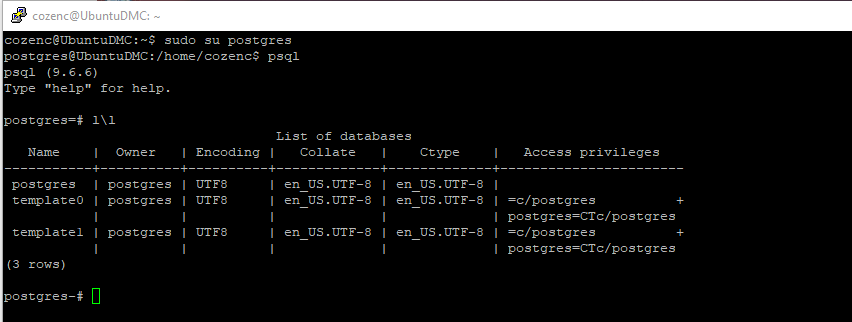
PostgreSQL databases installed by default
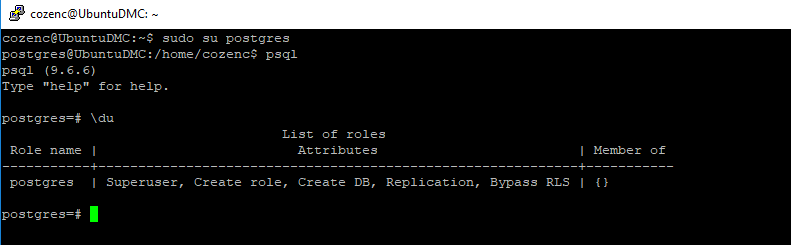
To view the default user roles;
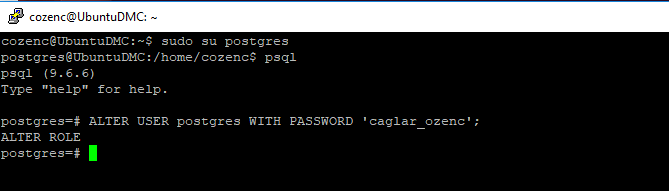
Now let’s change the password of the postgres user, which is the Default user. With the code block below, I altered the postgres user and changed his password to caglar_ozenc.
Let’s create a new user other than the default user and view the role information.
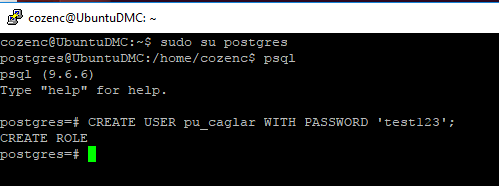
In the picture above, we created a user with the password test123 named pu_caglar with the code block. We just need to do \du to display its role information.
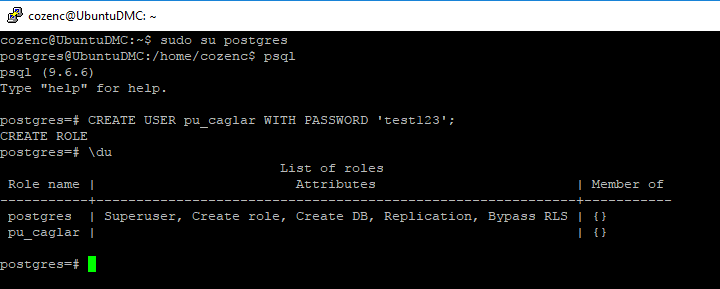
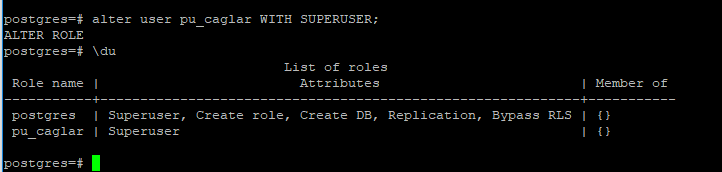
We created the user named “pu_caglar”, but this user does not have a role definition. Let’s define a role for this user and this user will be authorized. For this operation “ALTER USER pu_caglar WITH SUPERUSER;” You just have to write.
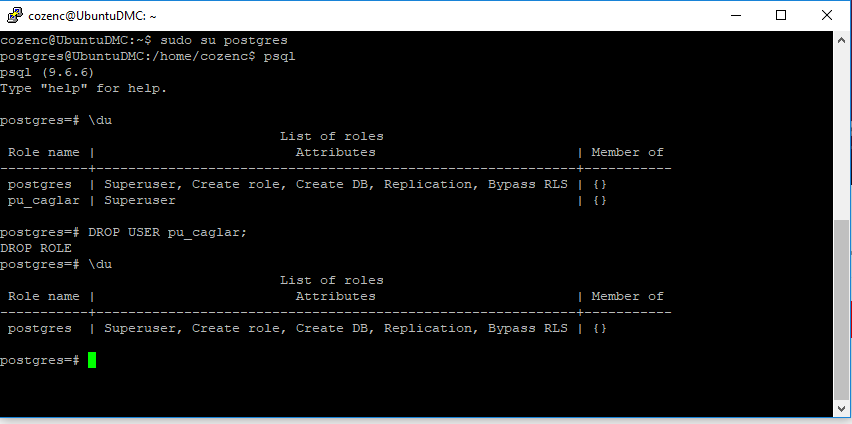
Now, let’s DROP the user named pu_caglar that we created as an example from our system.
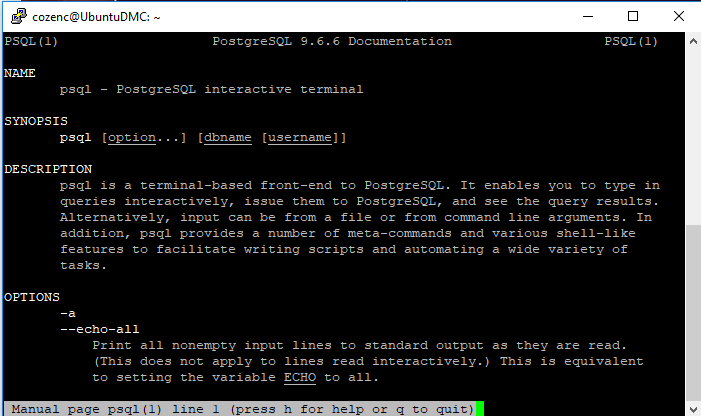
To access the documentation about PSQL, simply type “man psql”. You can access many definitions and usage patterns in this document. To exit, simply press the letter “q”.
![]()