 Database Tutorials MSSQL, Oracle, PostgreSQL, MySQL, MariaDB, DB2, Sybase, Teradata, Big Data, NOSQL, MongoDB, Couchbase, Cassandra, Windows, Linux
In today’s article, we will Create A Database With Visual Studio on Linux SQL Server.
In my previous article, I wanted to prepare a sample application for SQL Server 2017, which we ran on Docker.
In today’s article, we will deal with this issue and connect to SQL Server running on Docker with Visual Studio and try to create a database and content there.
It is the Visual Studio 2015 version that we will use in our article, and Microsoft SQL Server Data Tools, Git for Windows and Github Extension For Visual Studio sections are selected in the “Select Features” section in the installation steps.
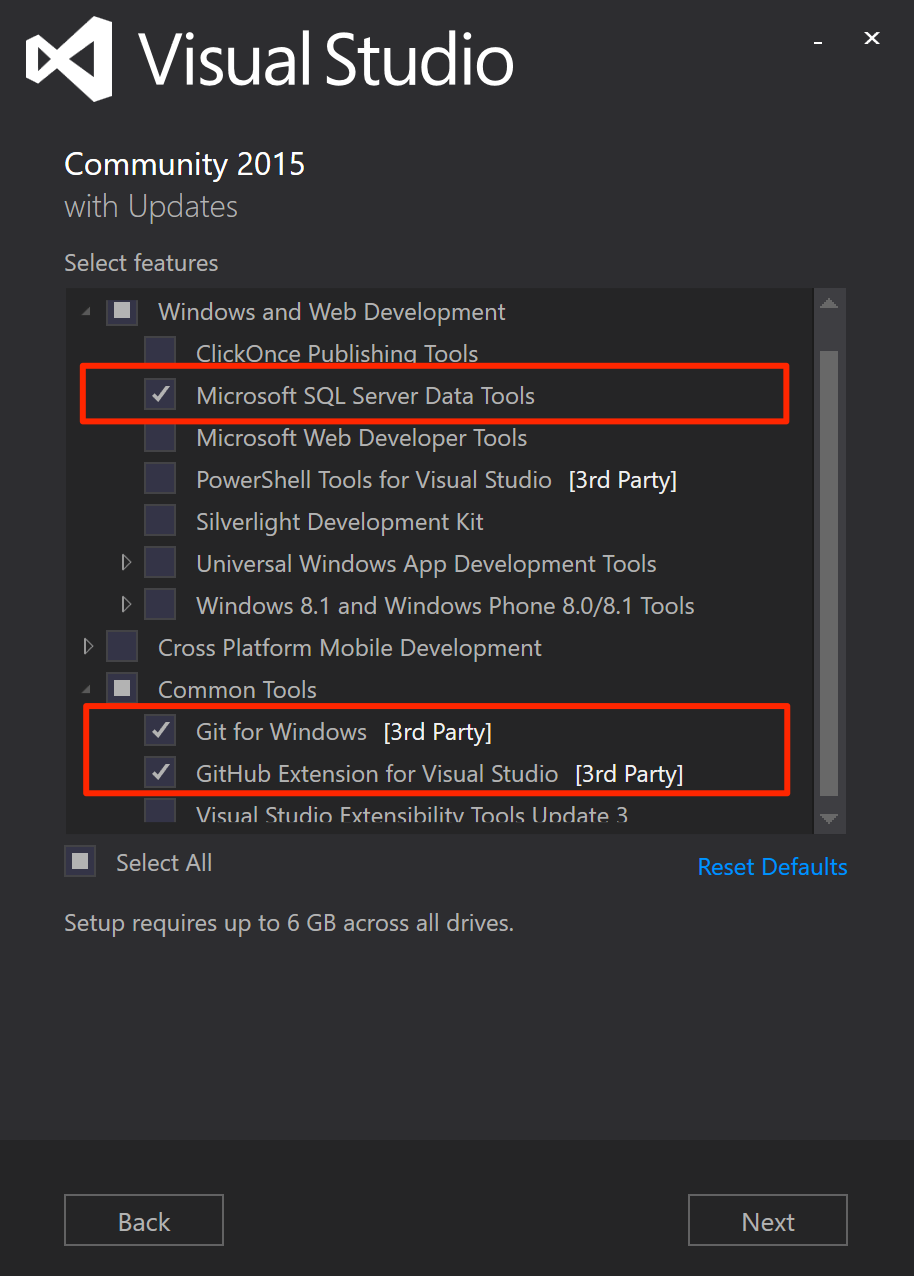
Also, to access SQL Server 2017 on Linux, you need SSDT (SQL Server Data Tools) versions 17.0 and later.
To download;
1 | https://go.microsoft.com/fwlink/?linkid=837939 |
After completing the necessary installations, we perform the following operations and prepare our project.
1) Let’s run Visual Studio.
2) Let’s open the Team Explorer screen from the View menu.
3) Click “New” in the Local Git Repository section.
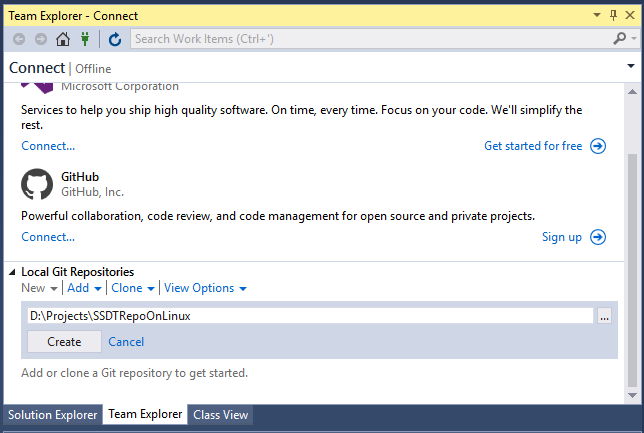
After selecting the necessary path information, let’s click Create. In our example, we chose the Projects folder on Disk D.
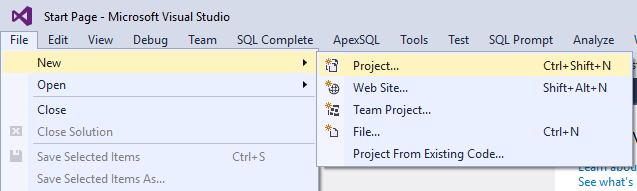
4) Let’s choose SQL Server from File → New → Projects and set the project name.
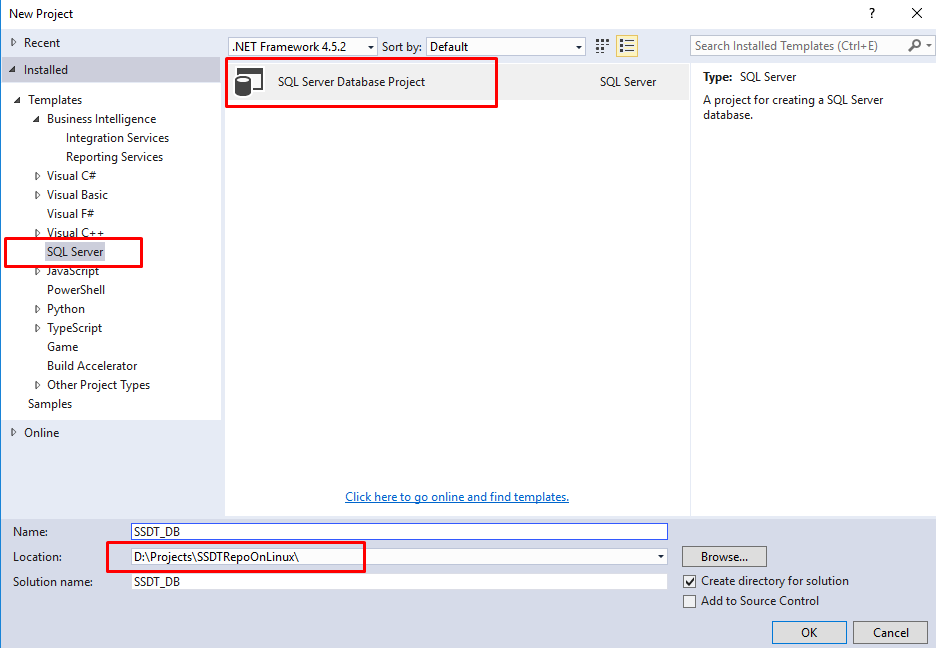
In our example, we chose the path we created in Git Local repository as the project path and chose SSDT_DB as the project name. This is also the name of the DB we are going to create.
5) After creating the project, we need to right click on the project and select add → Table. We need to create a table for our database.
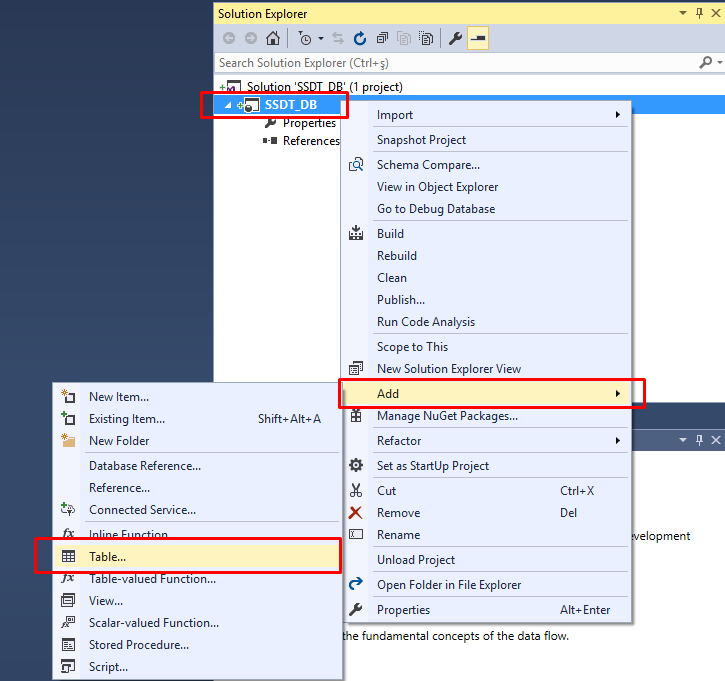
The screen that comes up for us to create a table is;
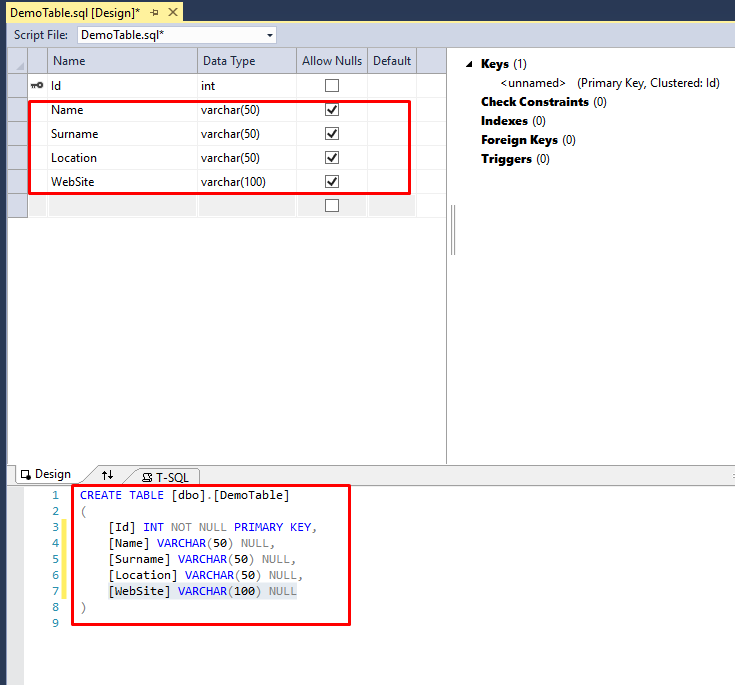
For our example, we create a table named DemoTable. We have columns named Name, Surname, Location and WebSite in our table.
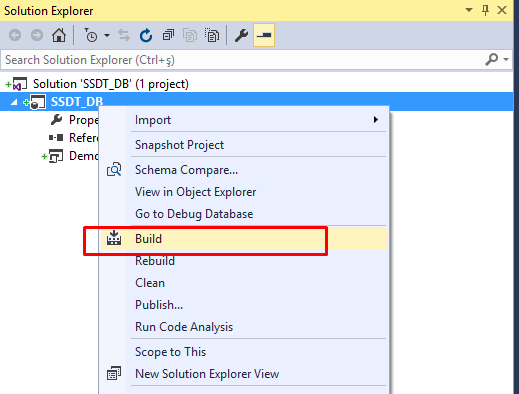
Now it’s time to build our project, for this process, right click on our project and click Build.
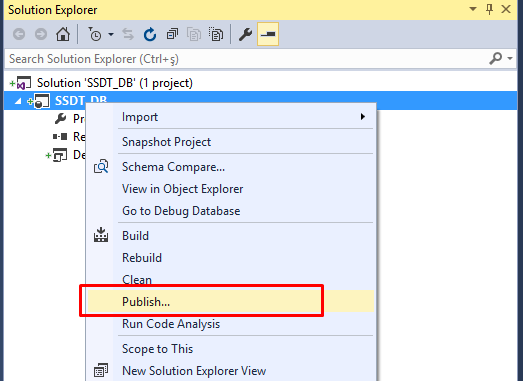
After the build process, we need to publish our project. For this process, we right click on our project and click publish.
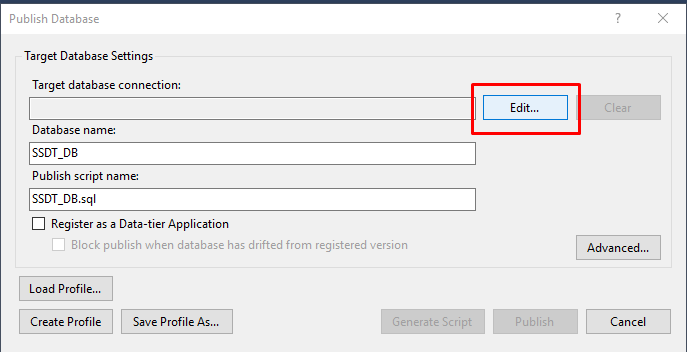
On the Publish database screen, we click on edit.
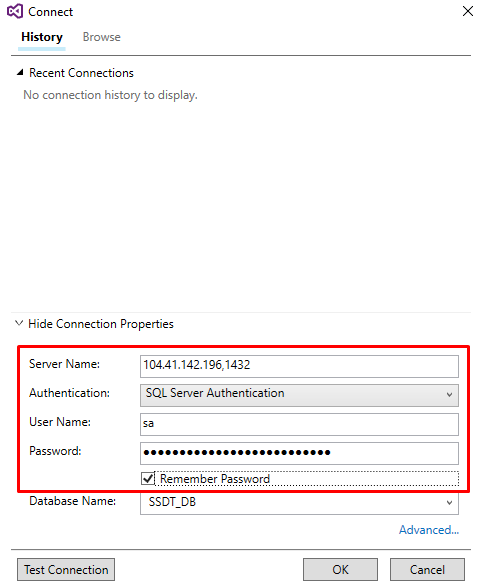
After clicking Edit, we see the connect screen, where we write our sql server database information.
After entering the database information, we press the publish button on the publish database screen and the publishing process starts. Transaction details are displayed on the Data Tools Operations screen.
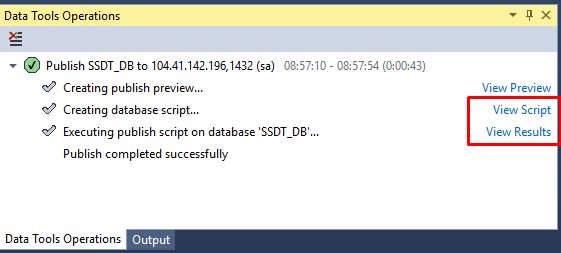
As you can see in the picture above, the transaction was successful. You can also check the scripts of the actual process.
Let’s also see that the operation is running successfully with SQL Operation Studio.
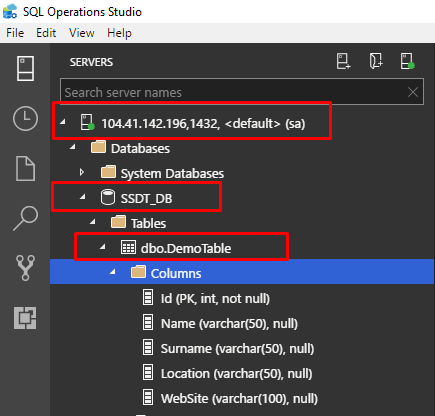
As you can see, we have published the database project we created in Visual Studio in SQL Server 2017 in Docker, where we run it on Linux.
We have come to the end of another article, see you in a different content…
![]()