 Database Tutorials MSSQL, Oracle, PostgreSQL, MySQL, MariaDB, DB2, Sybase, Teradata, Big Data, NOSQL, MongoDB, Couchbase, Cassandra, Windows, Linux
Today, I will describe the installation of the Oracle Linux 8 operating system, of which we have published previous versions.
Oracle Linux is an extremely stable and stable operating system designed for its own database, Oracle Database.
You can use this operating system, which does not require any license, with Oracle Database or you can organize it for different purposes on your own.
You can download the Oracle Linux 8 .ISO file as a free registration from the address below.
1 | https://edelivery.oracle.com/osdc/faces/Home.jspx |
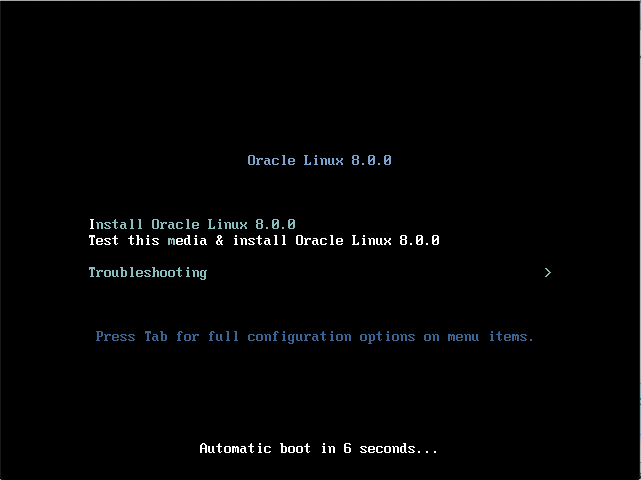
When we mount our ISO file, we traditionally see the Oracle welcome screen. On this screen, we start the installation by saying “Install Oracle Linux 8.0.0”.
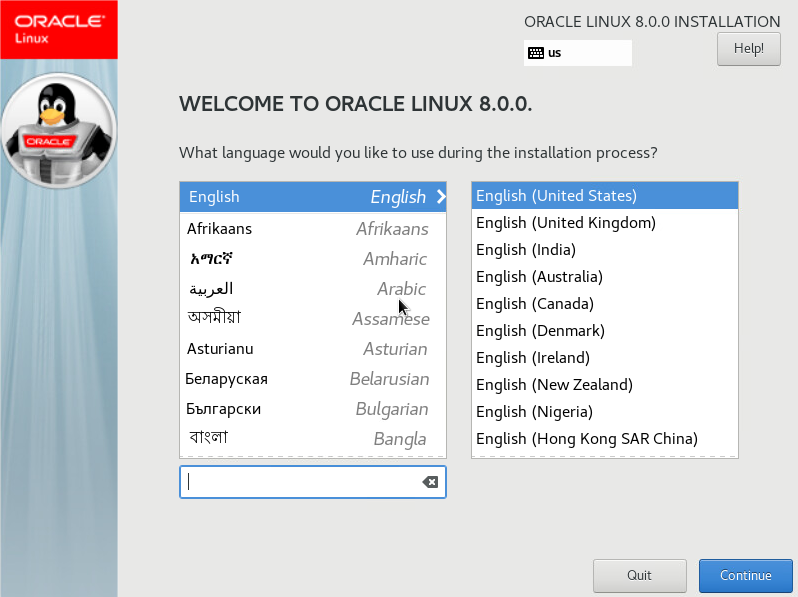
On this screen, we will choose the language of the operating system. Since I will install Oracle Database later, I leave it as “English” and continue by saying “Continue”.
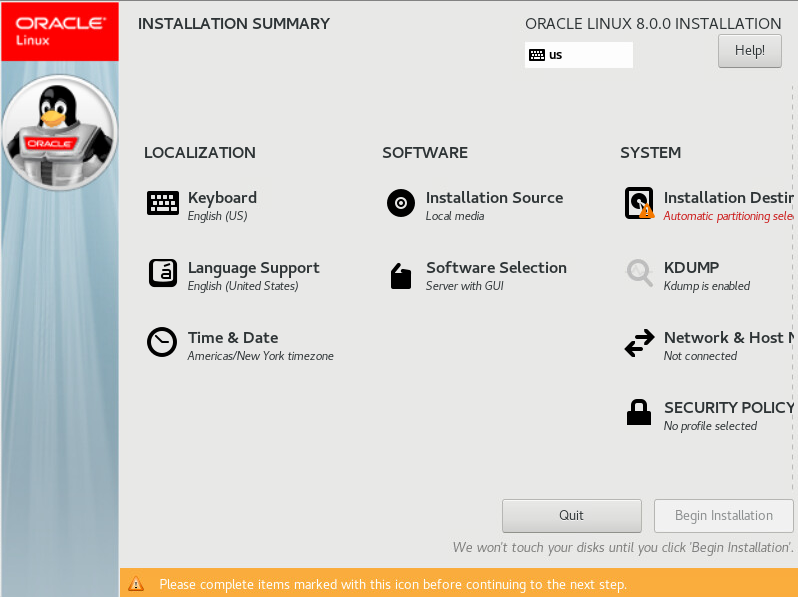
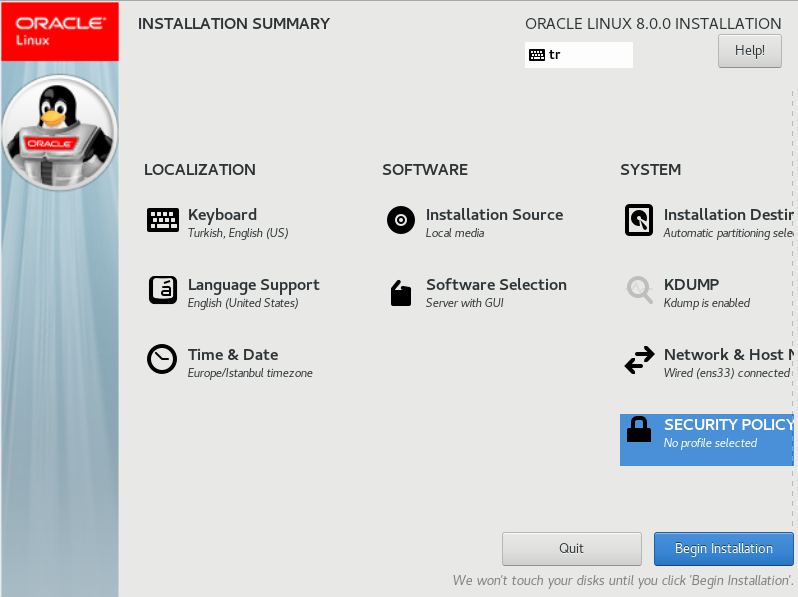
We came to the Config screen, which is simpler and more functional than previous versions. Here we will make adjustments such as our keyboard and disc settings.
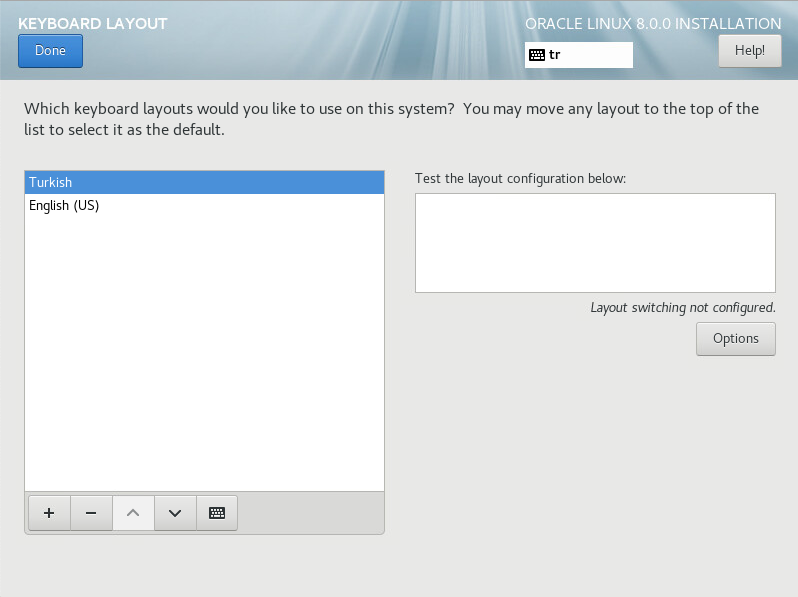
First of all, I set the “Keyboard”. Since there is no problem with my keyboard being Turkish, I choose the “Turkish” option and return to the config screen with the “Done” button.
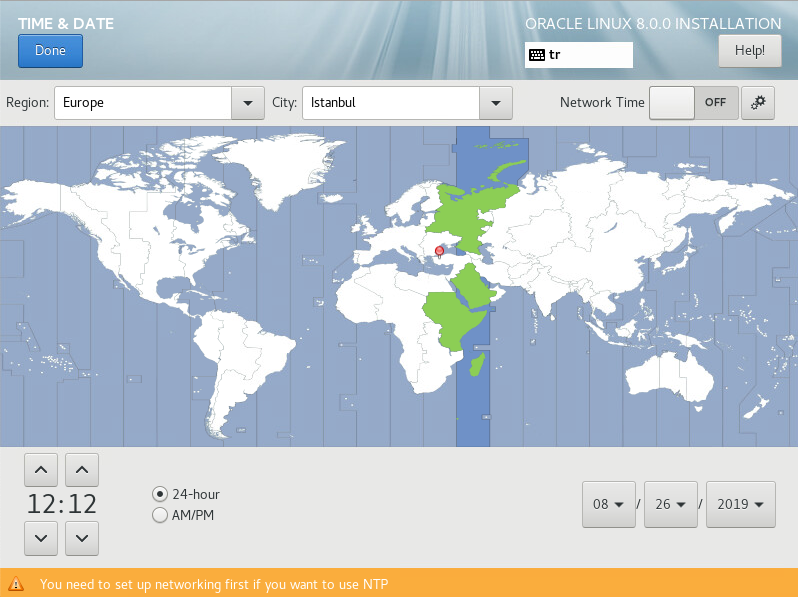
The next setting will be on the time zone. I choose “Istanbul” from “Time & Date” and return to my config screen with the “Done” button.
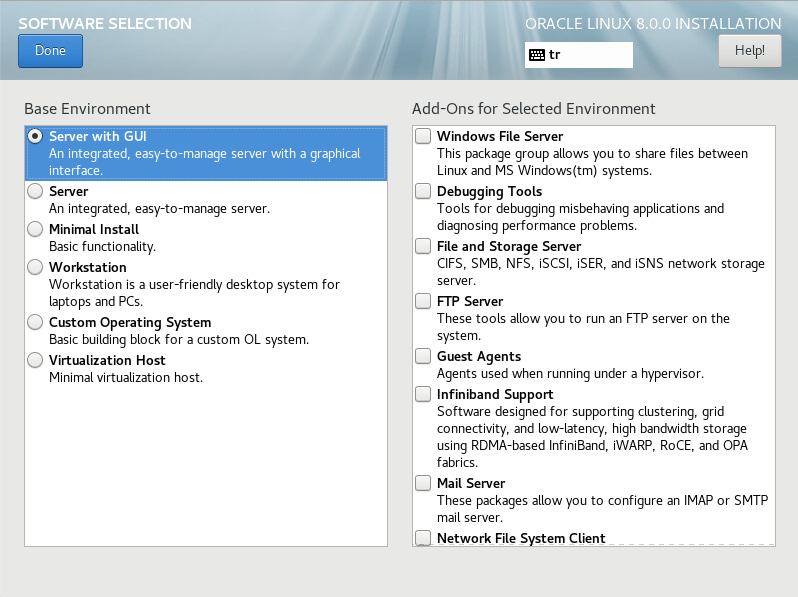
The next setting will be to add features to my operating system. I come to the “Software Selection” section and return to my config screen by pressing the “Done” button with “Server with GUI” selected.
Now it’s time for disk configuration. I have assigned a 120GB disk that I am working with for testing purposes and I want the operating system to format this disk as it wants.
Therefore, I come back with the “Done” button with “Automatic” selected in the Storage Configuration section. In this way, the disk will be automatically configured according to the hardware features of my virtual machine.

It’s time for our Network settings. Since I have DHCP on my system, I will get an automatic ip address. By going to the “Network & Host Manager” section, I open my ethernet card by clicking the “ON” button. With “Done” I come back to my config screen.

Now that I have made all my settings at the minimum level, I can start the installation by saying “Begin Installation”.
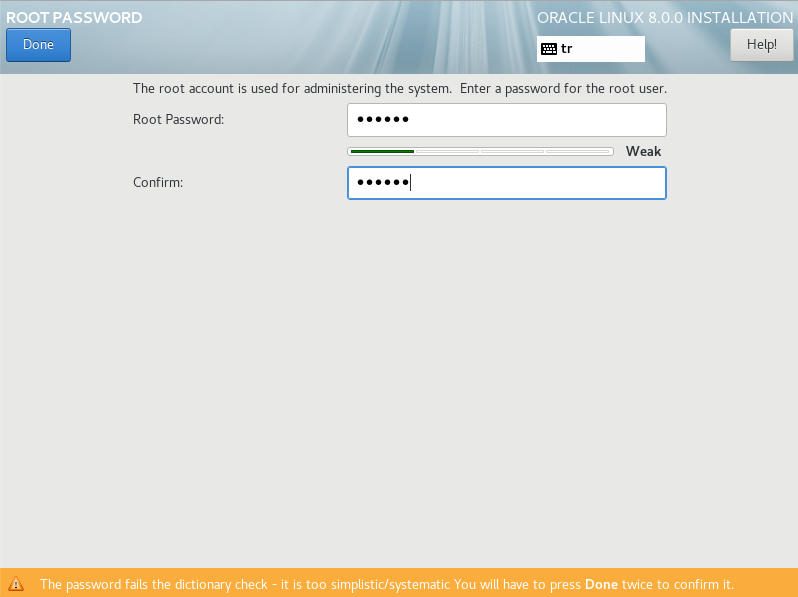
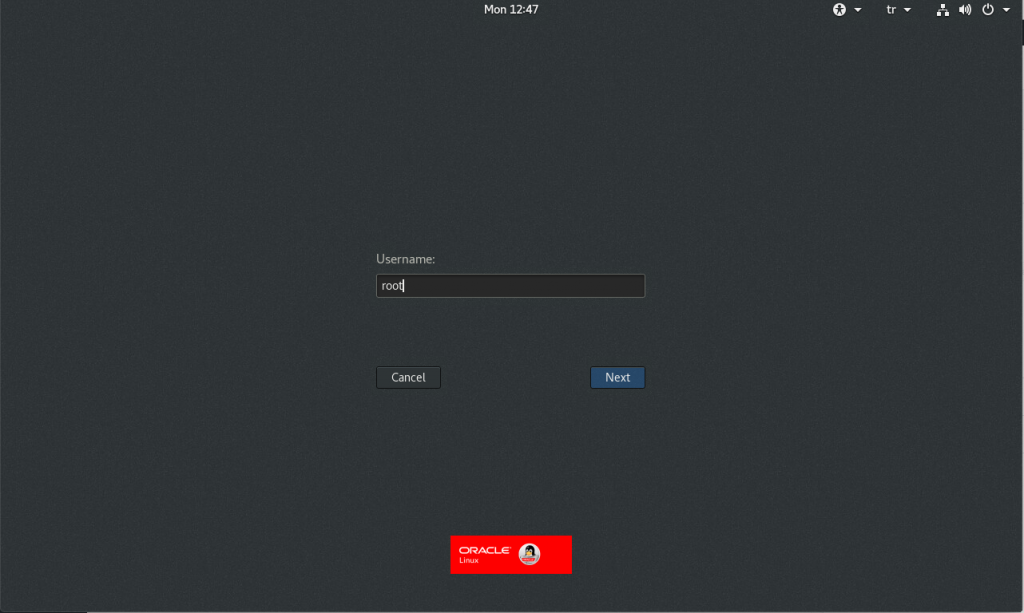
During installation, Oracle will ask me for “root” password.
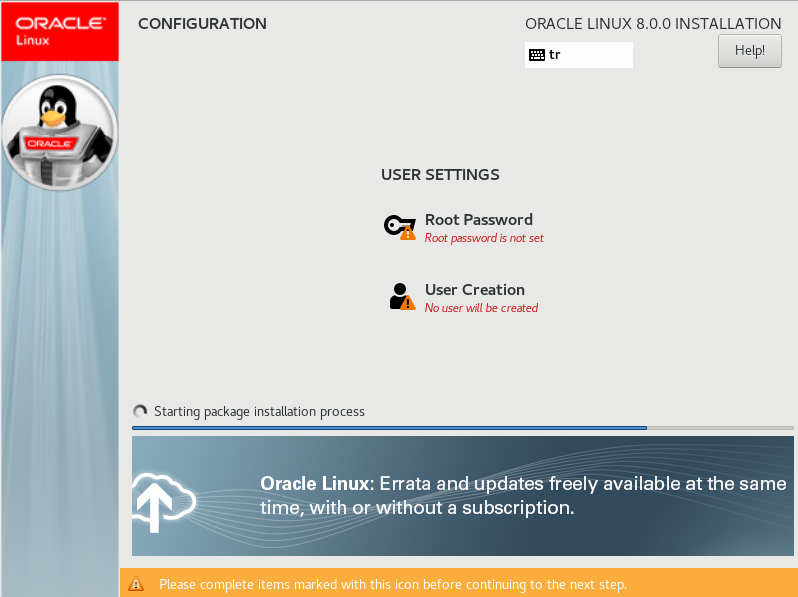
I set a password for root and come back with the “Done” button.
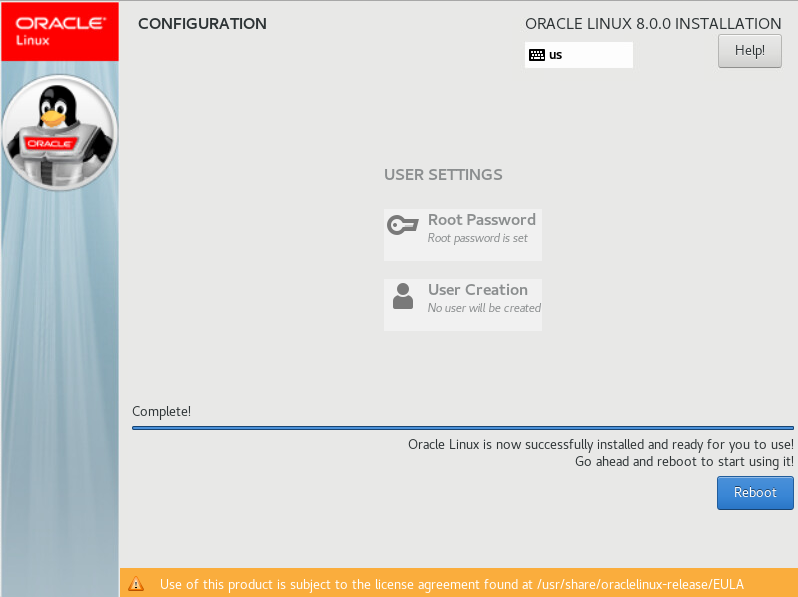
When the installation process is completed, the “Reboot” button will be active and we will need to restart the system.
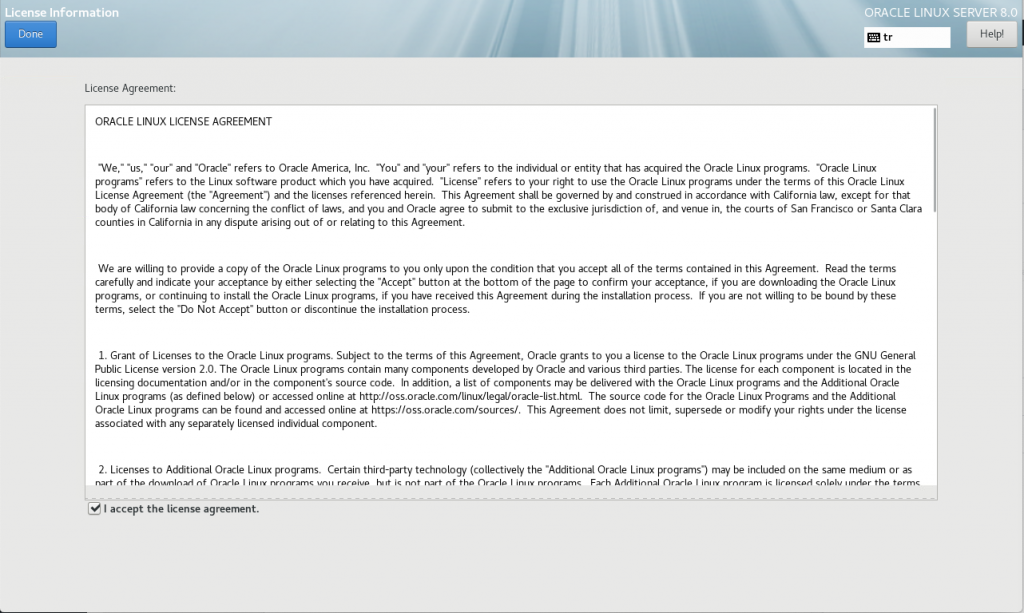
After our operating system restarts, we have to accept the license terms.
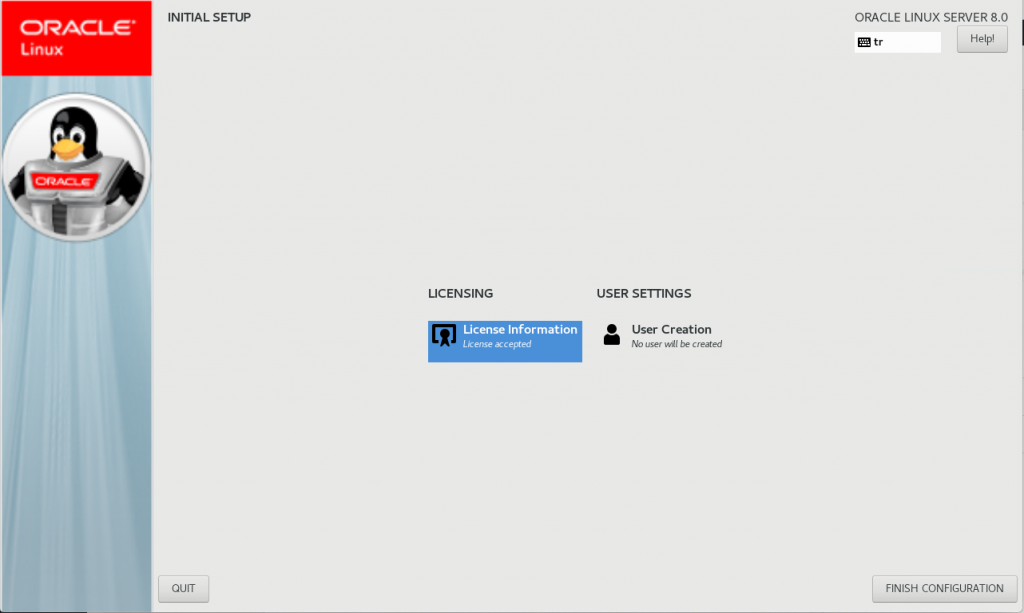
We select ‘I accept the License’ and come back with ‘Done’.
With the acceptance of the license, the “Finish Configuration” button will be active. We click for the last time and let the operating system open.
Now our operating system is ready to use. We log in with root.
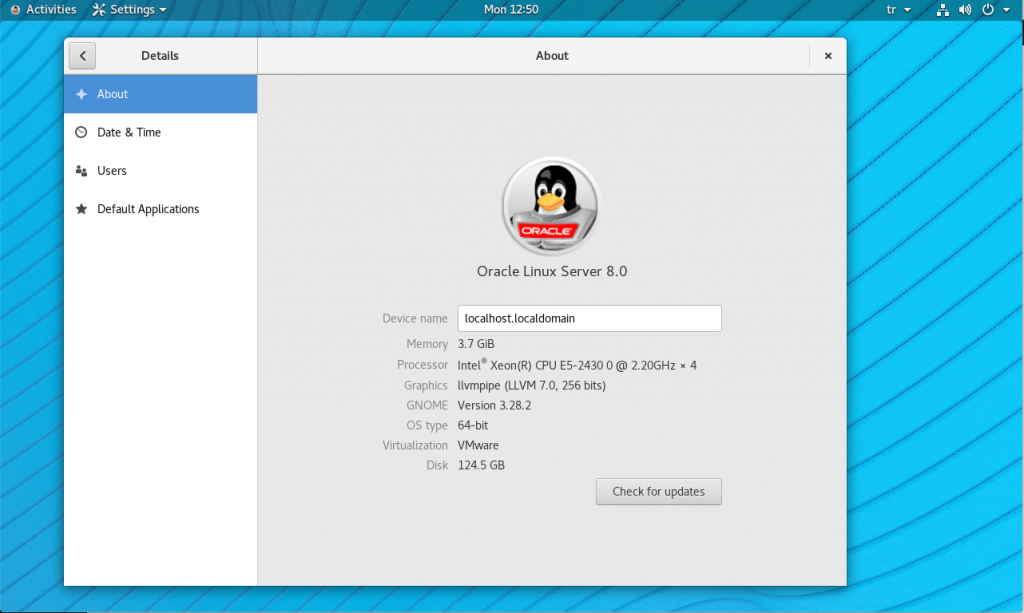
Oracle Linux 8 operating system is now available.
![]()