In this article we will install kibana 7.9 on centos 7 and its integration with elasticsearch. Before installing, you may not be able to integrate if your version of Kibana and Elasticsearch is not the same, so you need to be careful that the versions are the same.
if you didnt install elasticsearch you can install elasticsearch with the help of below article.
How To Install Elasticsearch 7.9 on Centos 7/8
We will continue by using the repo in the article I mentioned above.
Let’s install Kibana with the help of the command below.
1 | yum install kibana -y |
Before starting the Kibana service, we need to establish the connection between elasticsearch and kibana.
First, we need to change the configuration file below.
1 | vi /etc/kibana/kibana.yml |
1 2 3 4 5 6 7 8 9 10 11 12 13 14 15 16 17 18 19 20 21 22 23 24 25 26 27 28 29 | # Kibana is served by a back end server. This setting specifies the port to use. #This is my note->your kibana port server.port: 5601 # Specifies the address to which the Kibana server will bind. IP addresses and host names are both valid values. # The default is 'localhost', which usually means remote machines will not be able to connect. # To allow connections from remote users, set this parameter to a non-loopback address. #This is my note->Set Your Kibana IP server.host: "your_kibana_ip" # Enables you to specify a path to mount Kibana at if you are running behind a proxy. # Use the `server.rewriteBasePath` setting to tell Kibana if it should remove the basePath # from requests it receives, and to prevent a deprecation warning at startup. # This setting cannot end in a slash. #server.basePath: "" # The maximum payload size in bytes for incoming server requests. #server.maxPayloadBytes: 1048576 # The Kibana server's name. This is used for display purposes. #server.name: "your-hostname" #This is my note->If you will use xpack, you should write elascticsearch username and password as below. #elasticsearch.username: "kibanaserver" #elasticsearch.password: "kibanaserver" #This is my note->If you are not going to use xpack, you should set it to false as follows. xpack.security.enabled: false xpack.spaces.enabled: false |
Let’s explain the changed parameters above:
server.port: Kibana port.
server.host: IP information of the server where Kibana will run.
elasticsearch.hosts: Elasticsearch ip, port information that Kibana will connect to.
After Elastic 6.0 we can use xpack for authentication instead of search guard. If you set xpack.security.enabled: true, this means that you will use xpack’s authentication when connecting elasticsearch. After this you must set passwords for specific users with below command.
You may need some configurations after installation. You can find necessary information in the below article.
How To Install Kibana On Centos
After changing the configurations, we start the service after enabling it.
1 | systemctl enable kibana |
1 | systemctl start kibana |
After running the commands above, let’s check the status of the service as follows.
1 | systemctl status kibana |

As can be seen in the service, our kibana service is working and its connection with elasticsearch has been successfully established.
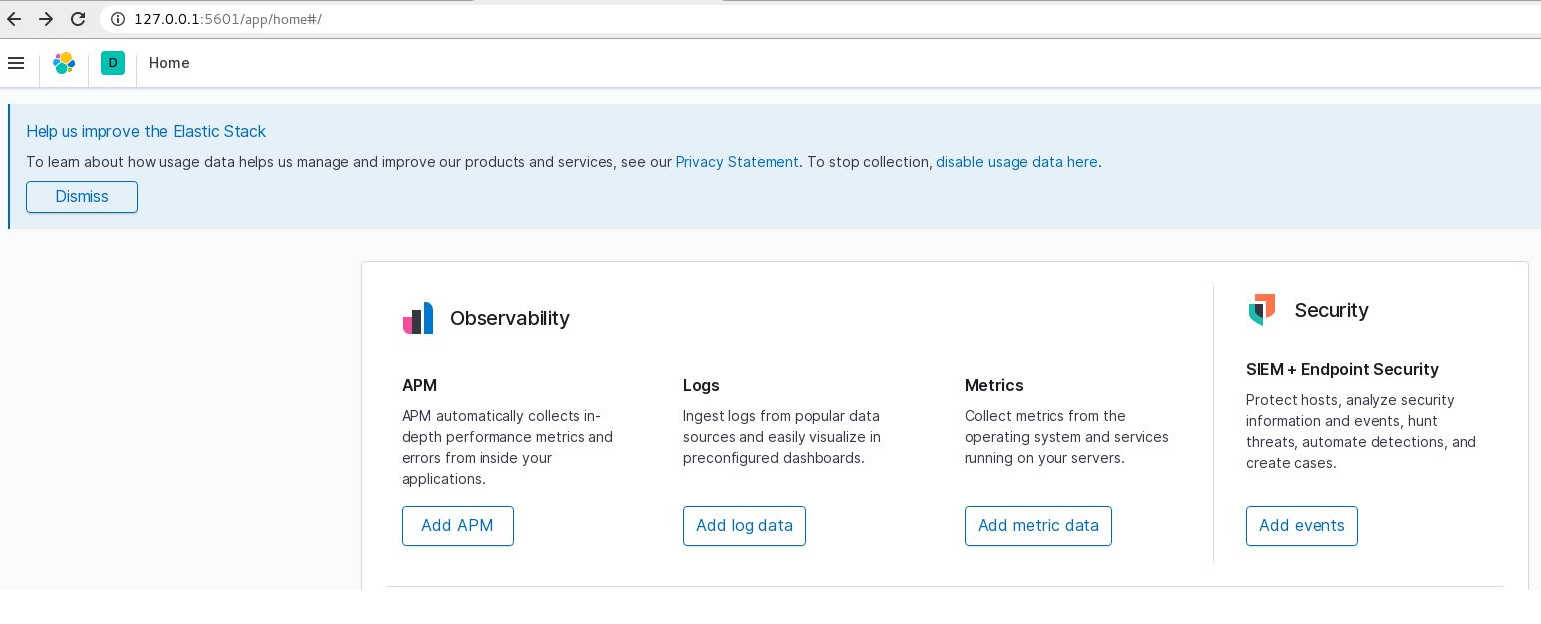
if you specified localhost in Kibana.yml, you can connect via google chrome from 127.0.0.1:5601 ip \ port. if you specified ip in Kibana.yml you must replace 127.0.0.1 with your ip.

Kibana is ready to use. If you enabled xpack in elasticsearch.yml kibana will ask you the elastic use and password.
See. “How To Install Elasticsearch on Centos“
![]()
 Database Tutorials MSSQL, Oracle, PostgreSQL, MySQL, MariaDB, DB2, Sybase, Teradata, Big Data, NOSQL, MongoDB, Couchbase, Cassandra, Windows, Linux