 Database Tutorials MSSQL, Oracle, PostgreSQL, MySQL, MariaDB, DB2, Sybase, Teradata, Big Data, NOSQL, MongoDB, Couchbase, Cassandra, Windows, Linux
Merge Replication is a technology developed for applications that want to update on the same table through multiple servers. In other words, Publisher and Subscriber can update replicated data.
Peer To Peer Transactional Replication is doing the same job, but it uses the infrastructure of Transacational Replication. So it is more difficult to manage the conflict.
Since Merge Replication was developed for this purpose; If you have an application that requires complex conflict dedection and resolution, use Merge Replication instead of Peer To Peer Transactional Replication.
For example, suppose a telecom company has dealers in every city. All the transactions of these dealers want to be collected in a single database. We can set up Merge Replication for this telecom company and make each dealer a member. The changes made by each dealer in its own database will be reflected on others.
Let’s try to understand the subject more clearly through an example.
We will install Merge Replication on two servers. Merge Replication works with Snapshot Agent and Merge Agent. We will not use the Distribution Agent we use in other types of Replication.
To find out the details of other types of replication, you can write replication to our search section.
First, create a table in the publisher and all subscribers in the AdventureWorks2014 database with the help of the following script.
1 2 3 4 5 6 7 8 9 10 11 12 | USE [AdventureWorks2014] GO CREATE TABLE [dbo].[MergeReplication]( [ID] [int] IDENTITY(1,1) NOT NULL, [Ad] [varchar](200) NULL, CONSTRAINT [PK_MergeReplication] PRIMARY KEY CLUSTERED ( [ID] ASC )WITH (PAD_INDEX = OFF, STATISTICS_NORECOMPUTE = OFF, IGNORE_DUP_KEY = OFF, ALLOW_ROW_LOCKS = ON, ALLOW_PAGE_LOCKS = ON) ON [PRIMARY] ) ON [PRIMARY] GO |
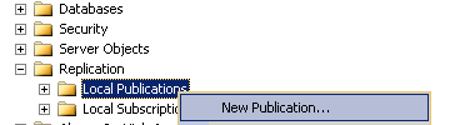
In the next step, we will create Publication. We go to instance on the first server and right-click Local Publications as below to click New Publication.
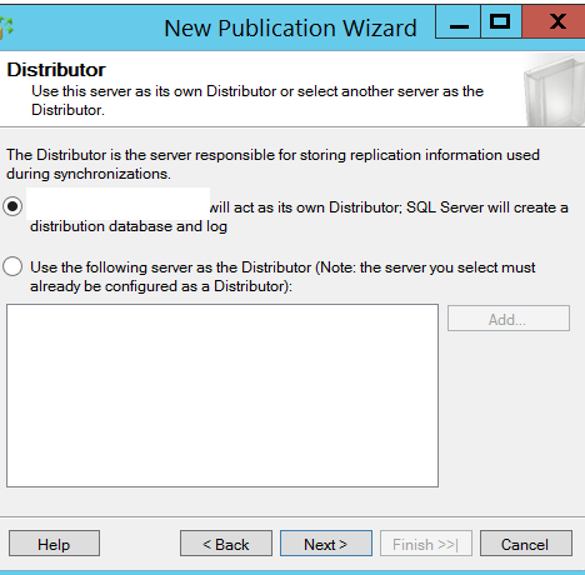
The incoming screen says that the server we’ve created as the following will act as the Distributor. This screen will not come if you have a distributor database. Because we want to install the distributor on the server where we’ve created the publication, we proceed by selecting as follows.
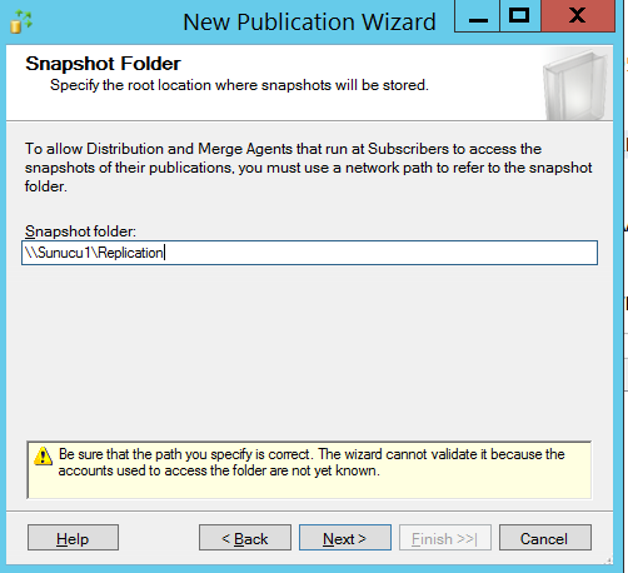
On the next screen, we enter the shared folder information that will be used to transfer the first snapshot to the subscriber or subscribers in the other server as follows.
We select the database that we will replicate in the below screen.

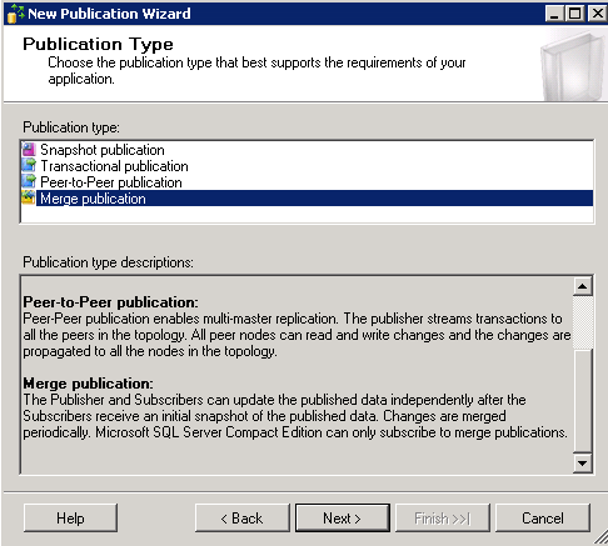
Select Merge Publication on the below screen and click Next.
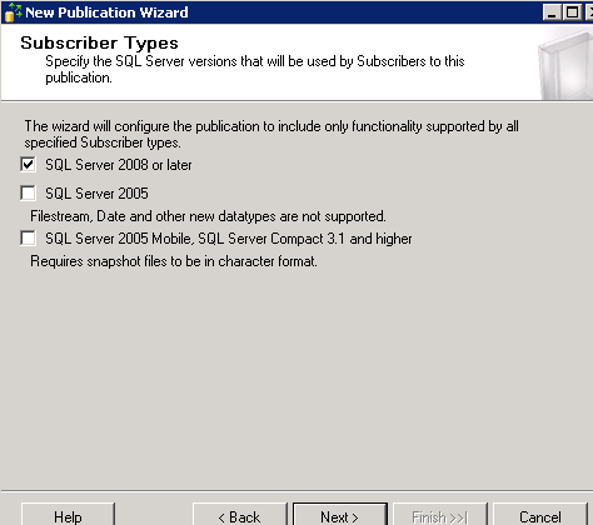
On the next screen, we set the member types. We have determined that all members will be SQL Server 2008 or later.
In fact, we will have two instances, and both will be SQL Server 2014.
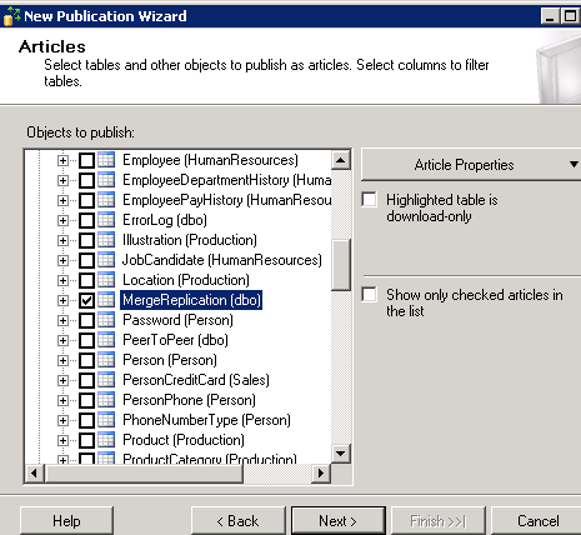
On the next screen, select the table we have created and click next.
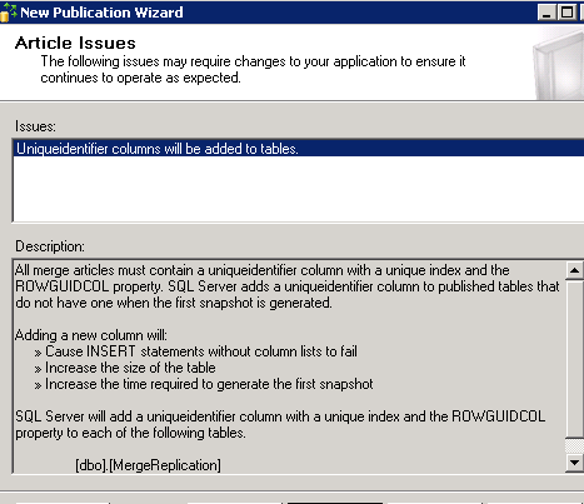
In the next screen it says that SQL Server will add a column with uniqueidentifier data type to the table we will publish, it will create a unique index on the column, and the column will be ROWGUIDCOL (to give a new guid value to the column automatically).
The next screen is the filtering screen. With the help of this screen, we can replicate the table by filtering.
If you want, add the filter you want to add from the following screen and replicate a certain part of the table.
We are currently proceeding by clicking next without any filtering.

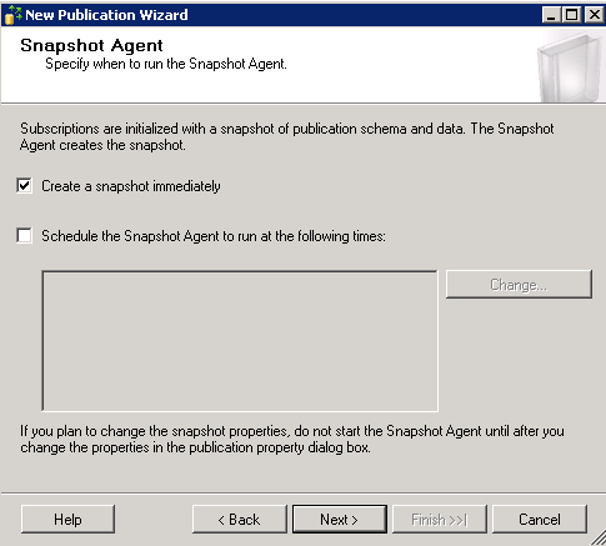
The next screen asks whether the snapshot of the data is to be taken now or later.
Unlike other types of replication, the “Schedule the Snapshot Agent to run at the following times” section is selected.
We’re removing the tick in here.
By selecting “Create a snapshot immediately”, we specify that we want the snapshot to be taken now.
We’re proceeding by clicking next.
The next screen asks Snapshot Agent’s user information as follows. Click Security Settings.
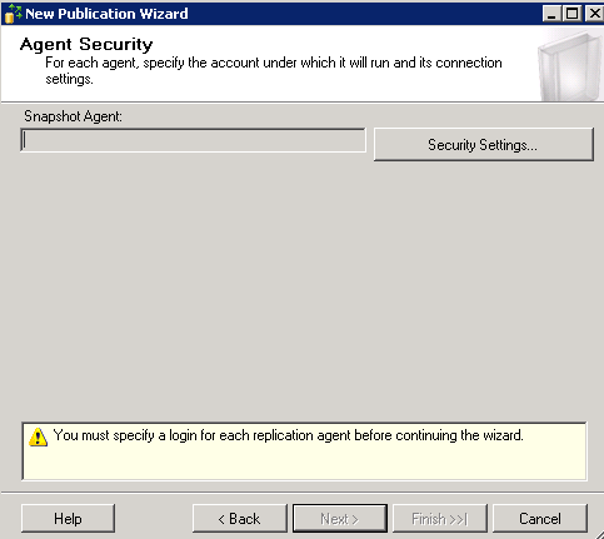
The minimum rights of the user you set for Snapshot Agent:
• Must be db_owner in the Distribution database.
• Must be db_owner in publication database.
• Must have write rights in the snapshot share.
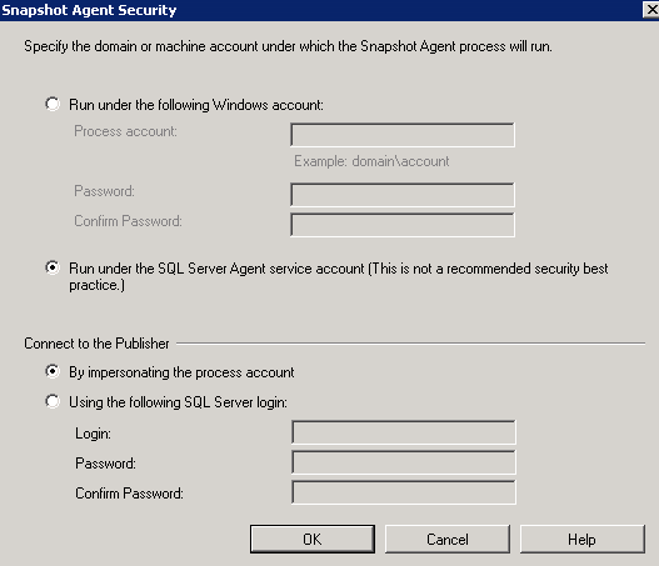
Microsoft recommends that we set up Windows Account for this account.
In my own test environment, two sql server instances and two sql server agent instances use the same windows sql server service account and have the necessary privileges.
I have previously authorized this user on the snapshot share.
So I’m going to set it as follows.
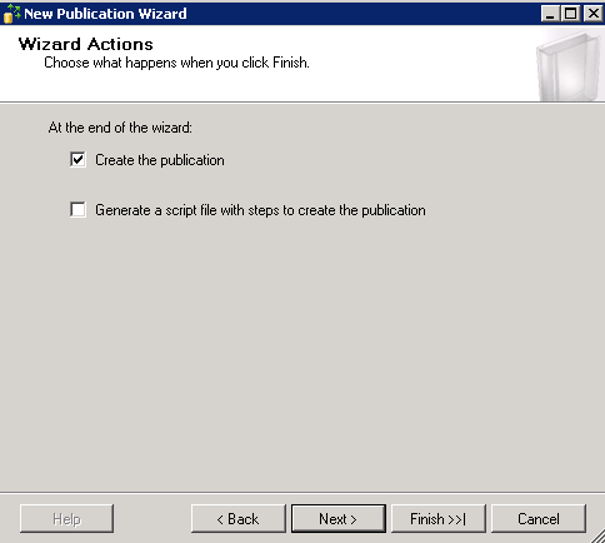
On the next screen, click Next when Create the publication is selected.
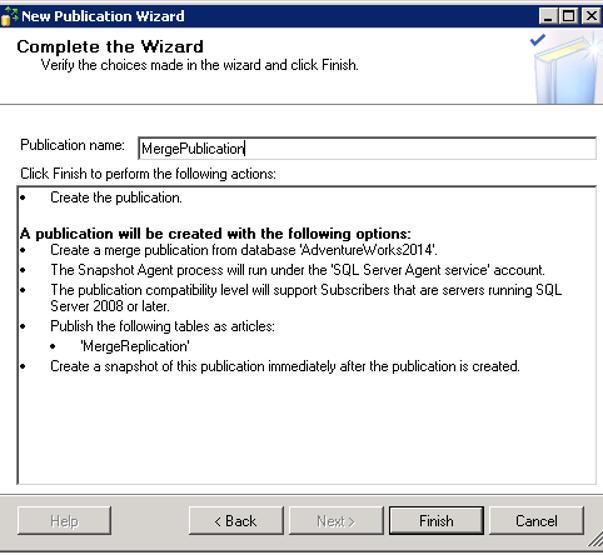
We give a name to Publication on the next screen. and click finish to complete the publication.
After installation is completed, you can test whether publication is working as follows.
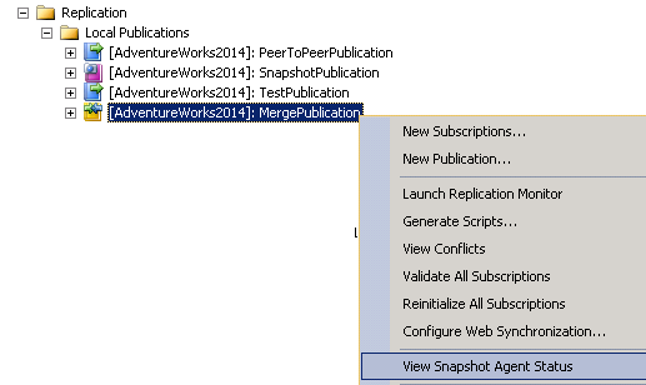
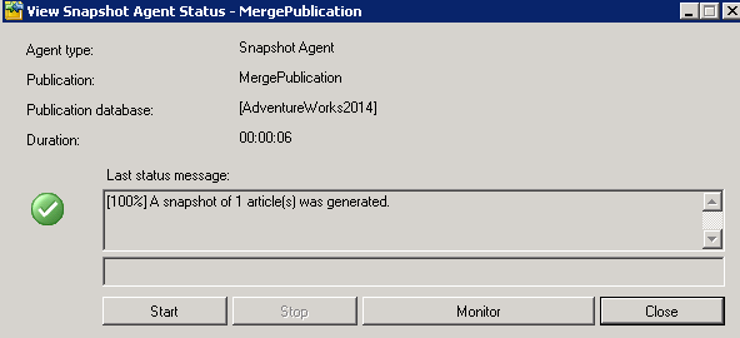
When you click “View Snapshot Agent Status”, a screen like the following should appear.
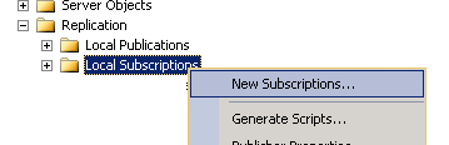
After the installation of Publication, we are going to the server we will install subscriber.
Right-click Local Subscriptions and click New Subscriptions.
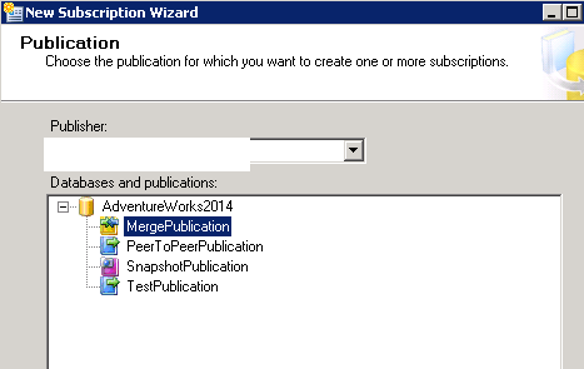
From the next screen, we select the instance in which we define Publisher from the Publisher section, and select MergePublication that we created and click next.
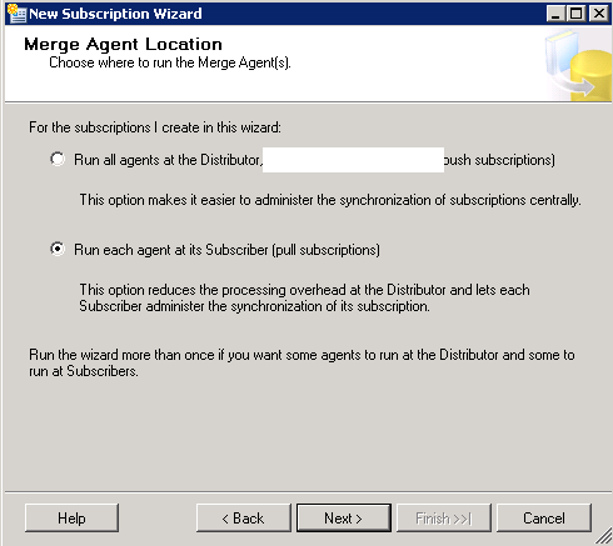
The next screen asks for the server where Merge Agent will run. Here we will determine the subscription type (push or pull).
For more information, you can read my article “SQL Server ReplicationTypes“. For other types of replication, you can get information by typing Replication in the search section of our site.
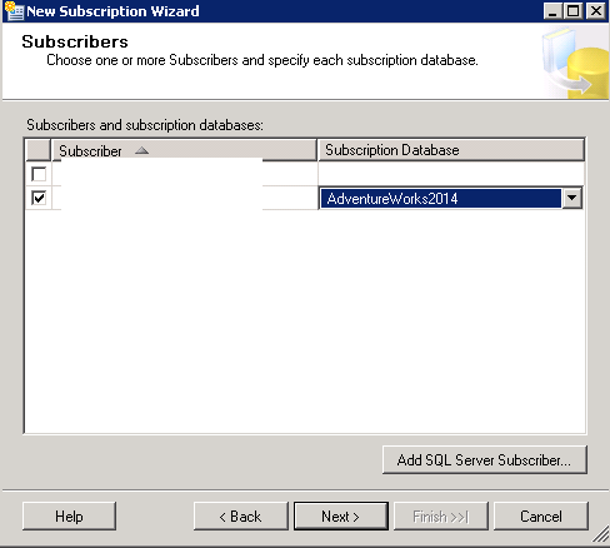
In the next screen, we’ll determine the target intance and the database in which we’ll replicate the tables.
We can select a new instace by clicking Add Subscriber.
We select the target instance from Subscriber and the target database from SubscriptionDatabase.
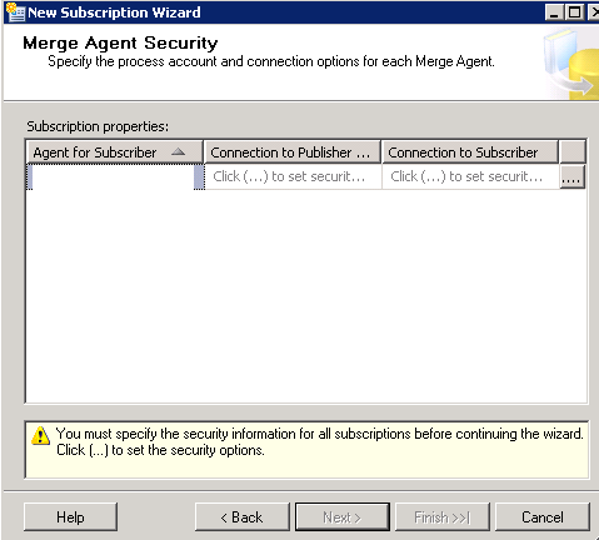
On the next screen we will set up MergeAgent’s user. Under “Agent for Subscriber”, you need to write the name of the instance where you create the Subscriber.
Then click “….” on the right side.
Since I will use the SQL Server Agent account, I have set it as follows.
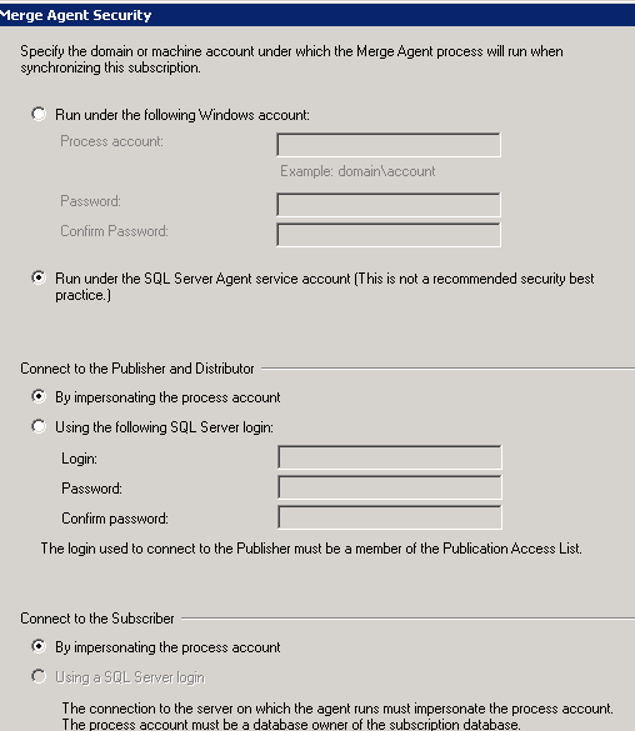
The minimum rights of the user you set for the Merge Agent:
- Must be db_owner in the Distribution database.
- If you will use Pull Subscription, must be db_owner in the subscription database.
- Must have read rights in the snapshot share.
- Must have Public rights in the Publication Database.
- Must be a member of Publication Access List (PAL).
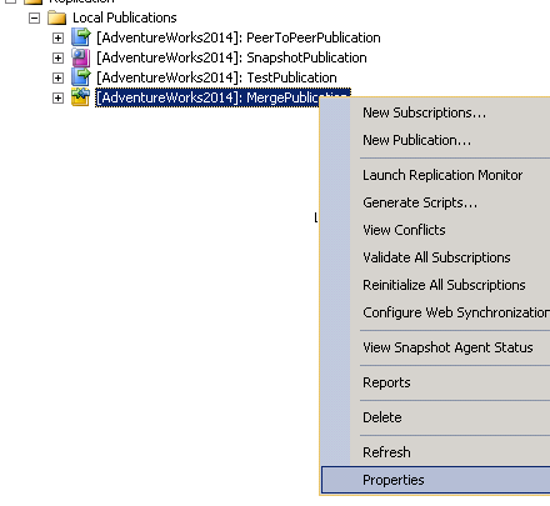
To make the user a member of the PAL, right-click the on publication in the publisher’s instance and click Properties.
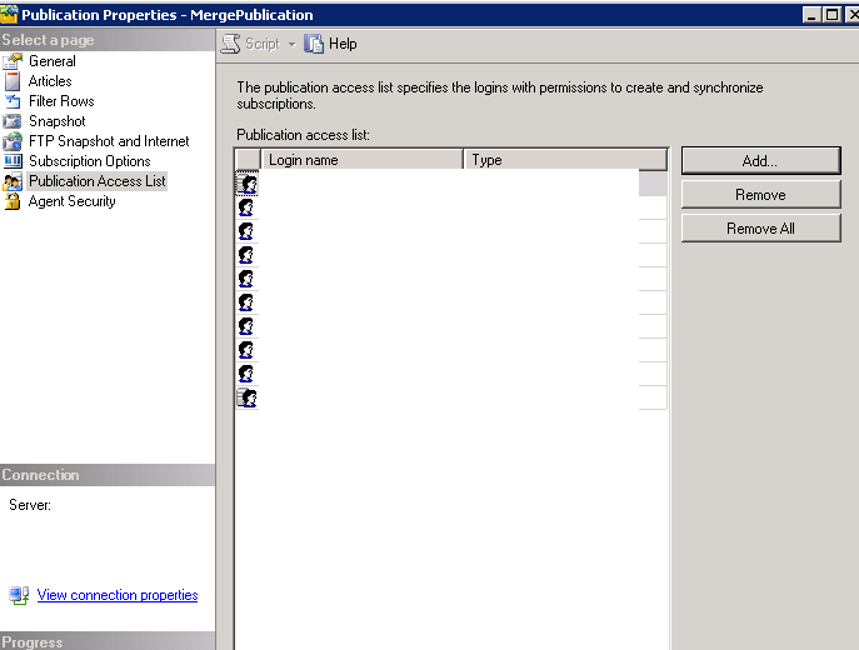
As follows, we go to “Public Access list”to see if our own user is listed.
If not, click Add to add our user to this list. If the user does not appear when we click Add, we will see a warning like below.
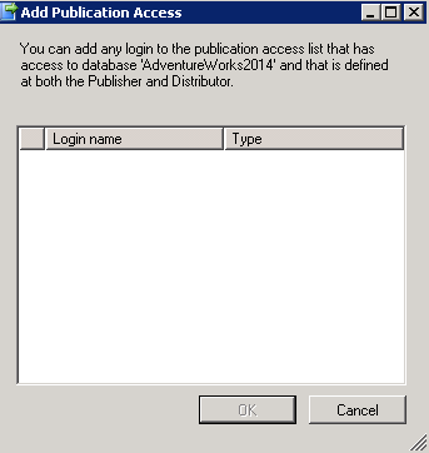
The alert says that the user must be defined in publisher and Distributor instance to be listed here and that we must have access to the AdventureWorks2014 database that we will replicate. If your user is not listed here, you must define your user on the instance of publisher and distributor and authorize it on AdventureWorks2014.
If we are going back to our Subscription installation, we proceed as we explained above and complete the process.
The next screen asks how to do the synchronization.
If we choose “Run continuous”, it will be synchronized continuously and will be almost real-time.
If we select “Run on demand only,” it only works when we trigger.
If we choose “Define schedule” we will ensure that it runs regularly at certain intervals.
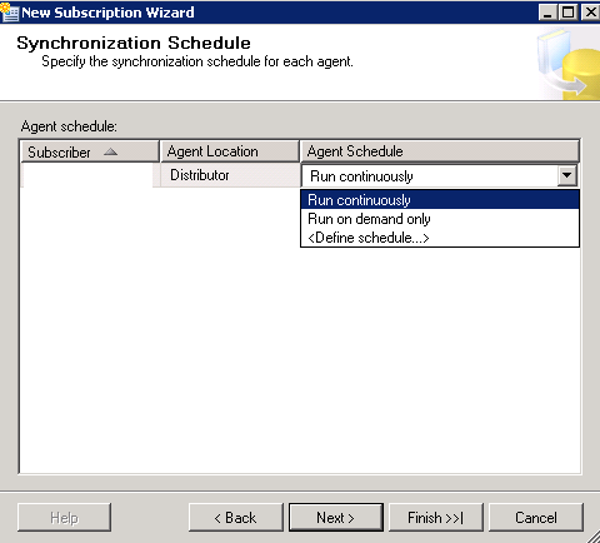
We choose “Run continuously”.
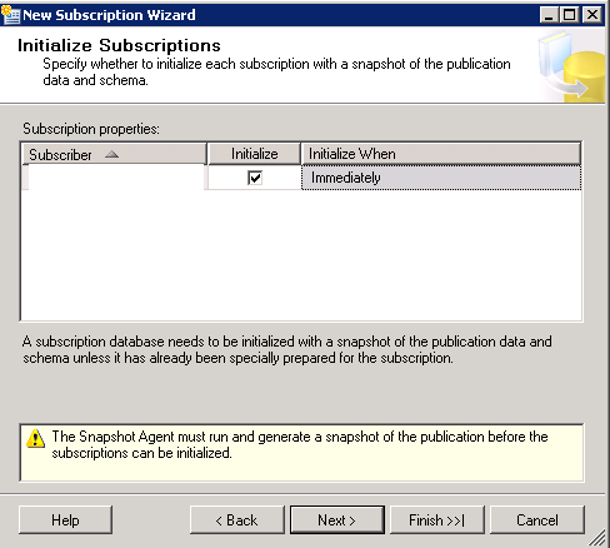
On the next screen, select Immediately to transfer the data immediately to the subscriber and click next.
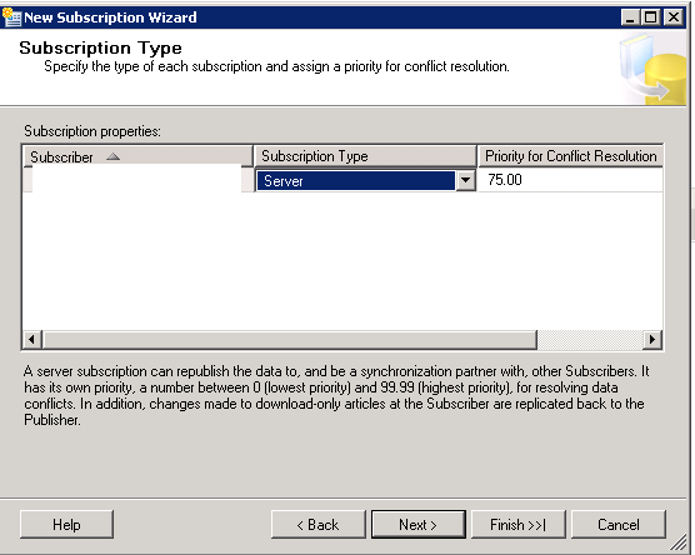
On the next screen, we will set up Subscription Type and Priority for Conclict Resolution(If you are using Merge Replication, a setting should be done at startup to determine how to resolve the conflict).
After create the Subscription, you cannot change the Subscription Type. So you need to understand what is it and you must configure it correctly.
There are two Subscription Type.
| Server | You can choose “Server” if you want Subscribers to have different priorities. In our example, I selected the Subscription Type “Server” as follows for the second server and set 75.00% as Priority for Conflict Resolution. Suppose we create another subscriber on a third server, and choose the “Server” again as the subscription type. Set Priority for Conflict Resolution to 60.00%. When a conflict occurs between the subscriber on the second server and the subscriber on the third server, the process that the subscriber on the second server will take over because the second server has a higher priority. And there is another thing: If you select this subscription type, it can republish the data to other subscribers |
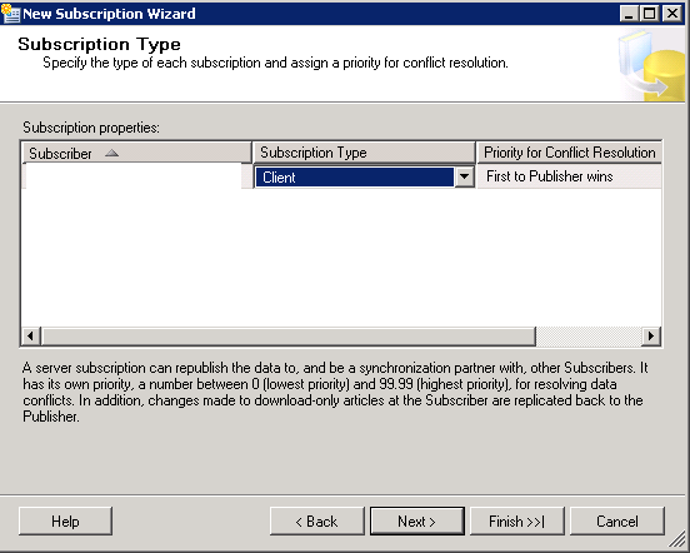
| Client | Conflict dedection (conflict between the subscriber as a result of trying to update the same data) also exists in this subscribtion type. However, you cannot give priority to subscribers as in the “Server” subscription type. The default priority value is 0.00%. You can set this subscription type if you want all subscribers to have the same priority and if you want the first instance always prioritized in case of a conflict. Client can be used in many scenarios. |
You can choose to use the Client subscription type from the details of the subscription types mentioned above. Let’s continue using the Client Subscription type in our installation.
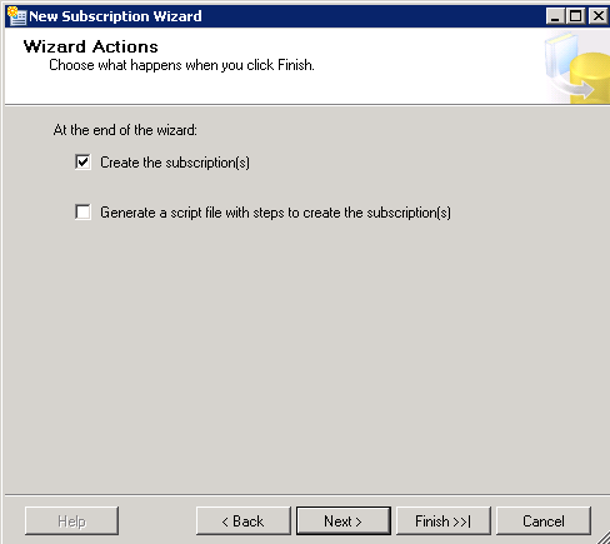
On the next screen, select “Create the subscription (s)” and click Next and Finish to complete the process.
![]()