 Database Tutorials MSSQL, Oracle, PostgreSQL, MySQL, MariaDB, DB2, Sybase, Teradata, Big Data, NOSQL, MongoDB, Couchbase, Cassandra, Windows, Linux
When we need to transfer data from SQL Server or transfer data to SQL Server, we can use the import export methods in SQL Server. The most needed operations are listed below;
In this article, I will describe the import export operations from SQL Server database to SQL Server database.
Let’s talk about the subject by making an example.
Let’s assume that we have to transfer the Person.Adress table from the AdventureWorks2014 database to a database named Test.
Right-click on the AdventureWorks2014 database and click Tasks-> Export Data. In the next screen, click the box next to “Do not show this starting page again” and click Next.
We select “Microsoft OLE DB Provider for SQL Server” from the screen as follows.
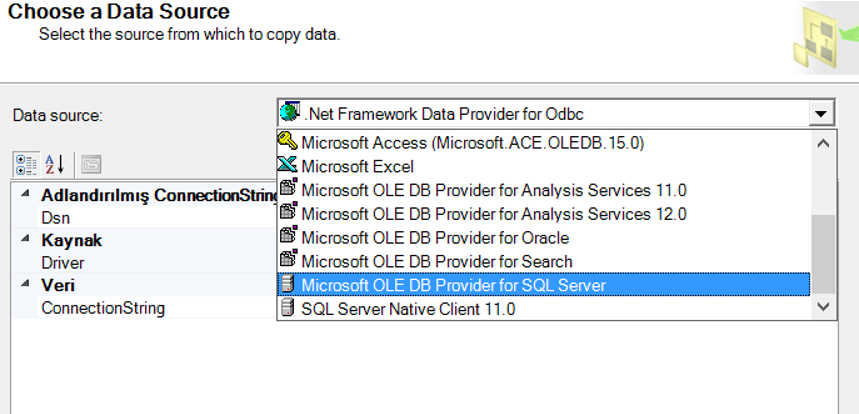
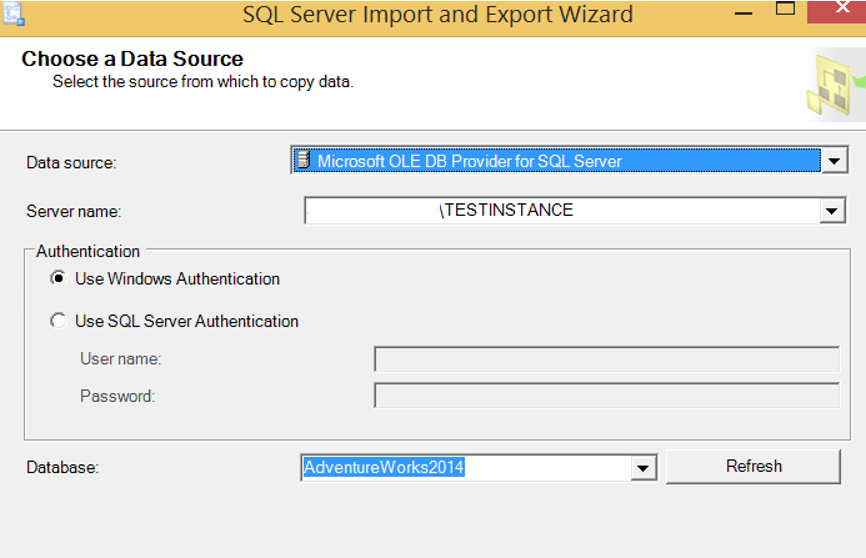
After making our selection, a screen appears as follows. This screen is our Data Source. That is, the screen to select the database that contains the table to be transferred.
As we right-click Export on AdventureWorks2014, it brought AdventureWorks2014 directly to the Database section as follows. Continue by clicking Next.
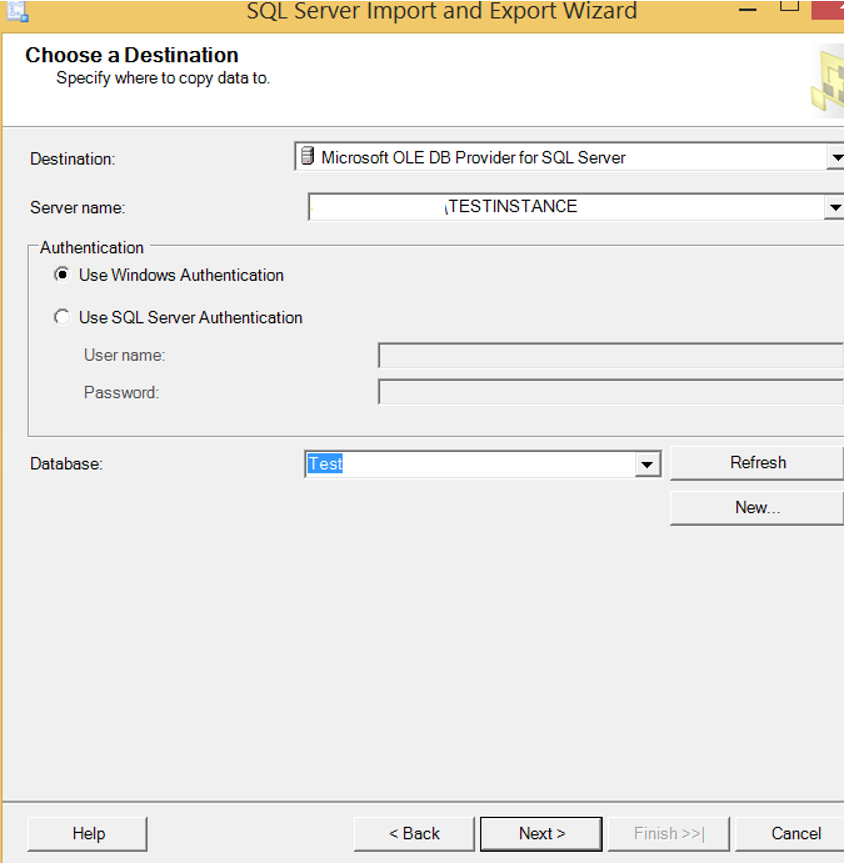
Since we are going to transfer data from SQL Server to SQL Server, we select the Microsoft OLE DB Provider for SQL Server from the next screen.
In the Server Name section, we write the instance name that we want to transfer the data to. If you do not know the name exactly, you can select it by clicking on the down arrow to the right but it will keep you waiting a bit. So writing a name is a faster solution.
Then select Windows or SQL Server Authentication from the Authentication section. I mentioned the details of Authentication types in my article “How To Install SQL Server“.
After determining the Authentication method, we write the database name that we will transfer to the Database part. If you do not know the name exactly, you can select it by clicking on the down arrow to the right but it will keep you waiting a bit. So writing a name is a faster solution.
In our example, we will transfer to another database on the same instance, so we will see a screen like below.
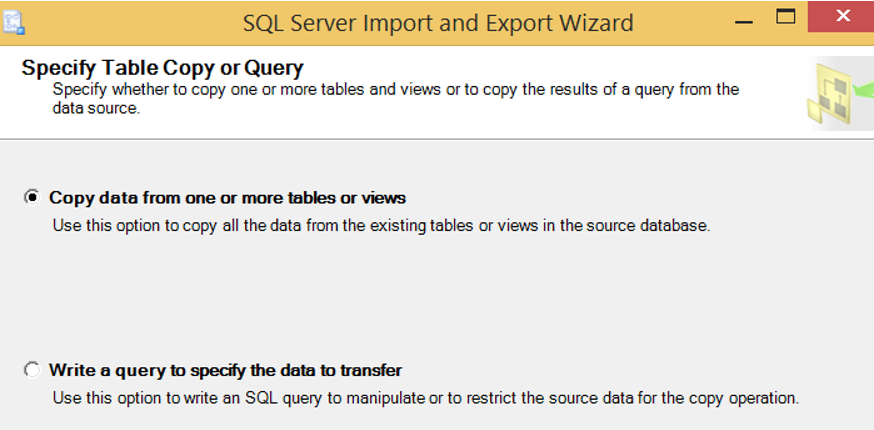
Click Next to proceed. On the next screen, we proceed by selecting “Copy data from one or more tables or views”.
You can also transfer data with your own query by selecting “write a query to specify the data transfer”.
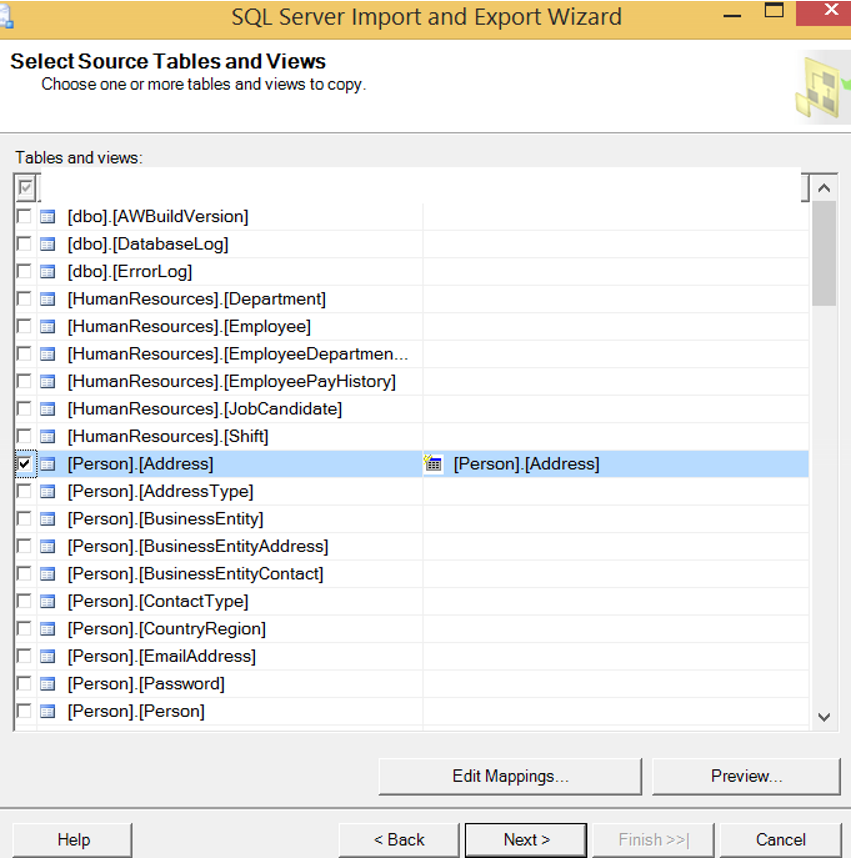
In the next screen, we select the table we will transfer.
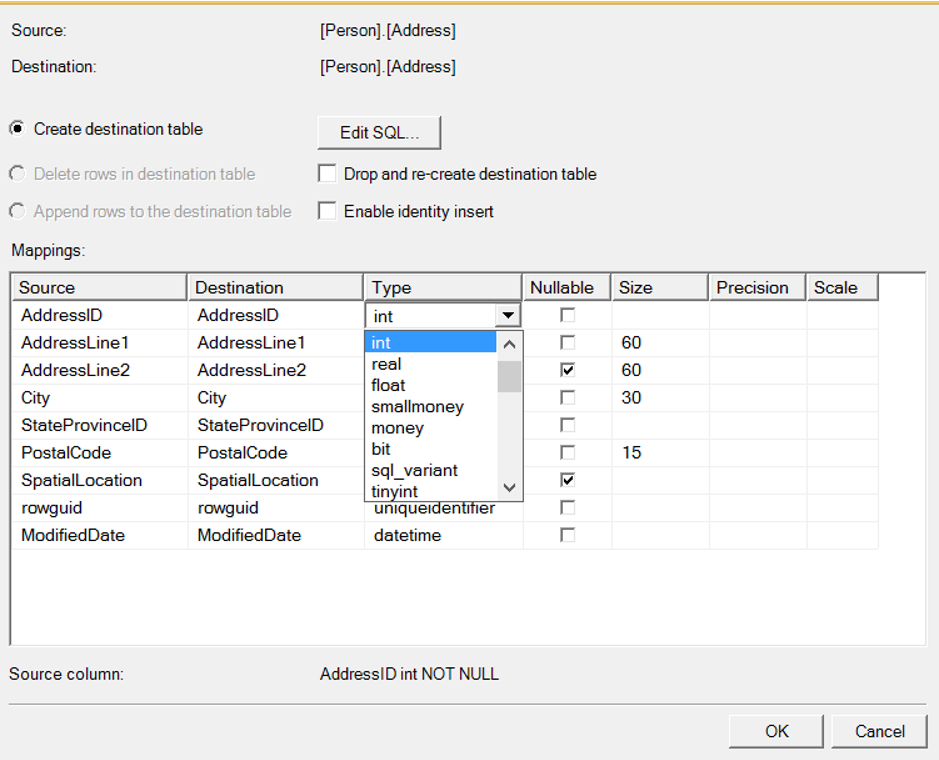
You can make some settings by clicking “Edit Mappings”. The following screen shows the details of the settings you can make.
The Create Destination Table has been selected.
If you have the same table in the target, you can select Drop and recreate to.
If you need to do Identity Insert, you must also select this option. In the article “Identity Insert”, I explained what this option means.
You can change the data types and sizes on the target when you transfer the Table. But you need to pay attention to the type mismatch. If you convert a column with the varchar data type to an int type, you may encounter problems during the transfer.
We click ok without making any changes, and then click next amd next to complete the transfer.
In this example, we export from the database we selected with Task-> Export method.
Instead of exporting from the AdventureWorks2014 database, we could achieve the same result in the same way as right-clicking on the Test database and clicking Task-> Import.
![]()