We installed the utility control point on an instance in the article “How To Monitor SQL Server With Utility Control Point“. In this article, we will add another instance to an installed control point.
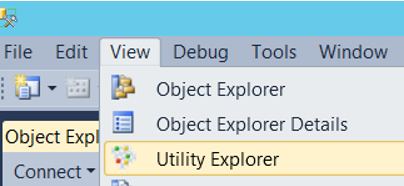
From the SSMS, click View Utility Explorer as follows.

Then we click Managed Instance and we will see a screen like below. If you have previously installed the utility control point, you will see the information of the instance you have installed on the right side.

To add another instance to this control point, right-click on Managed Instance and click “Enroll Instance”.

On the screen that appears, select “Do not show this page again” and click next.
On the next screen, click on the Connect button you see next to SQL Server Instance Name, and we select the instance we’re adding, and click next.

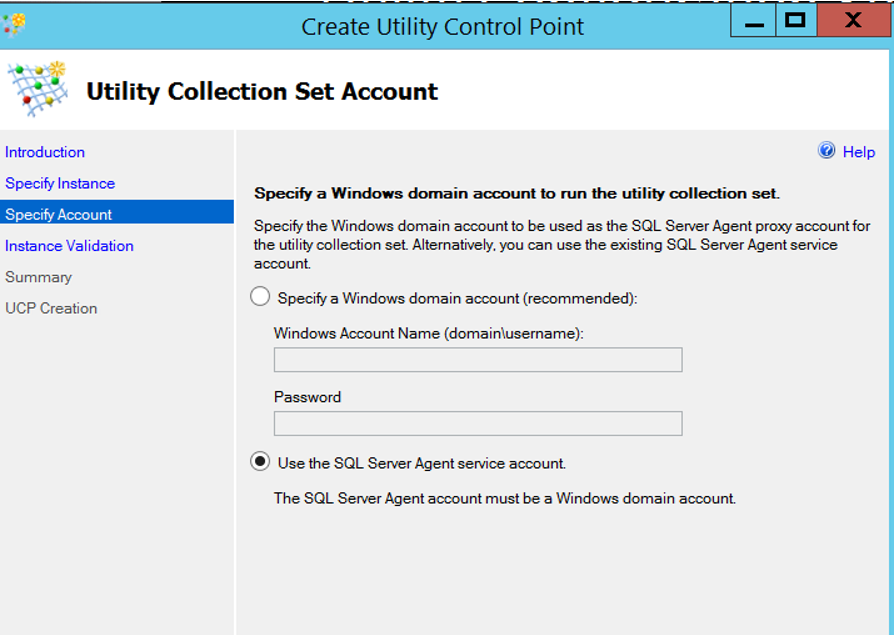
Select “Use the SQL Server Agent service account” for the Utility control point and click next.
The SQL Server Agent Service account must be a domain user so that we do not get an error in the installation. You can check this from Configuration Manager. You can find detailed information in my article “SQL Server Configuration Manager Settings“.
If you get a WMI error, you must authorize the SQL Server Service Account on WMI. You can learn how to do this in the article “How to Authorize a User on WMI“.

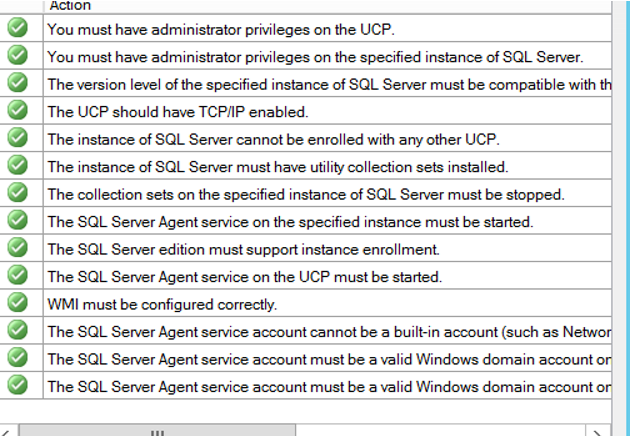
After all the check are completed successfully as below, we are completing the installation by clicking next next and finish.

We added another instance to an existing utility control point. In Managed Instance, you will see two instance information as follows.

You need to wait a while to see the information here.
I would recommend that you read the following articles on Utility Control Points.
“How To Monitor SQL Server With Utility Control Point“,
“How To Manage Utility Control Point”
![]()
 Database Tutorials MSSQL, Oracle, PostgreSQL, MySQL, MariaDB, DB2, Sybase, Teradata, Big Data, NOSQL, MongoDB, Couchbase, Cassandra, Windows, Linux